Skip navigation

hero

Support for your Dyson Zone™ headphones with air purification

Dyson Zone™ air-purifying headphones
Dyson Zone™ air purifying headphones

Here you can find helpful tips and advice, how-to videos, your user guide and more.

Quick links

Set up and connect    Key controls    Maintenance    User manual

Register your machine

Join MyDyson™ and register your machine for easy access to your guarantee details, how-to videos, user guides and more. We'll also be able to offer you tailored machine support.

Set up and connect

Set up and connect

Watch our how-to video or follow the step-by-step guide below.

All the parts of the Dyson Zone air-purifying headphones on a table top, ready to set up and connect.

Learn how to set up and connect

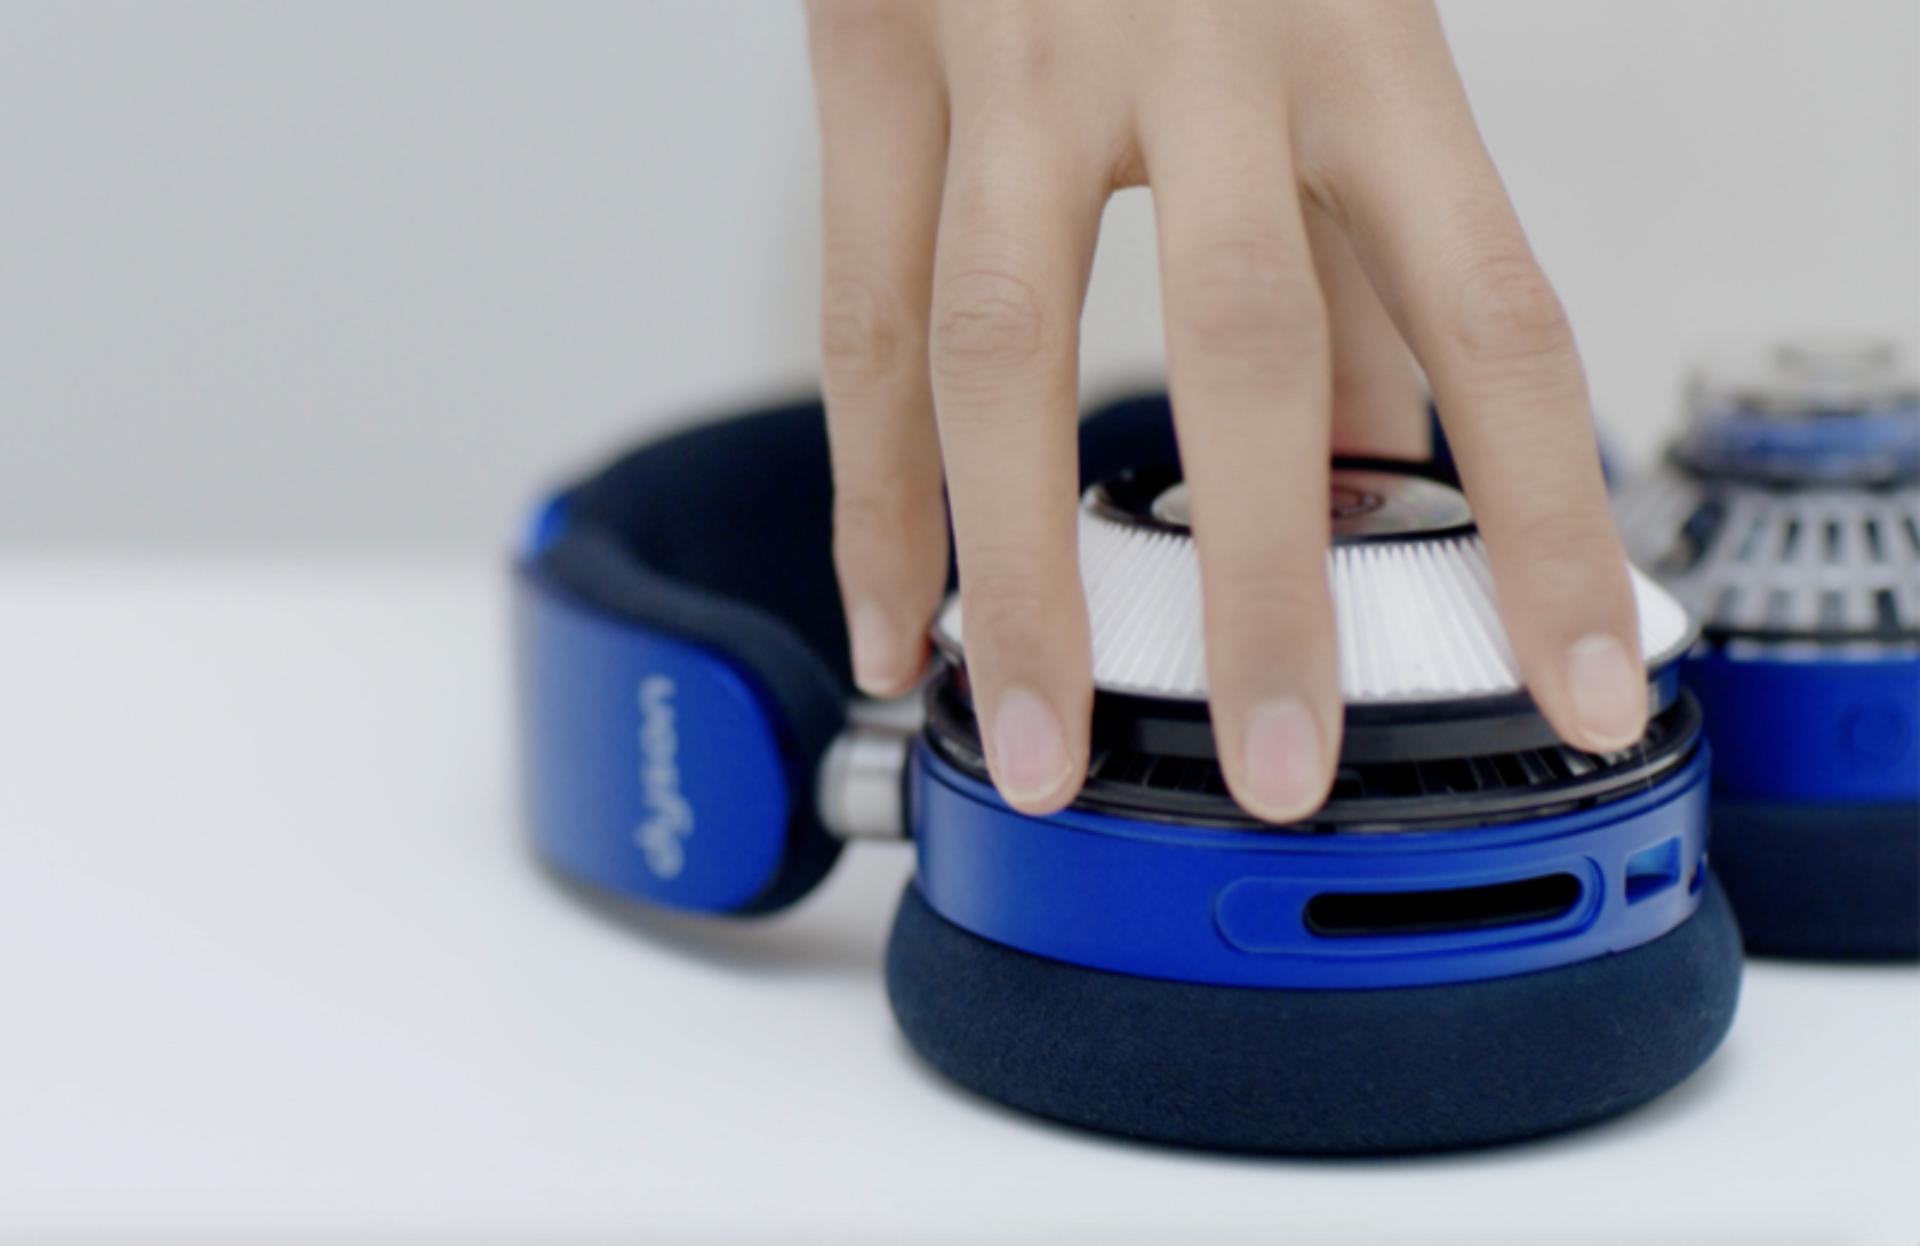
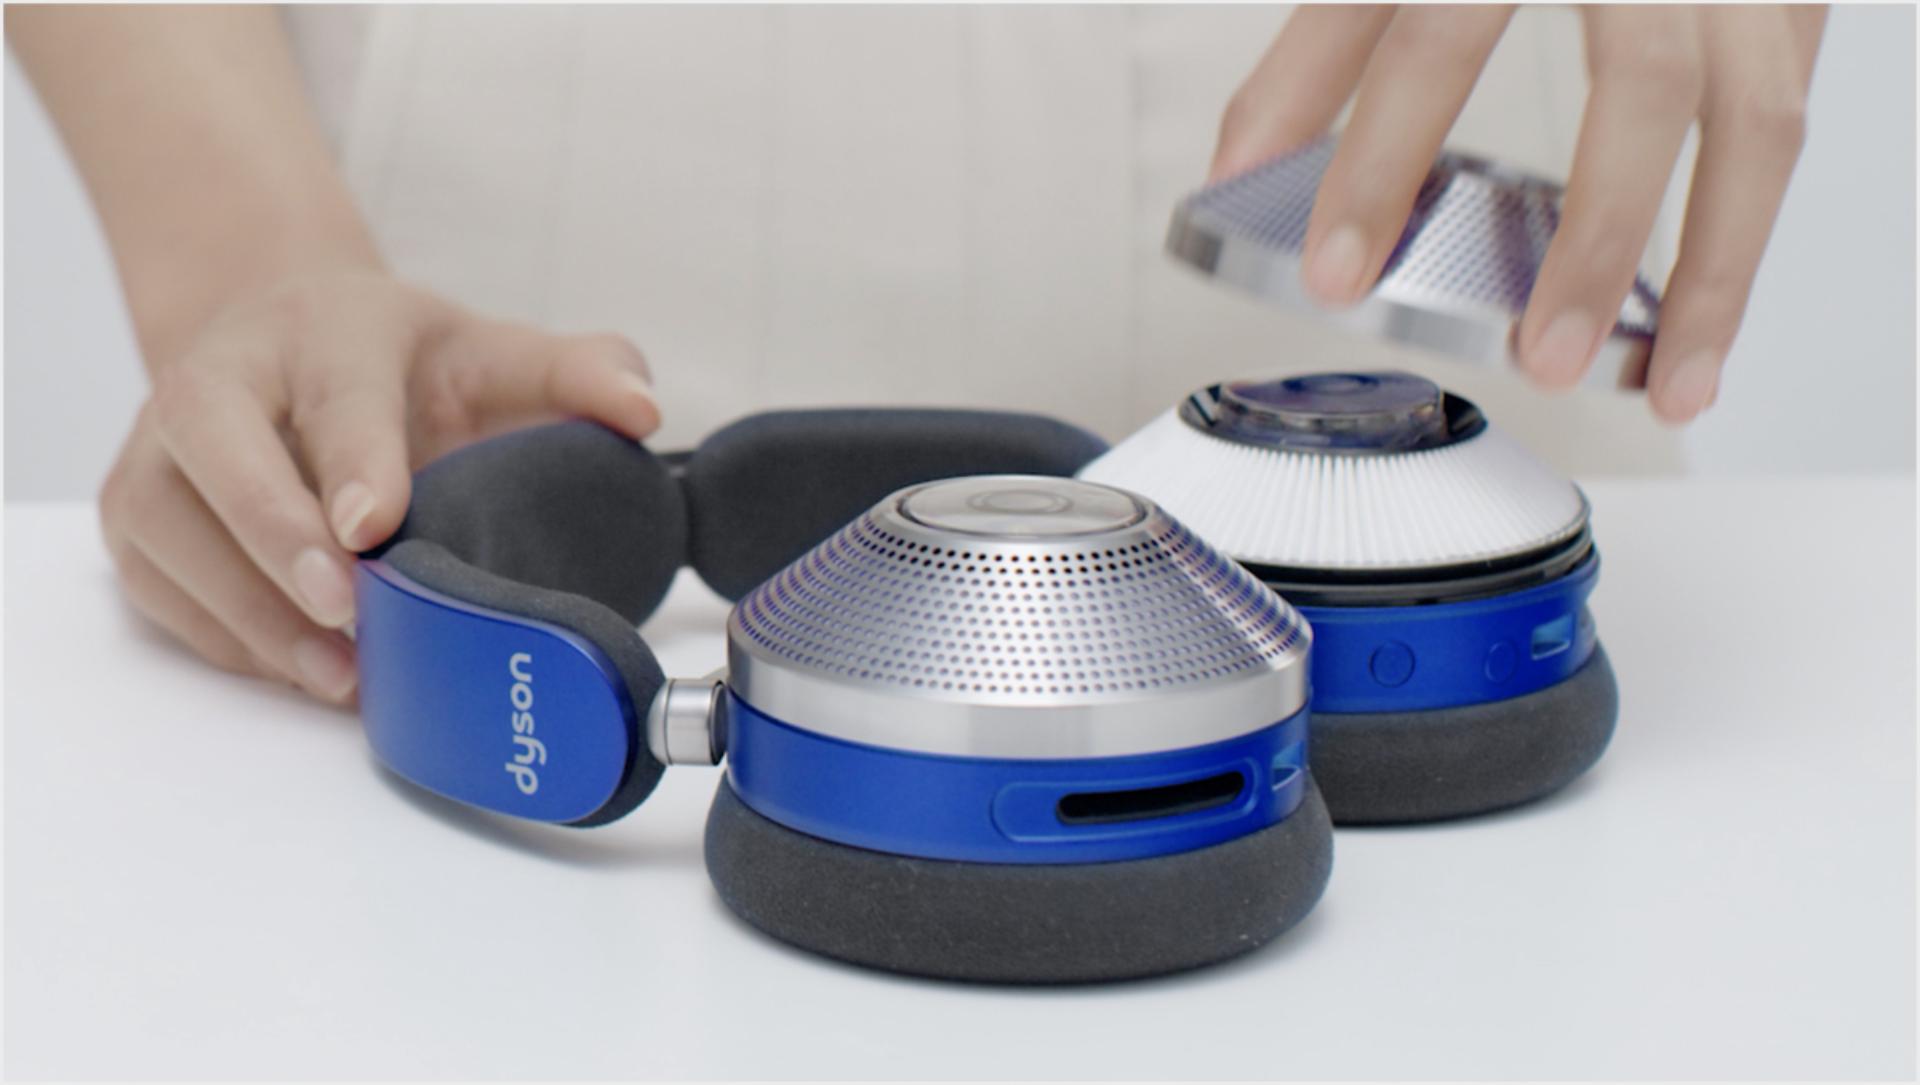
  • A hand picks up the filter unit.

    Fit your filters

    Gently twist off both ear cup covers. Hold the filters on the plastic edges and drop them into the ear cups. Replace the covers and twist to secure into position.

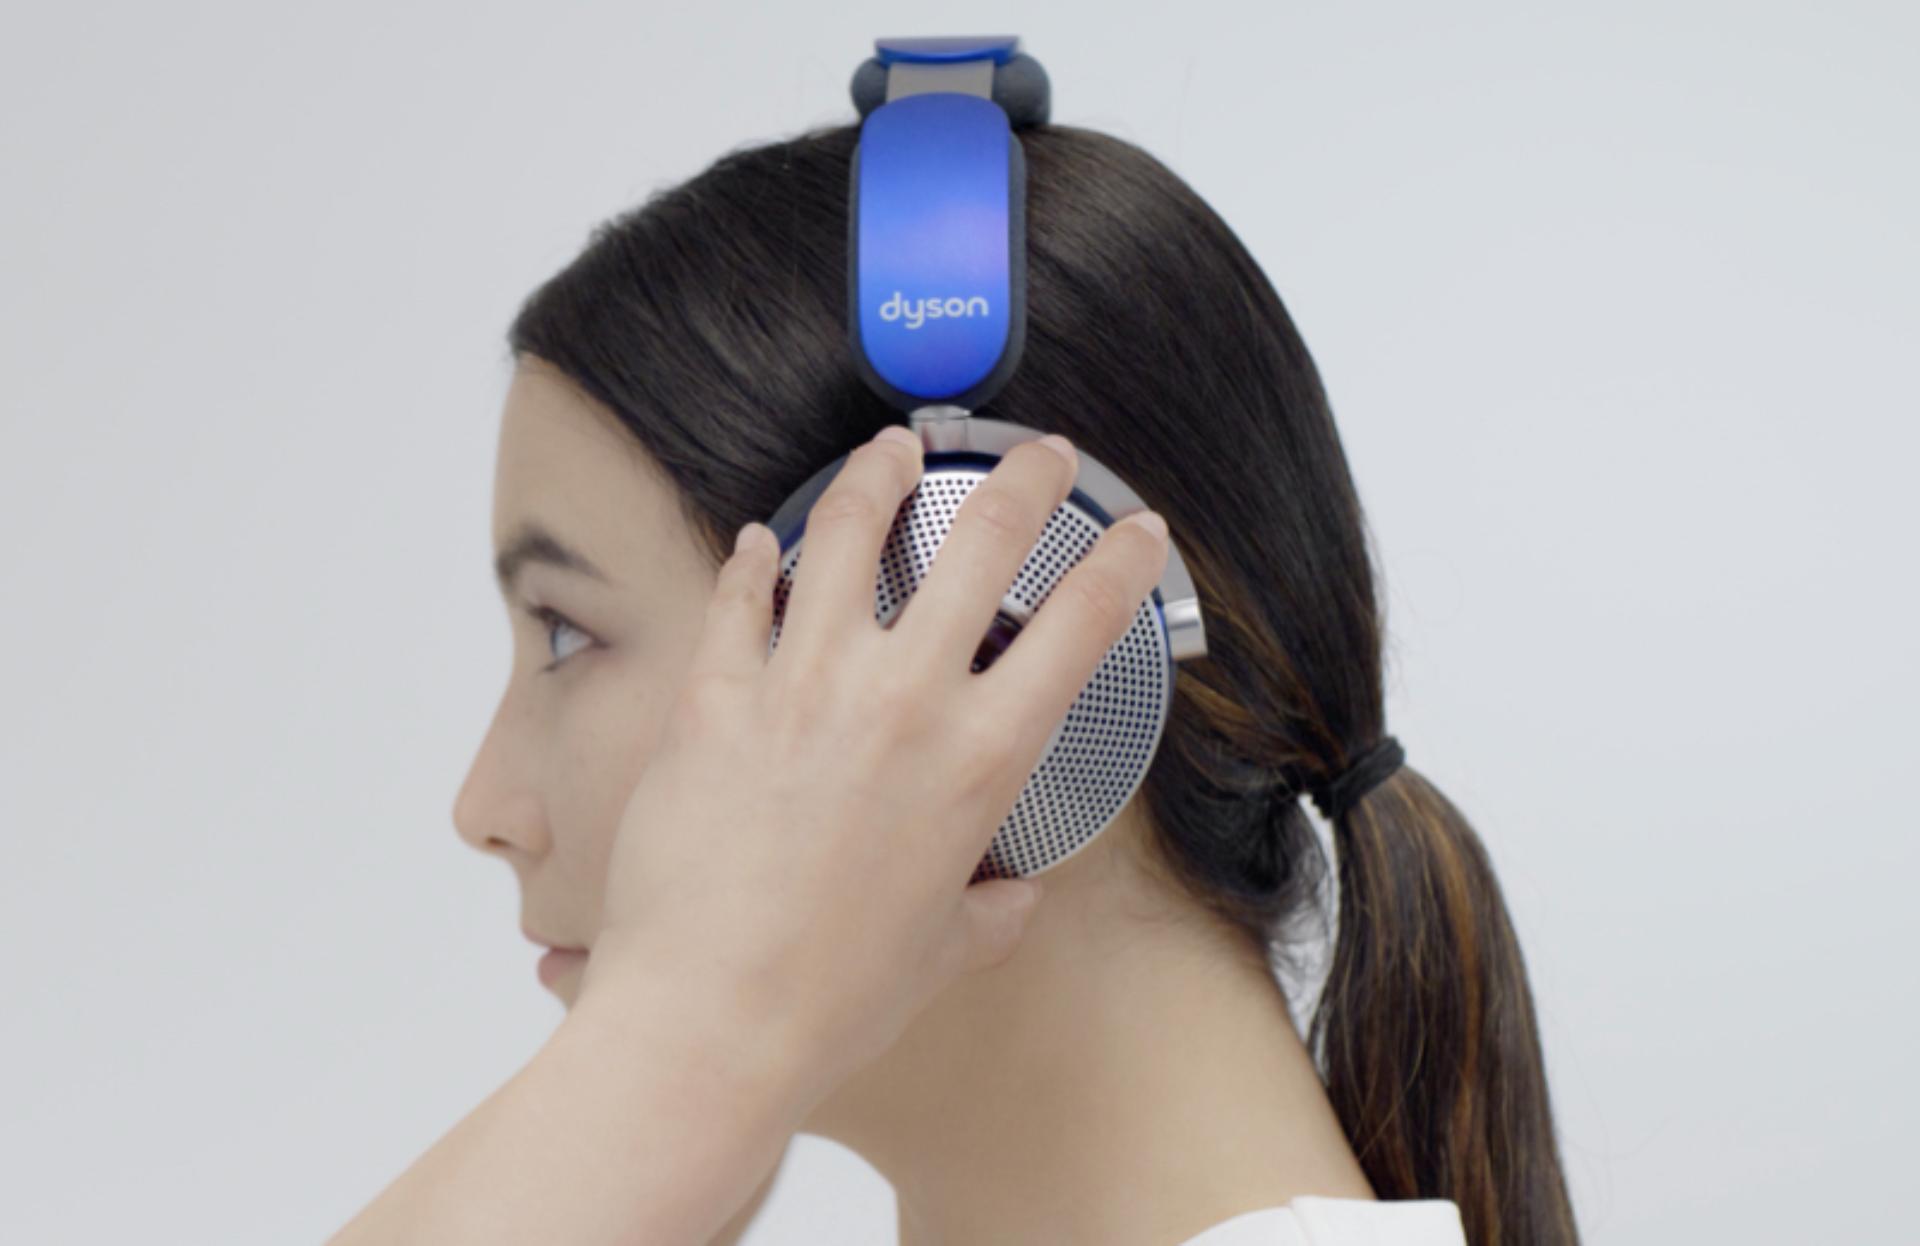
  • Side view of a woman adjusting the Dyson Zone air-purifying headphones on her head.

    Get comfortable

    Place the headphones over your head a little further back than traditional headphones. Adjust both sides of the headband until comfortable.

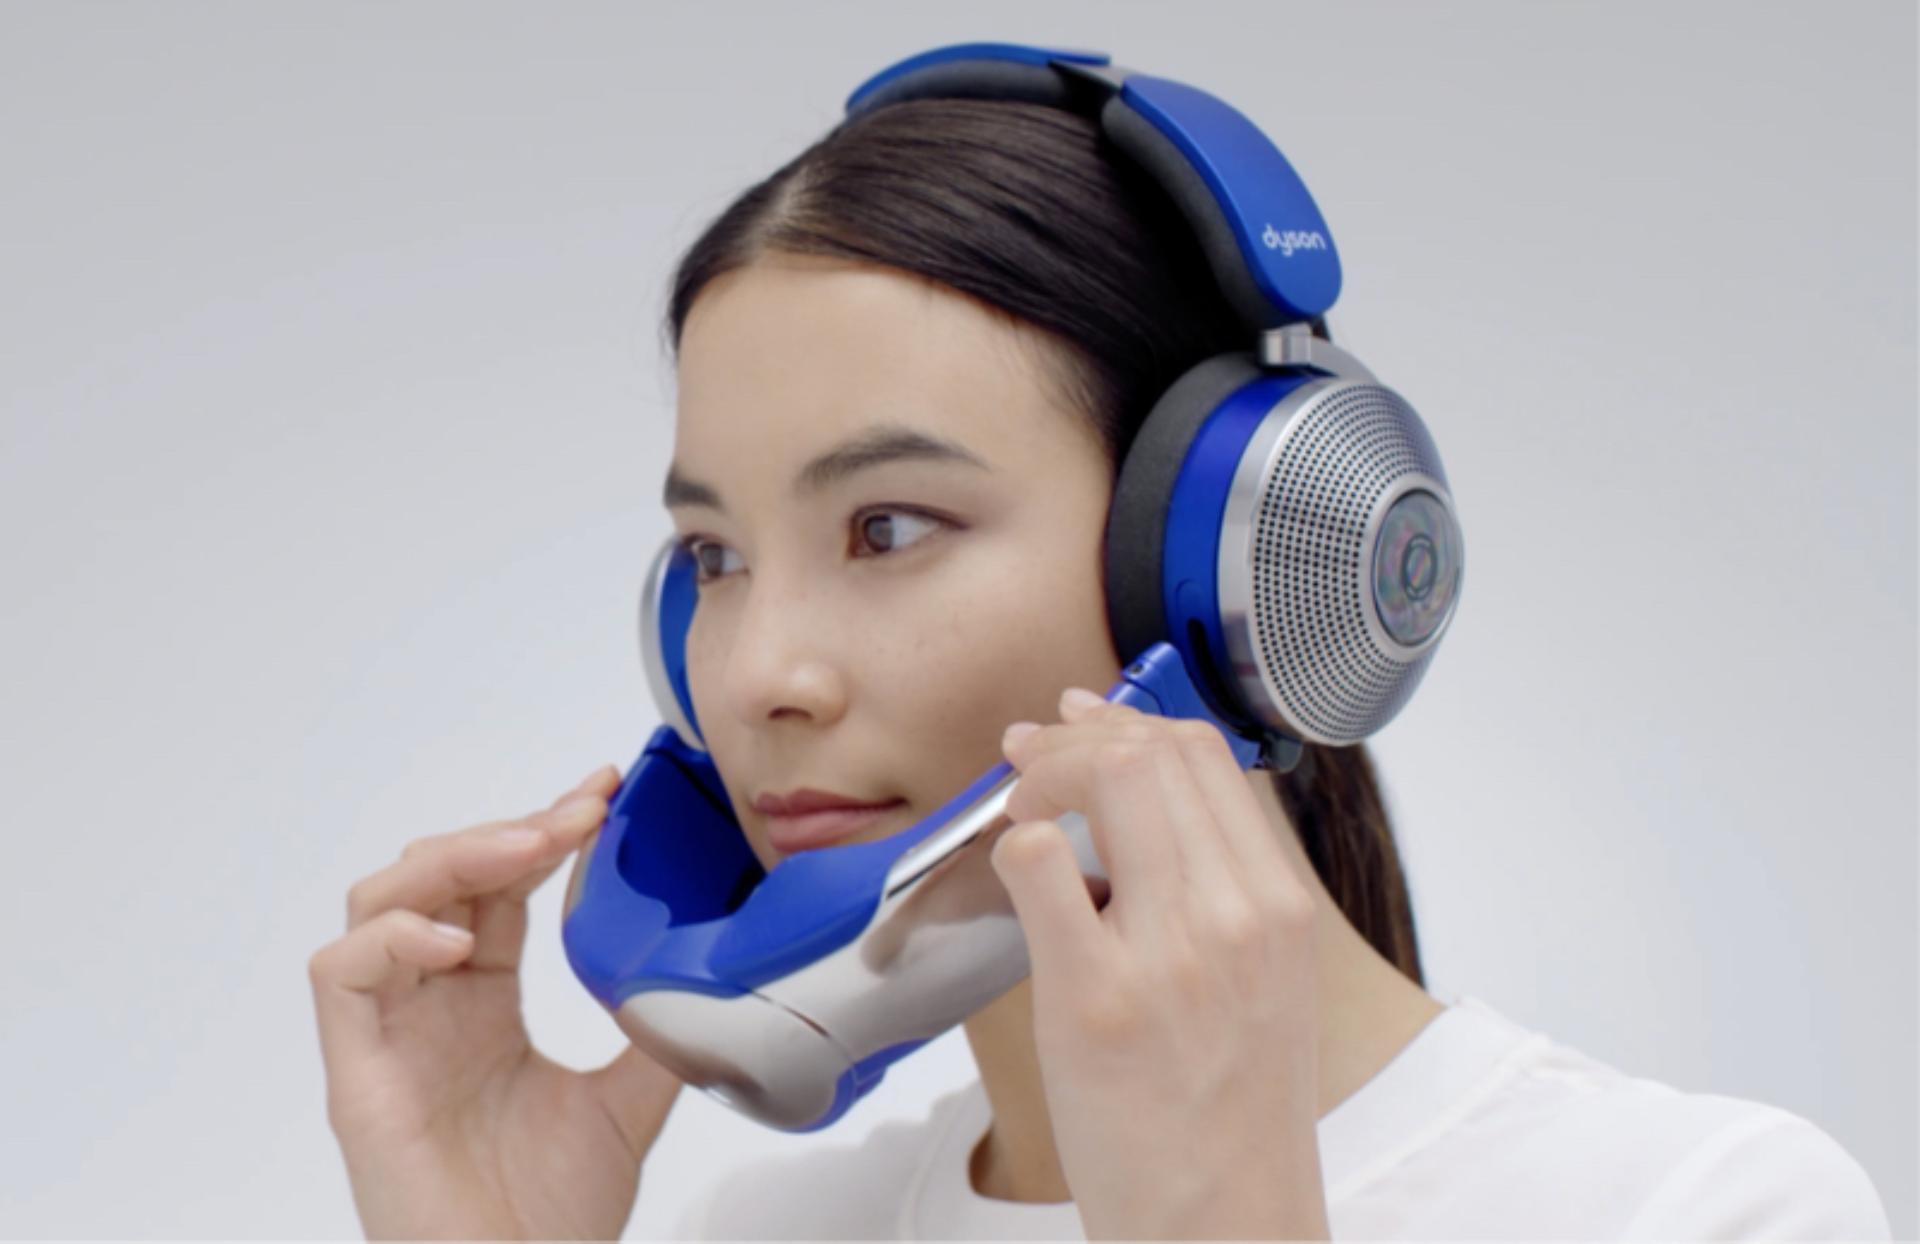
  • Woman attaches the visor using the magnetic connectors.

    Attach your visor

    Remove any packaging from the visor and fully extend the visor arms. With the visor positioned below your mouth, attach it to each ear cup with the magnetic connectors.

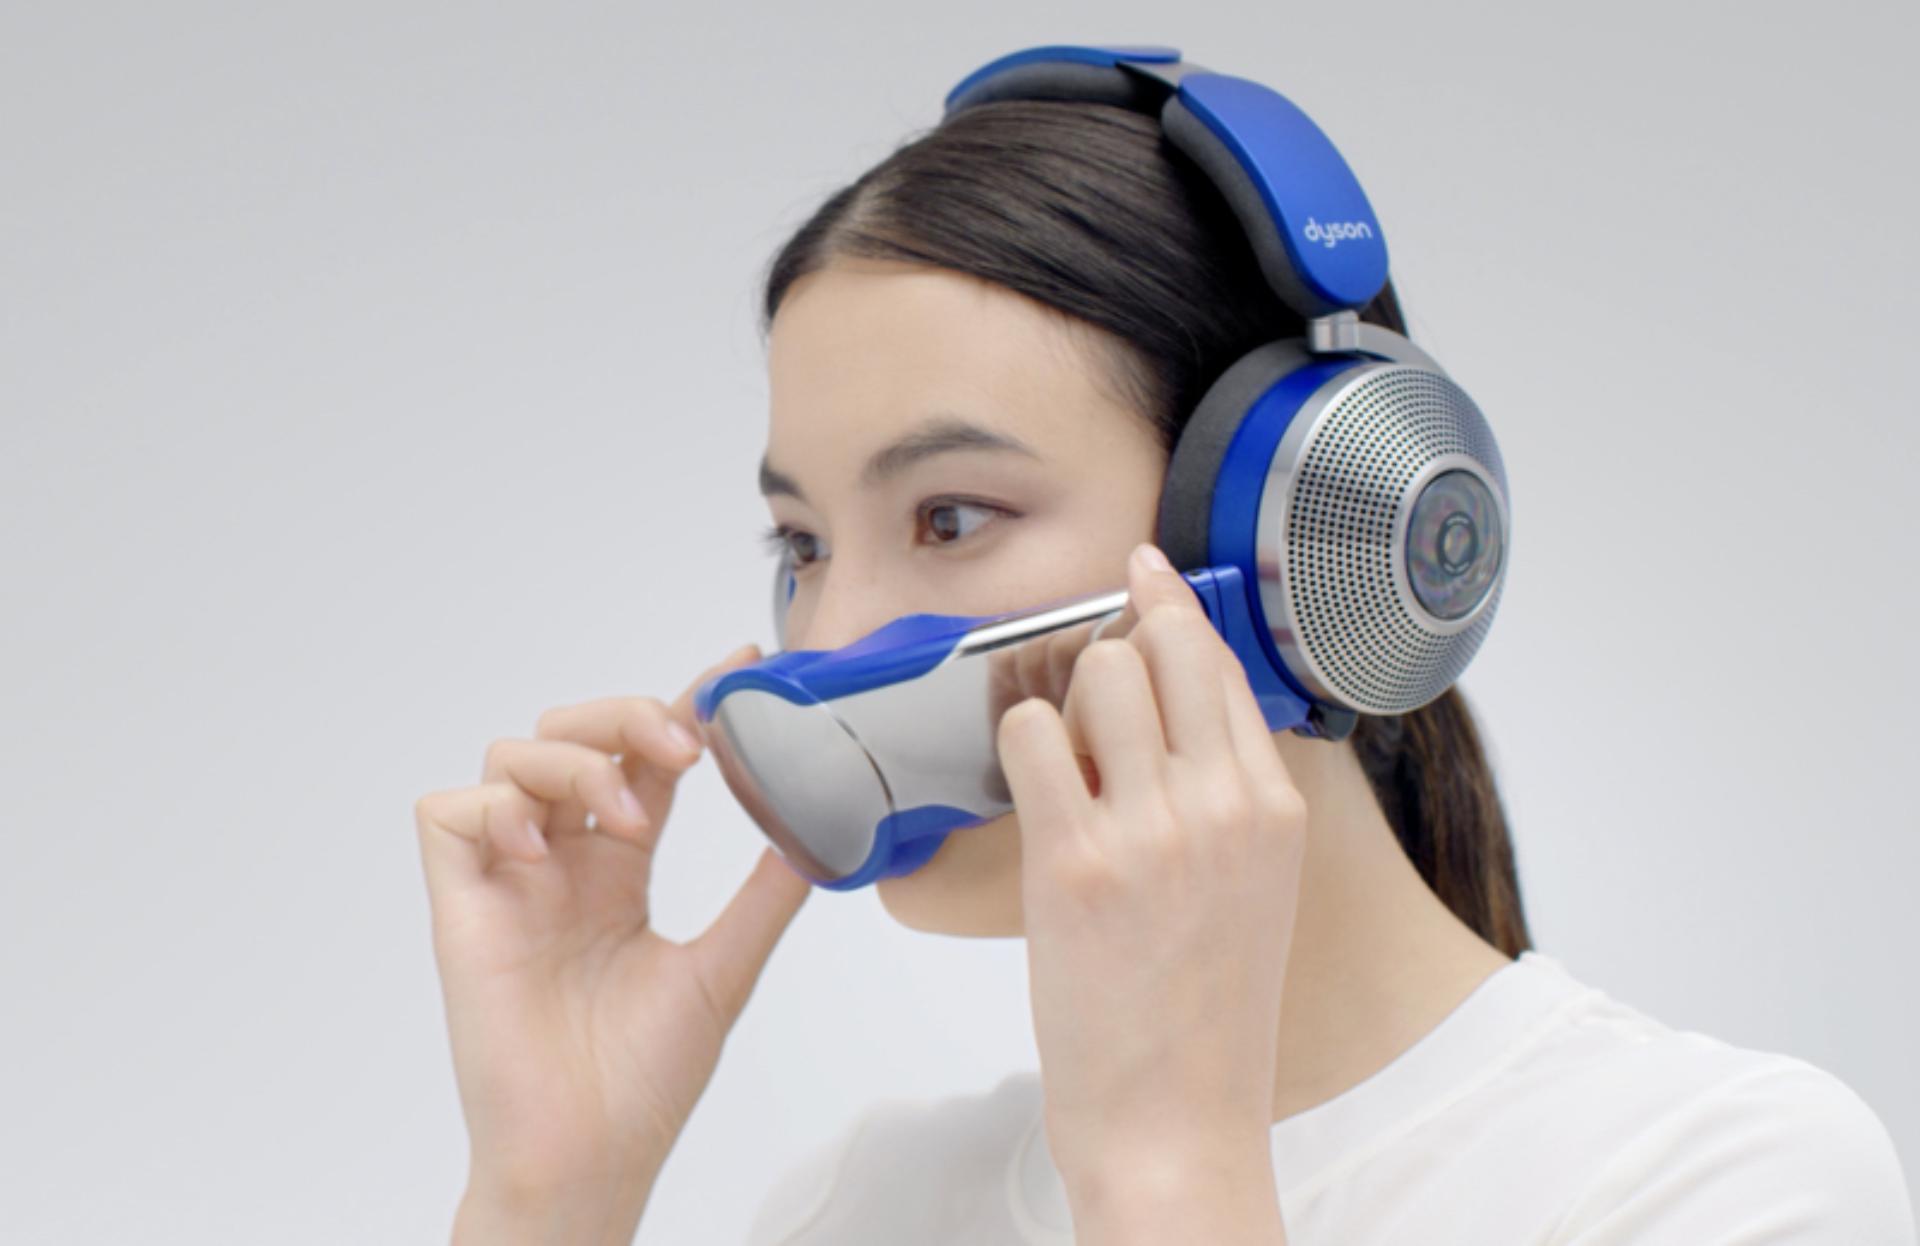
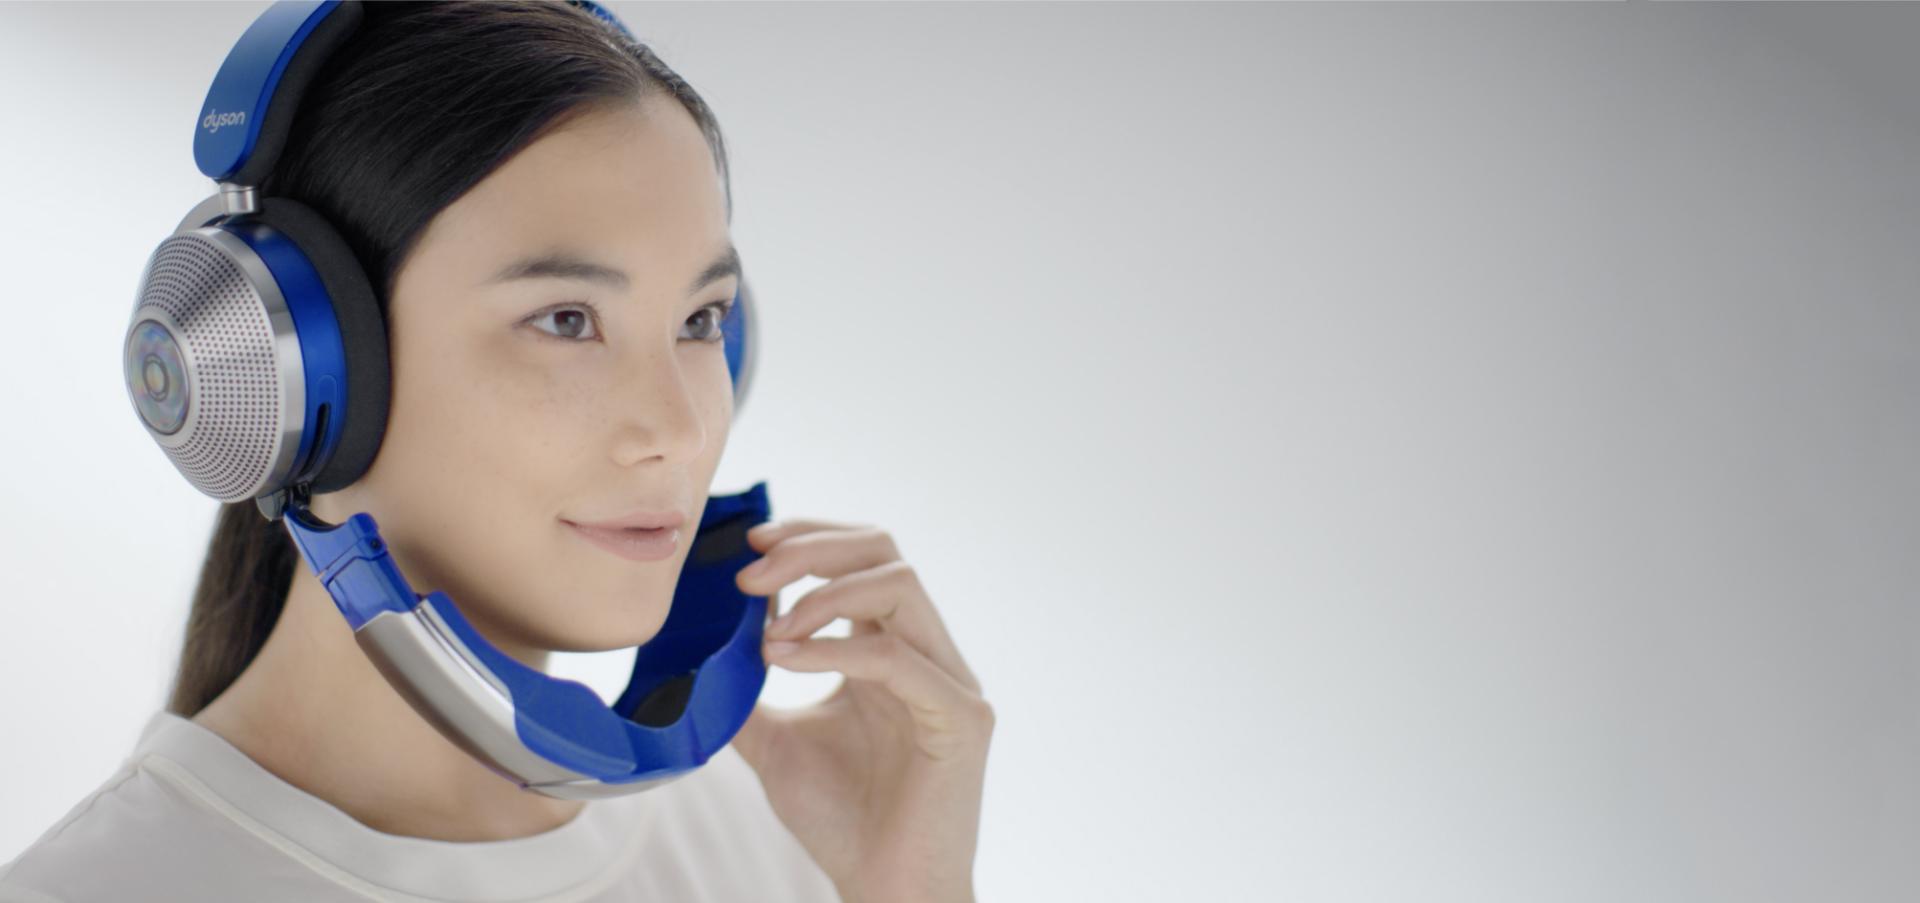
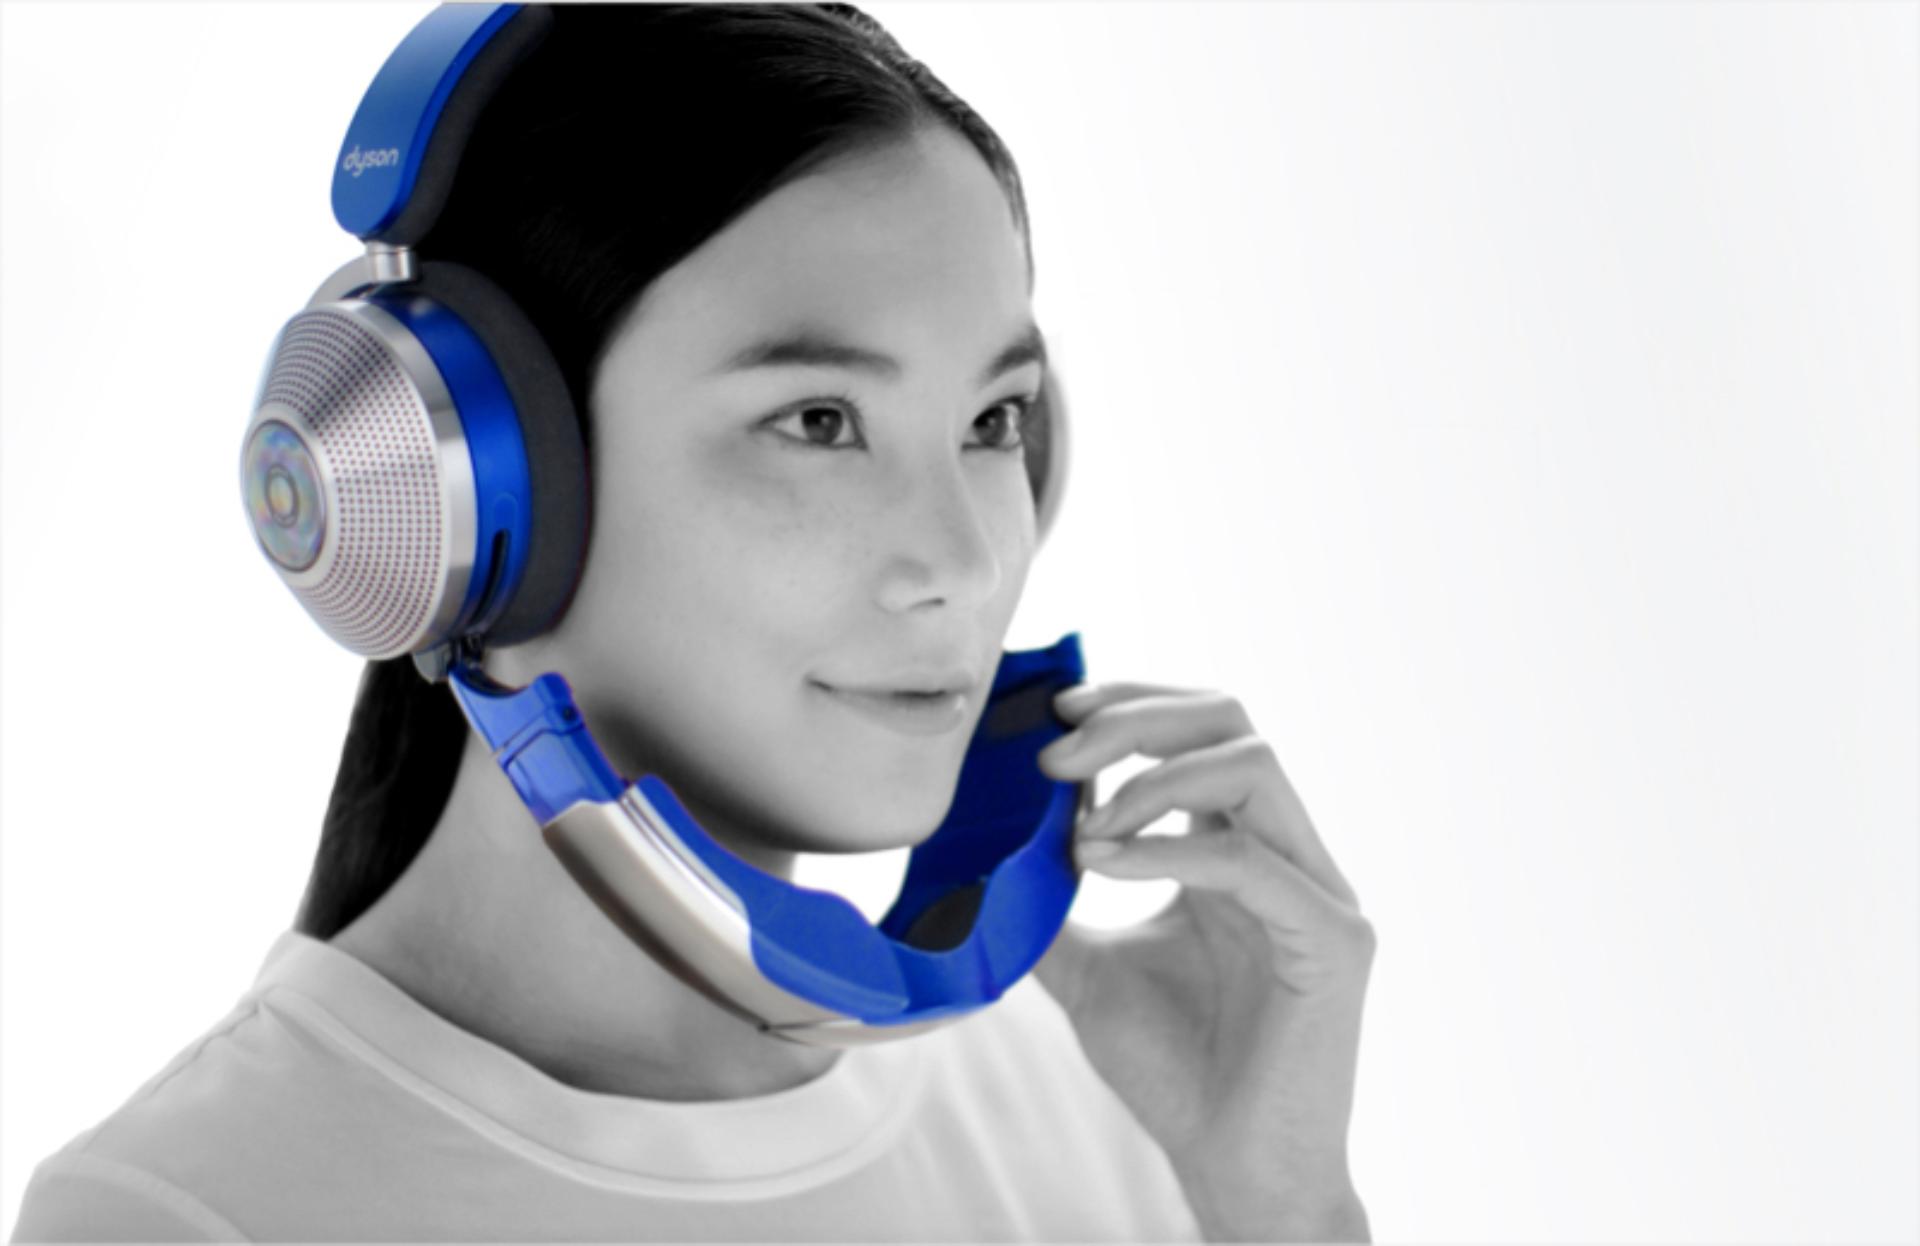
  • Woman raises the visor to cover her nose and mouth.

    Adjust your visor

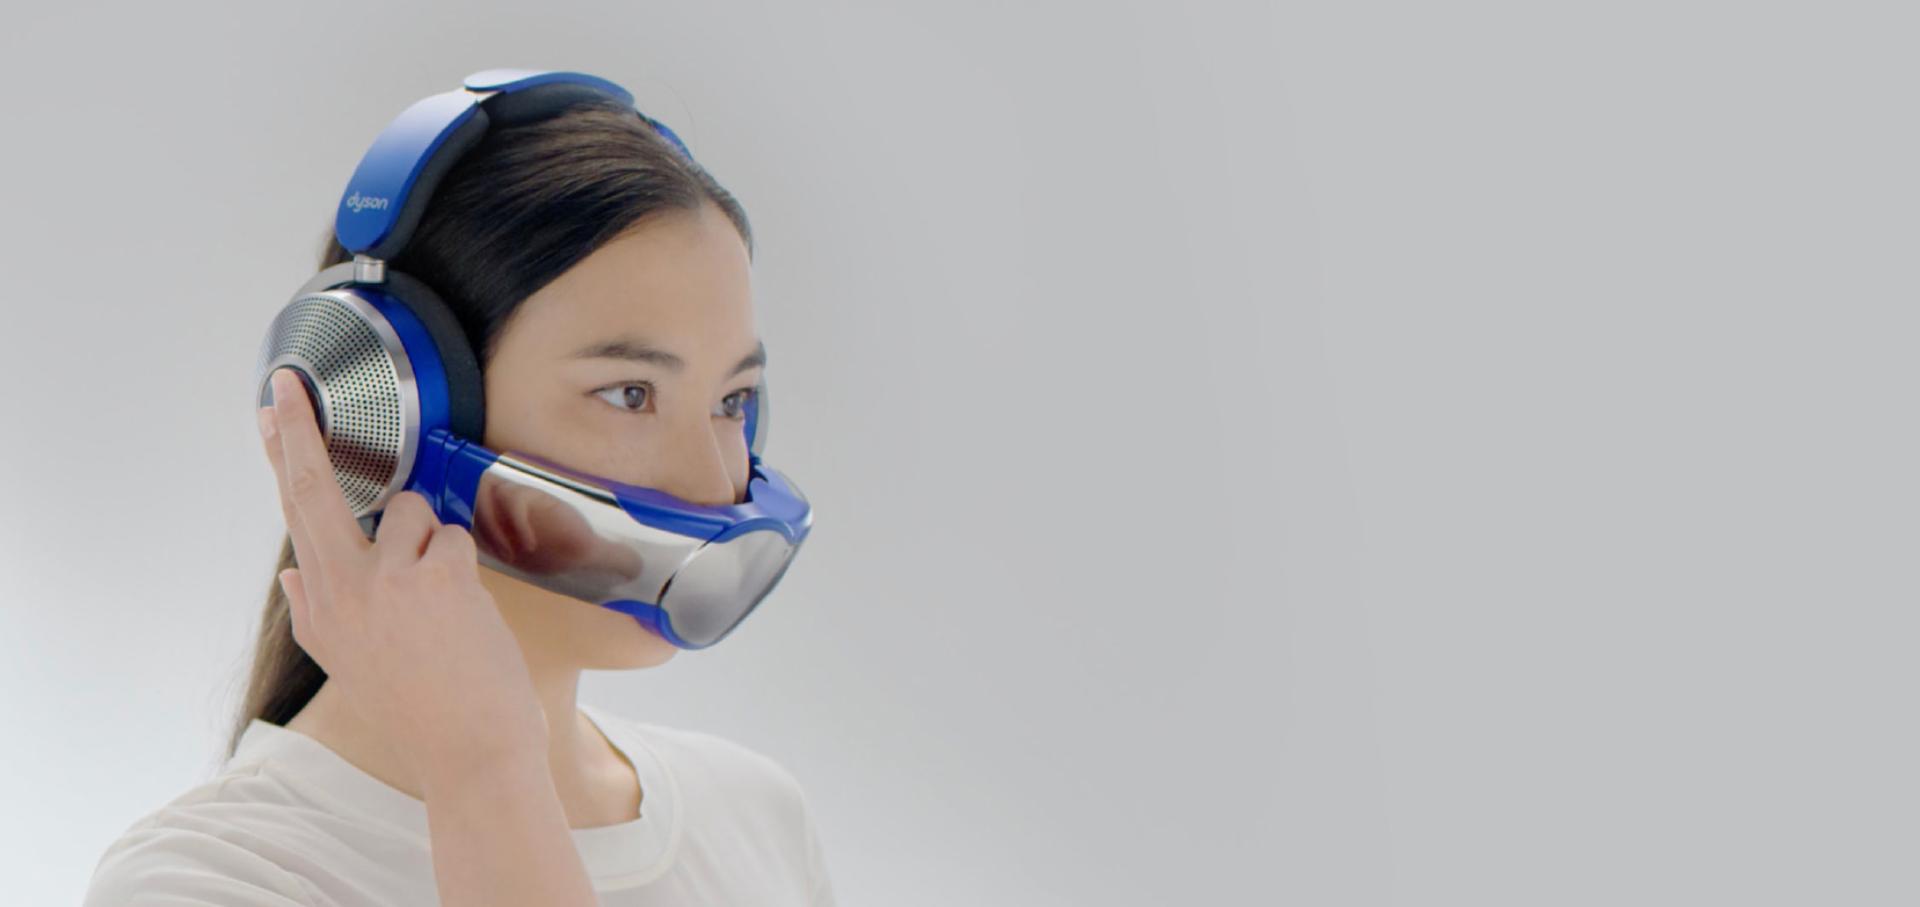
    Raise the visor to cover your nose and mouth and adjust until it's in a comfortable position. Leave a finger's width between your mouth and the visor so the air flows effectively.

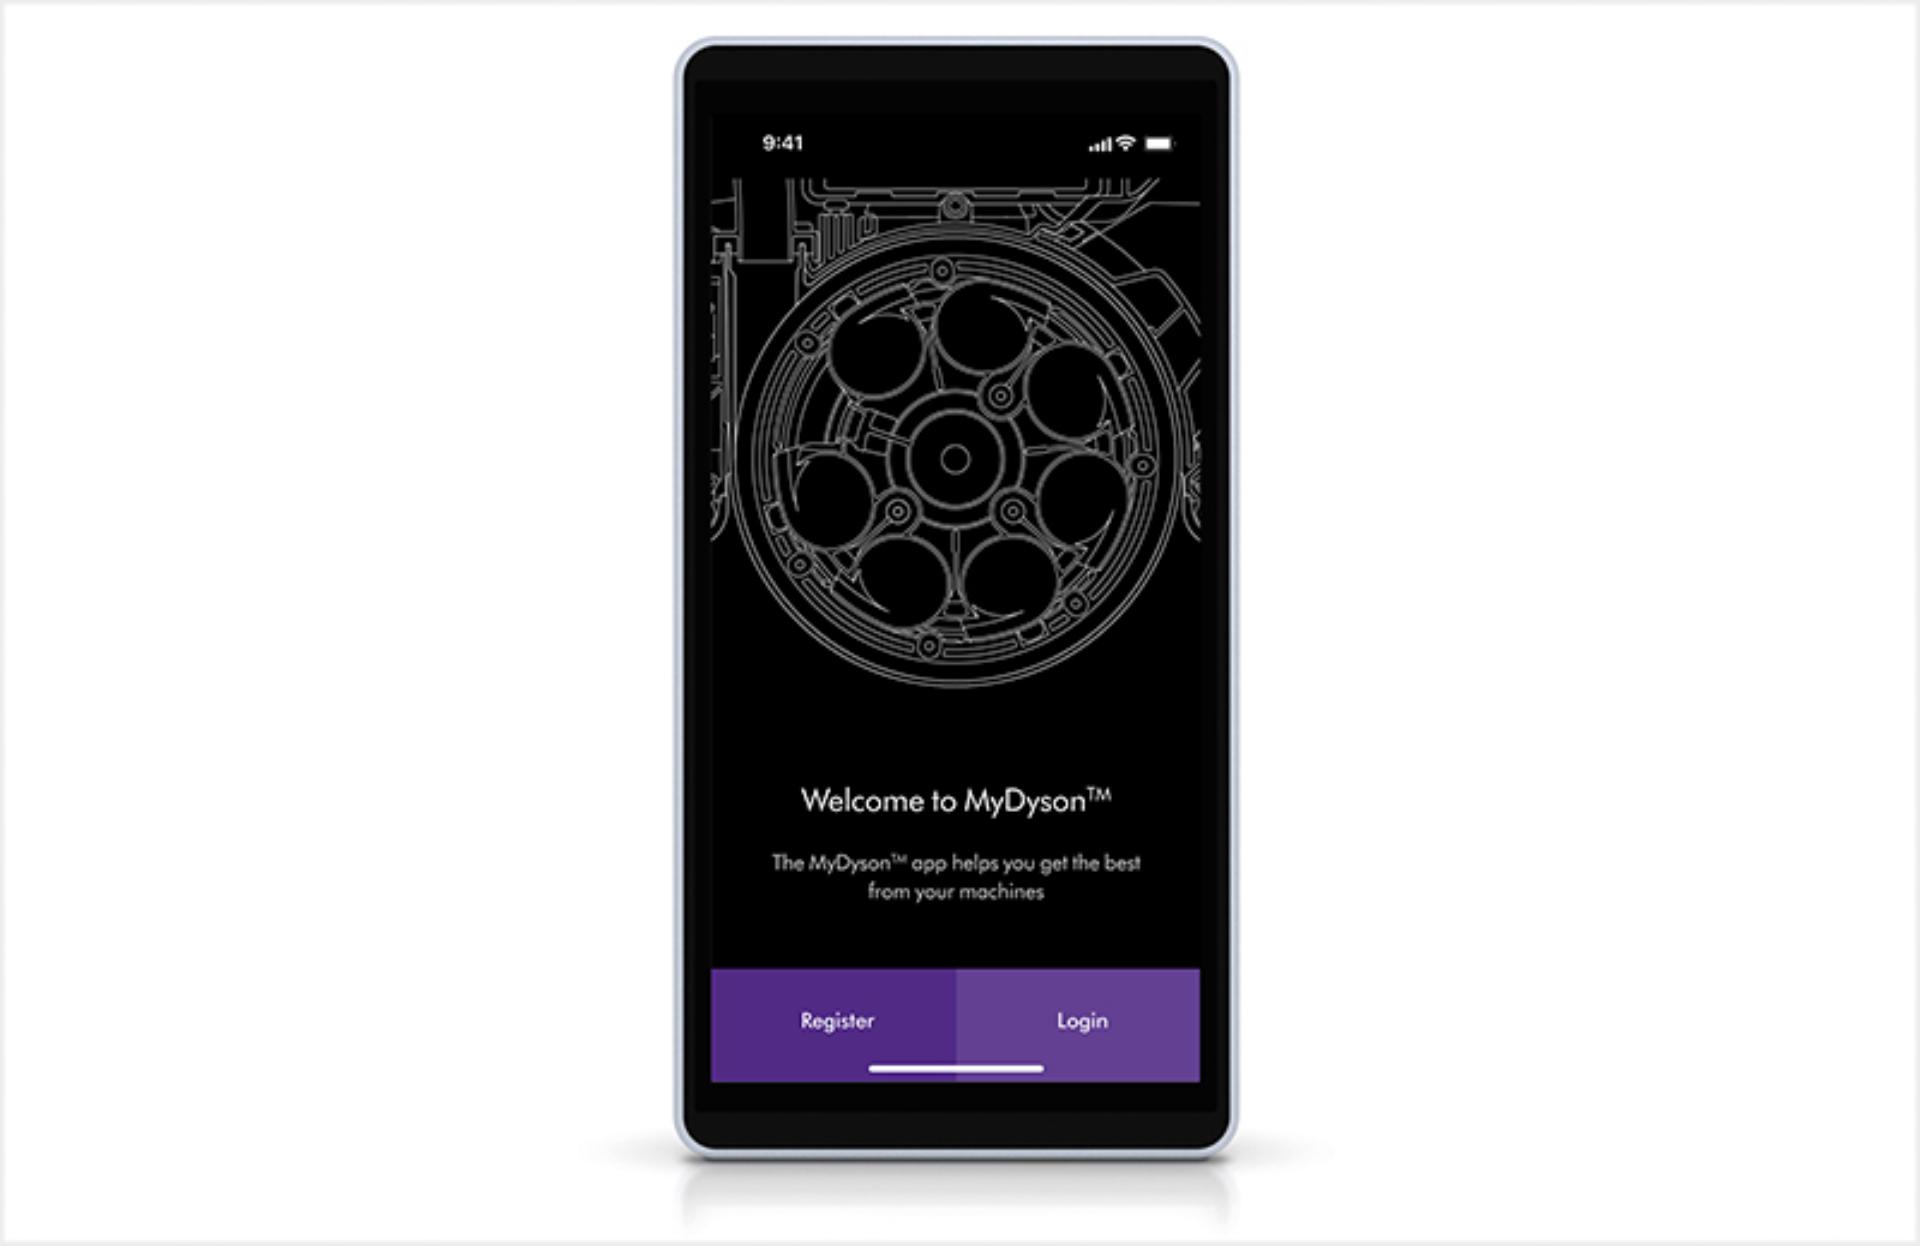
  • The MyDyson app displayed on a smartphone.

    Connect to the MyDyson™ app

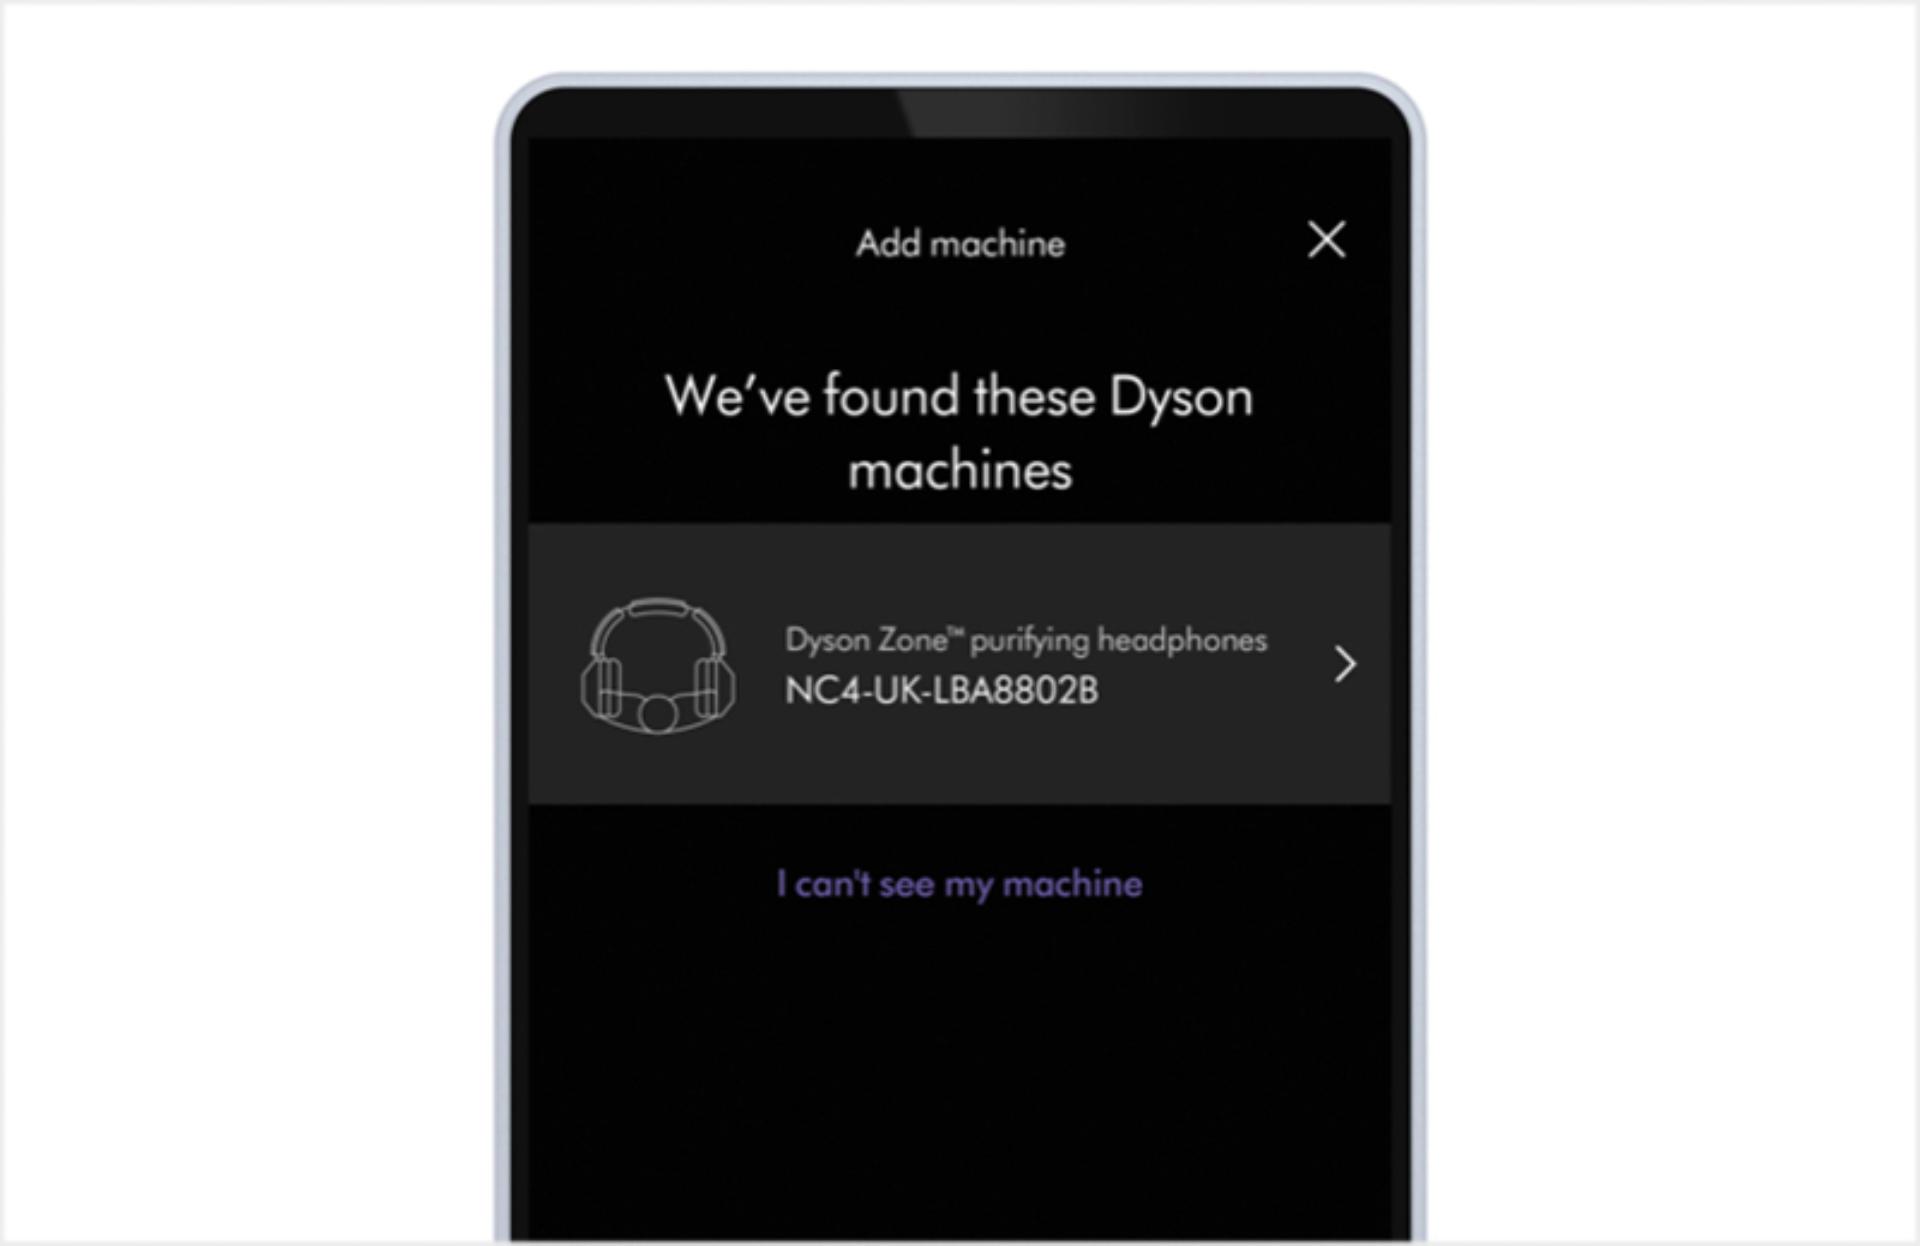
    Download the MyDyson™ app from the App Store or Google Play. Open the app and follow the on-screen instructions to create a new account. If you already have an account, select ‘Add machine’ and follow the on-screen instructions.

  • The pair and connect screen in the MyDyson app displayed on a smartphone.

    Pair and connect via Bluetooth

    Hold the airflow button for two seconds until a blue light pulses. Select your headphones from the ‘Pair new device’ list in the app. Then open Bluetooth® in your smartphone's settings menu and select your headphones from the list of available devices and follow the on-screen instructions.

Download the MyDyson™ app

An essential part of your experience, the MyDyson™ app lets you control your Dyson Zone™ air-purifying headphones – wherever you are.¹ If you haven’t already, download the app now for extra features and the latest updates.
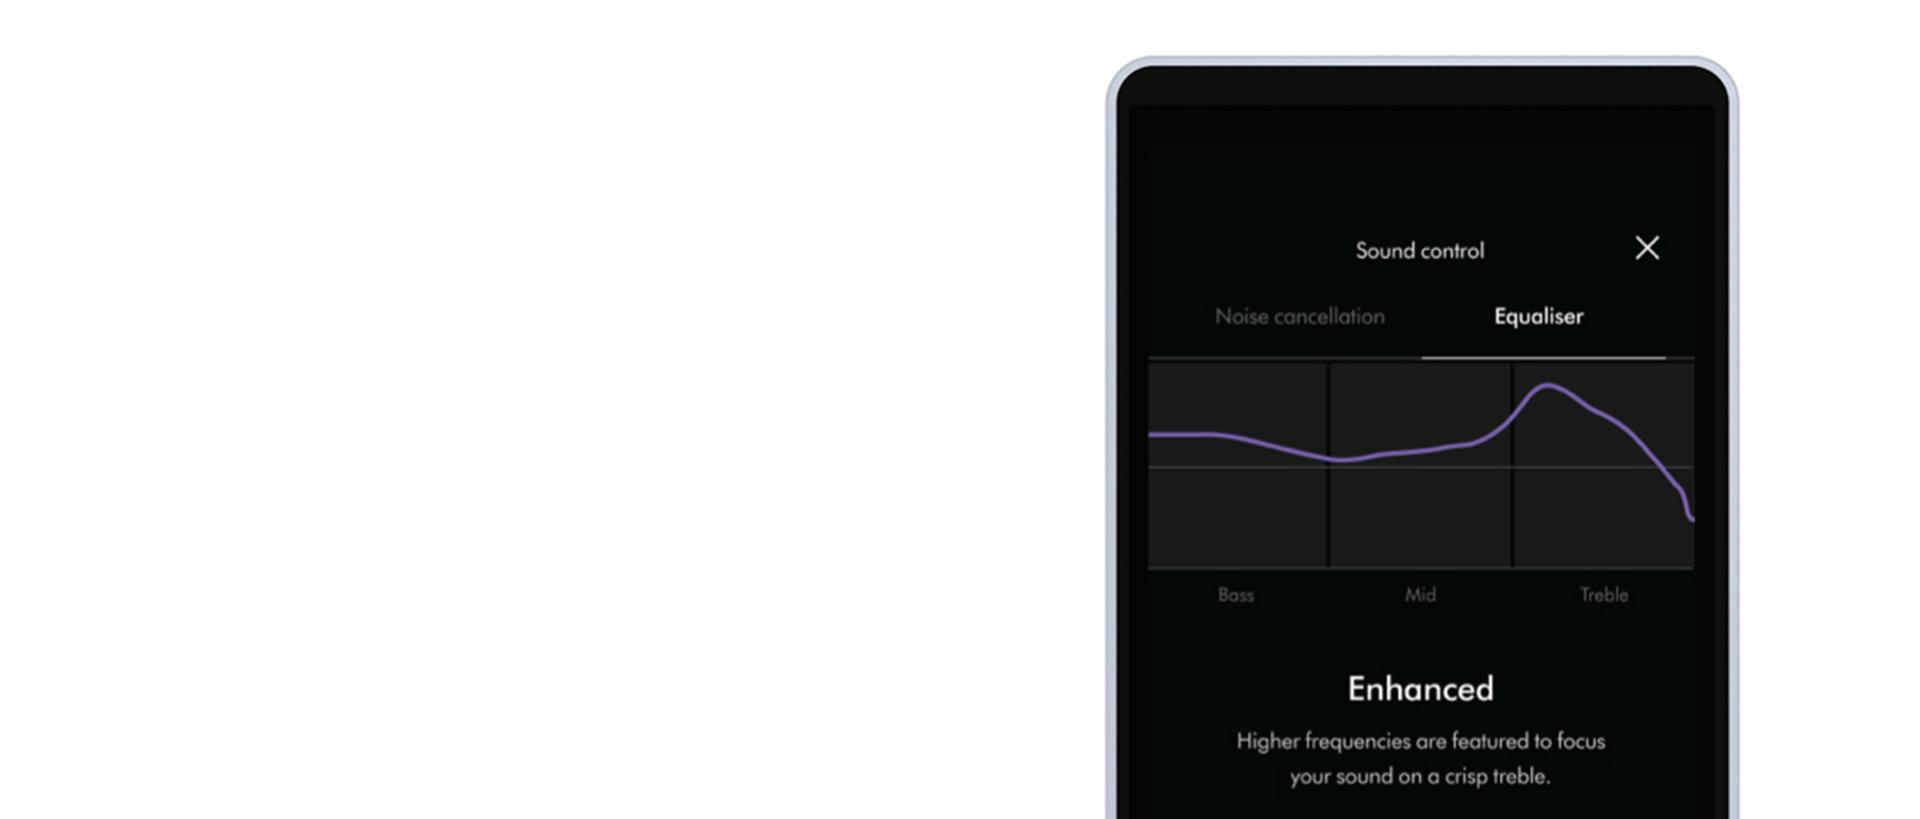
Woman wearing the Dyson Zone air-purifying headphones and using the MyDyson app.

Take control with the MyDyson™ app

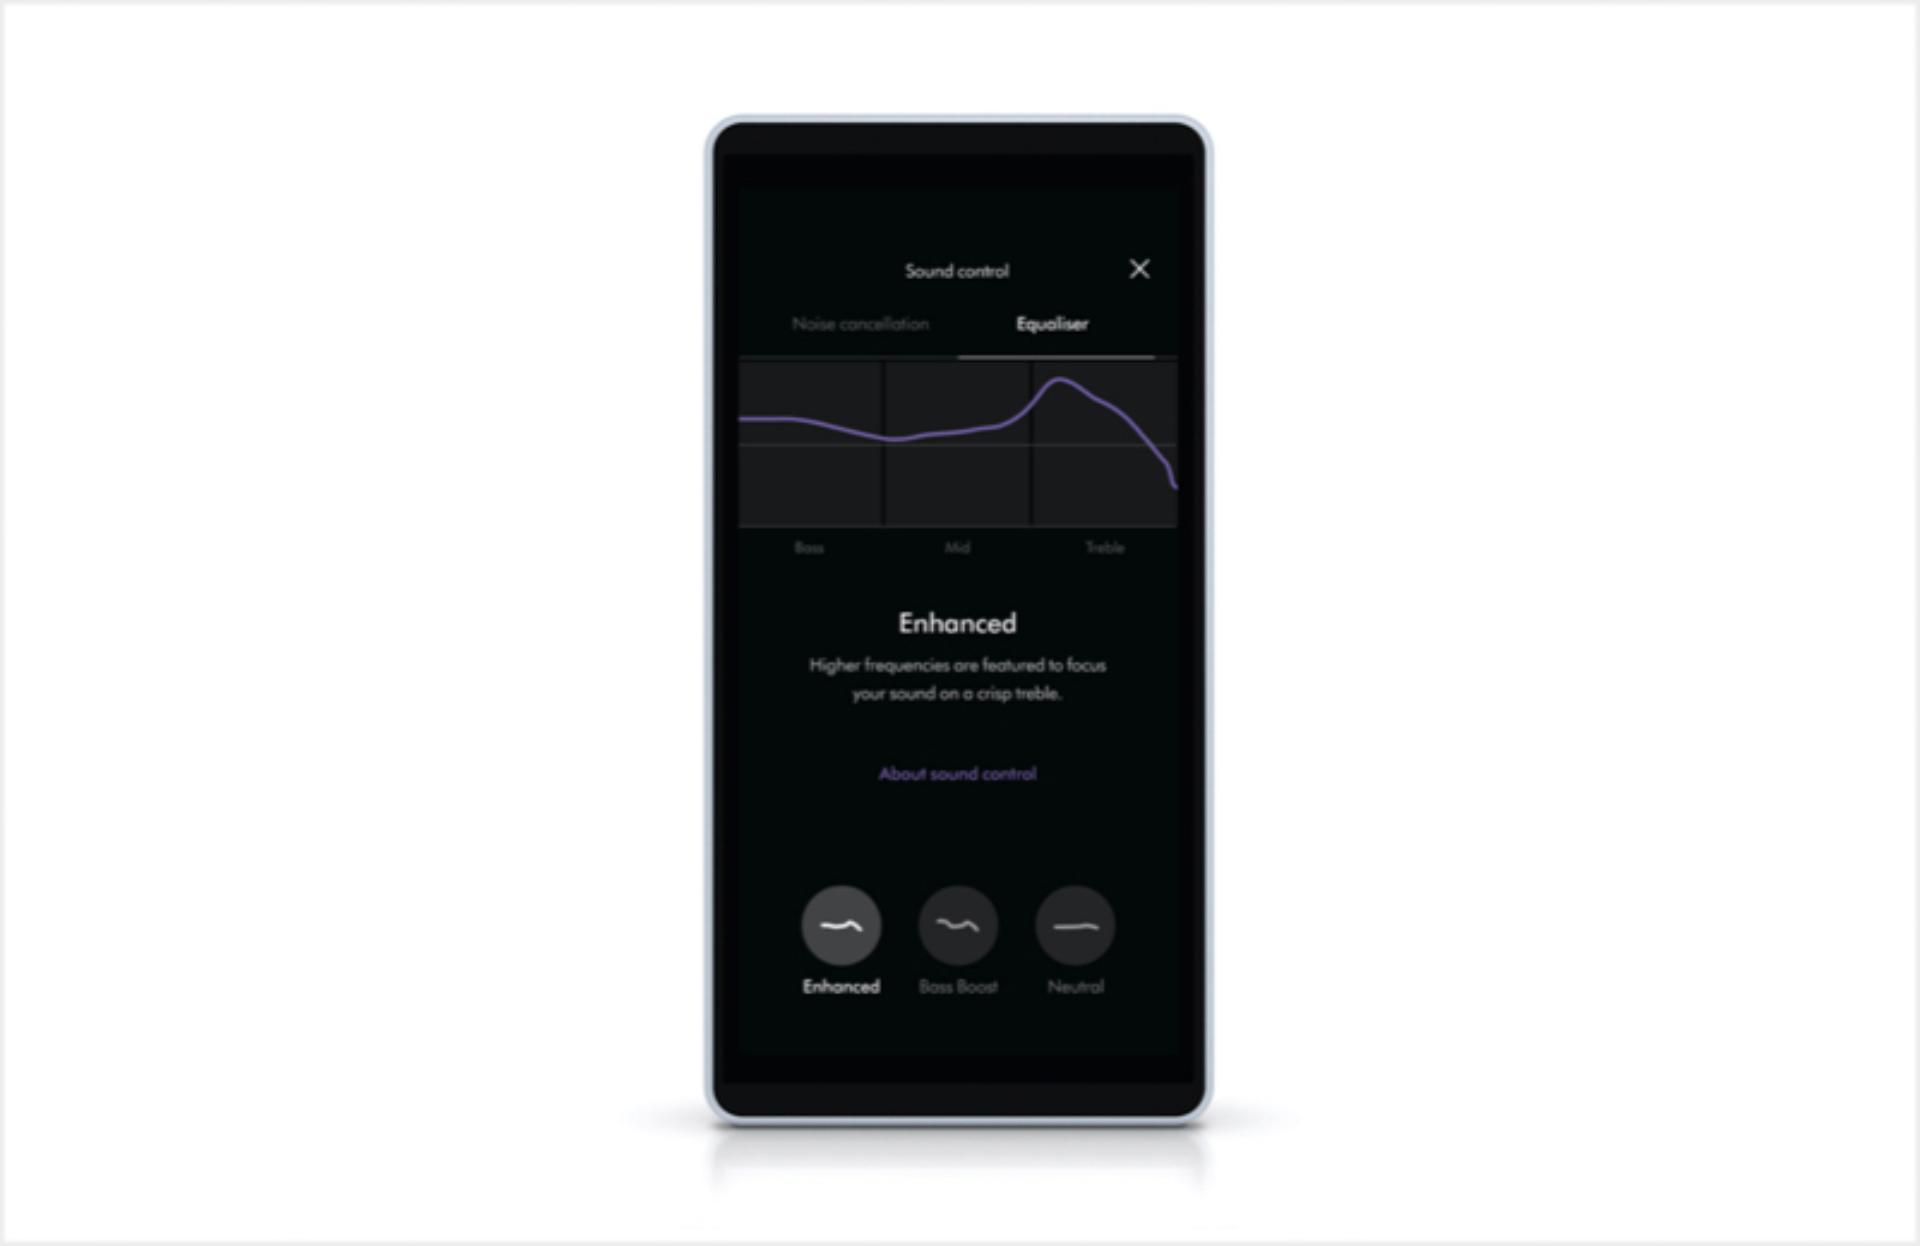
  • Smartphone screen shows how to control audio.

    Control airflow and audio

    You can control both airflow and audio settings in the app to tailor the audio experience to your preferences.

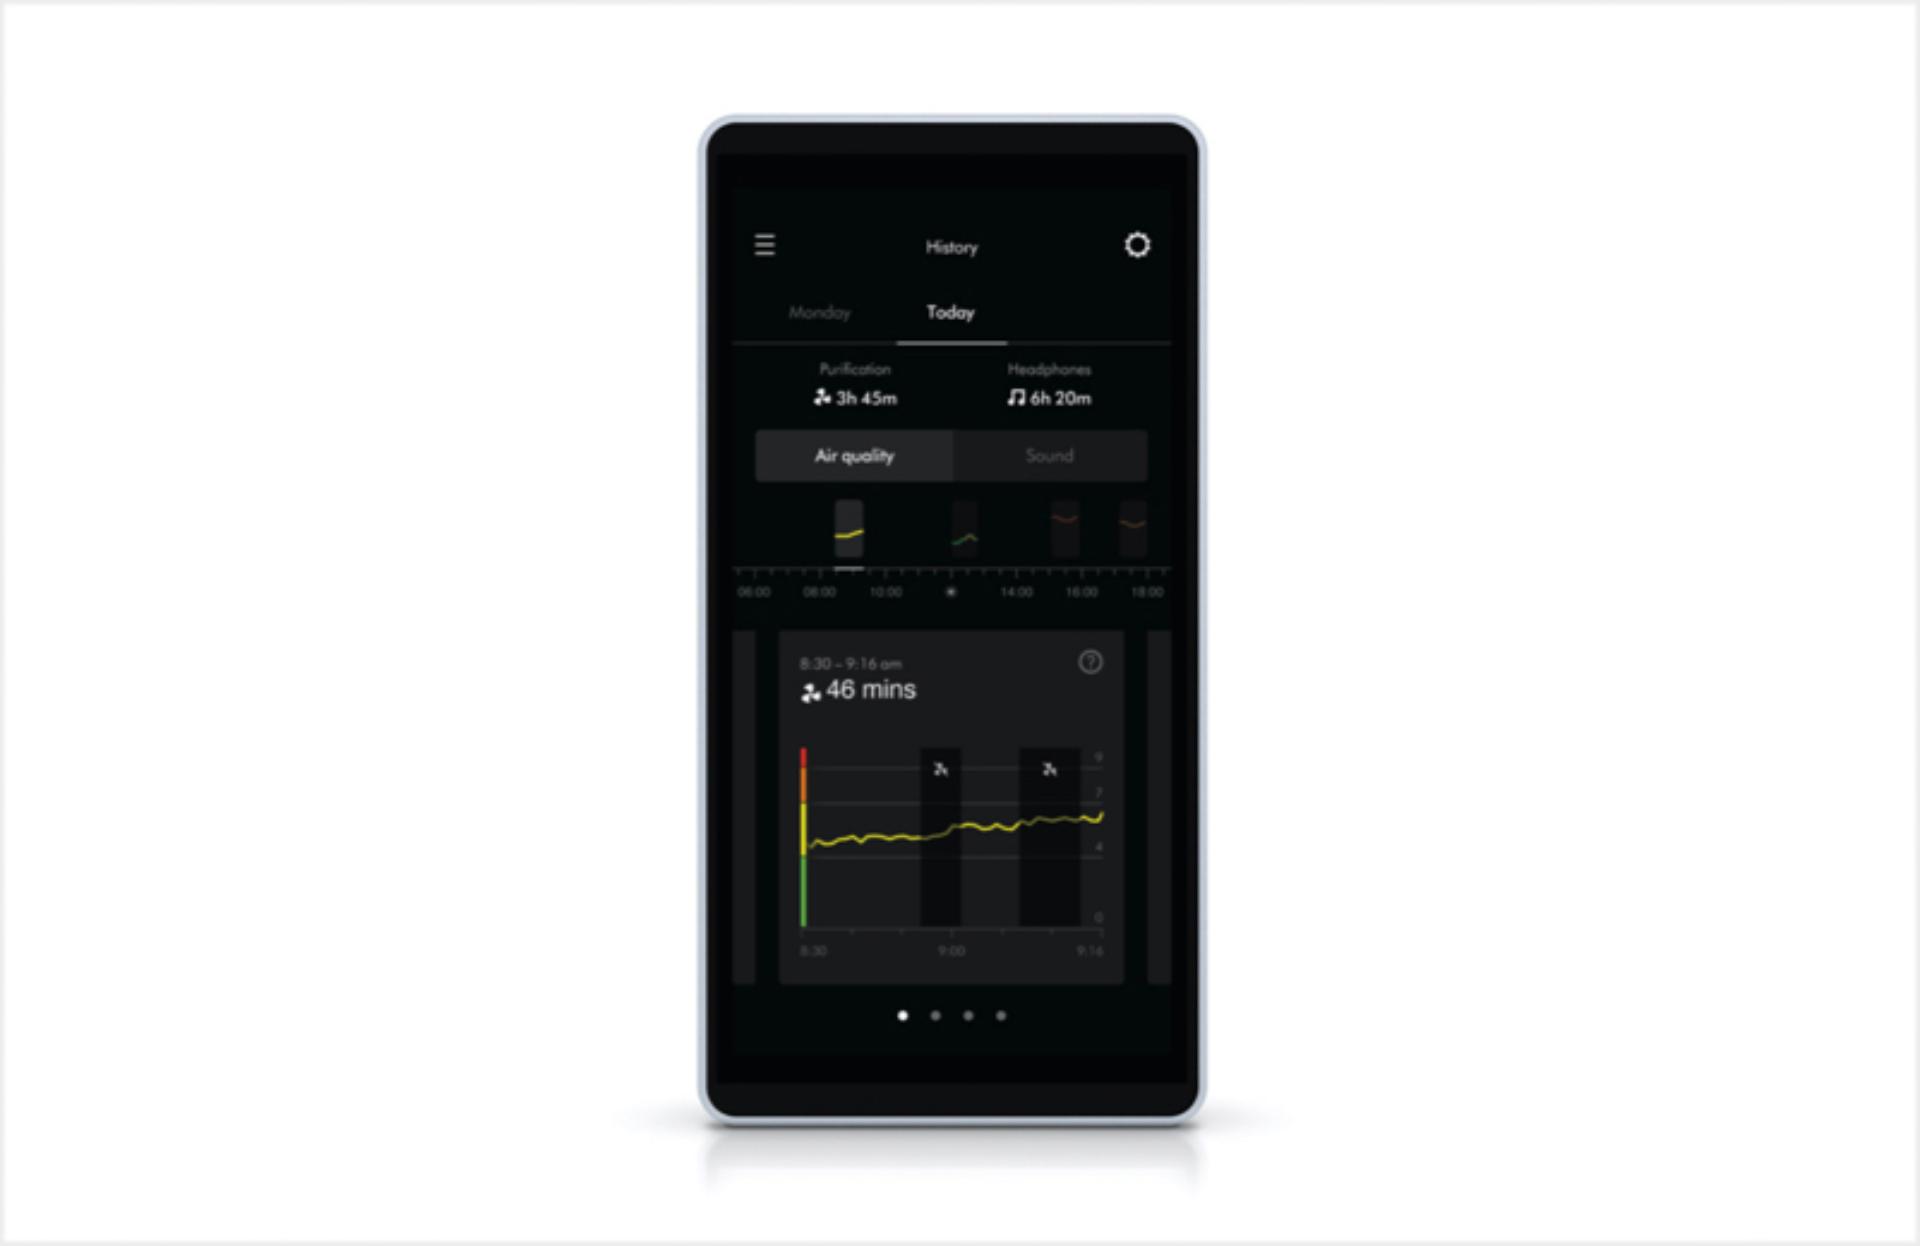
  • Smartphone screen shows the air quality feature of the MyDyson app.

    Monitor your air quality

    Use your smartphone for live updates about air quality in your location.

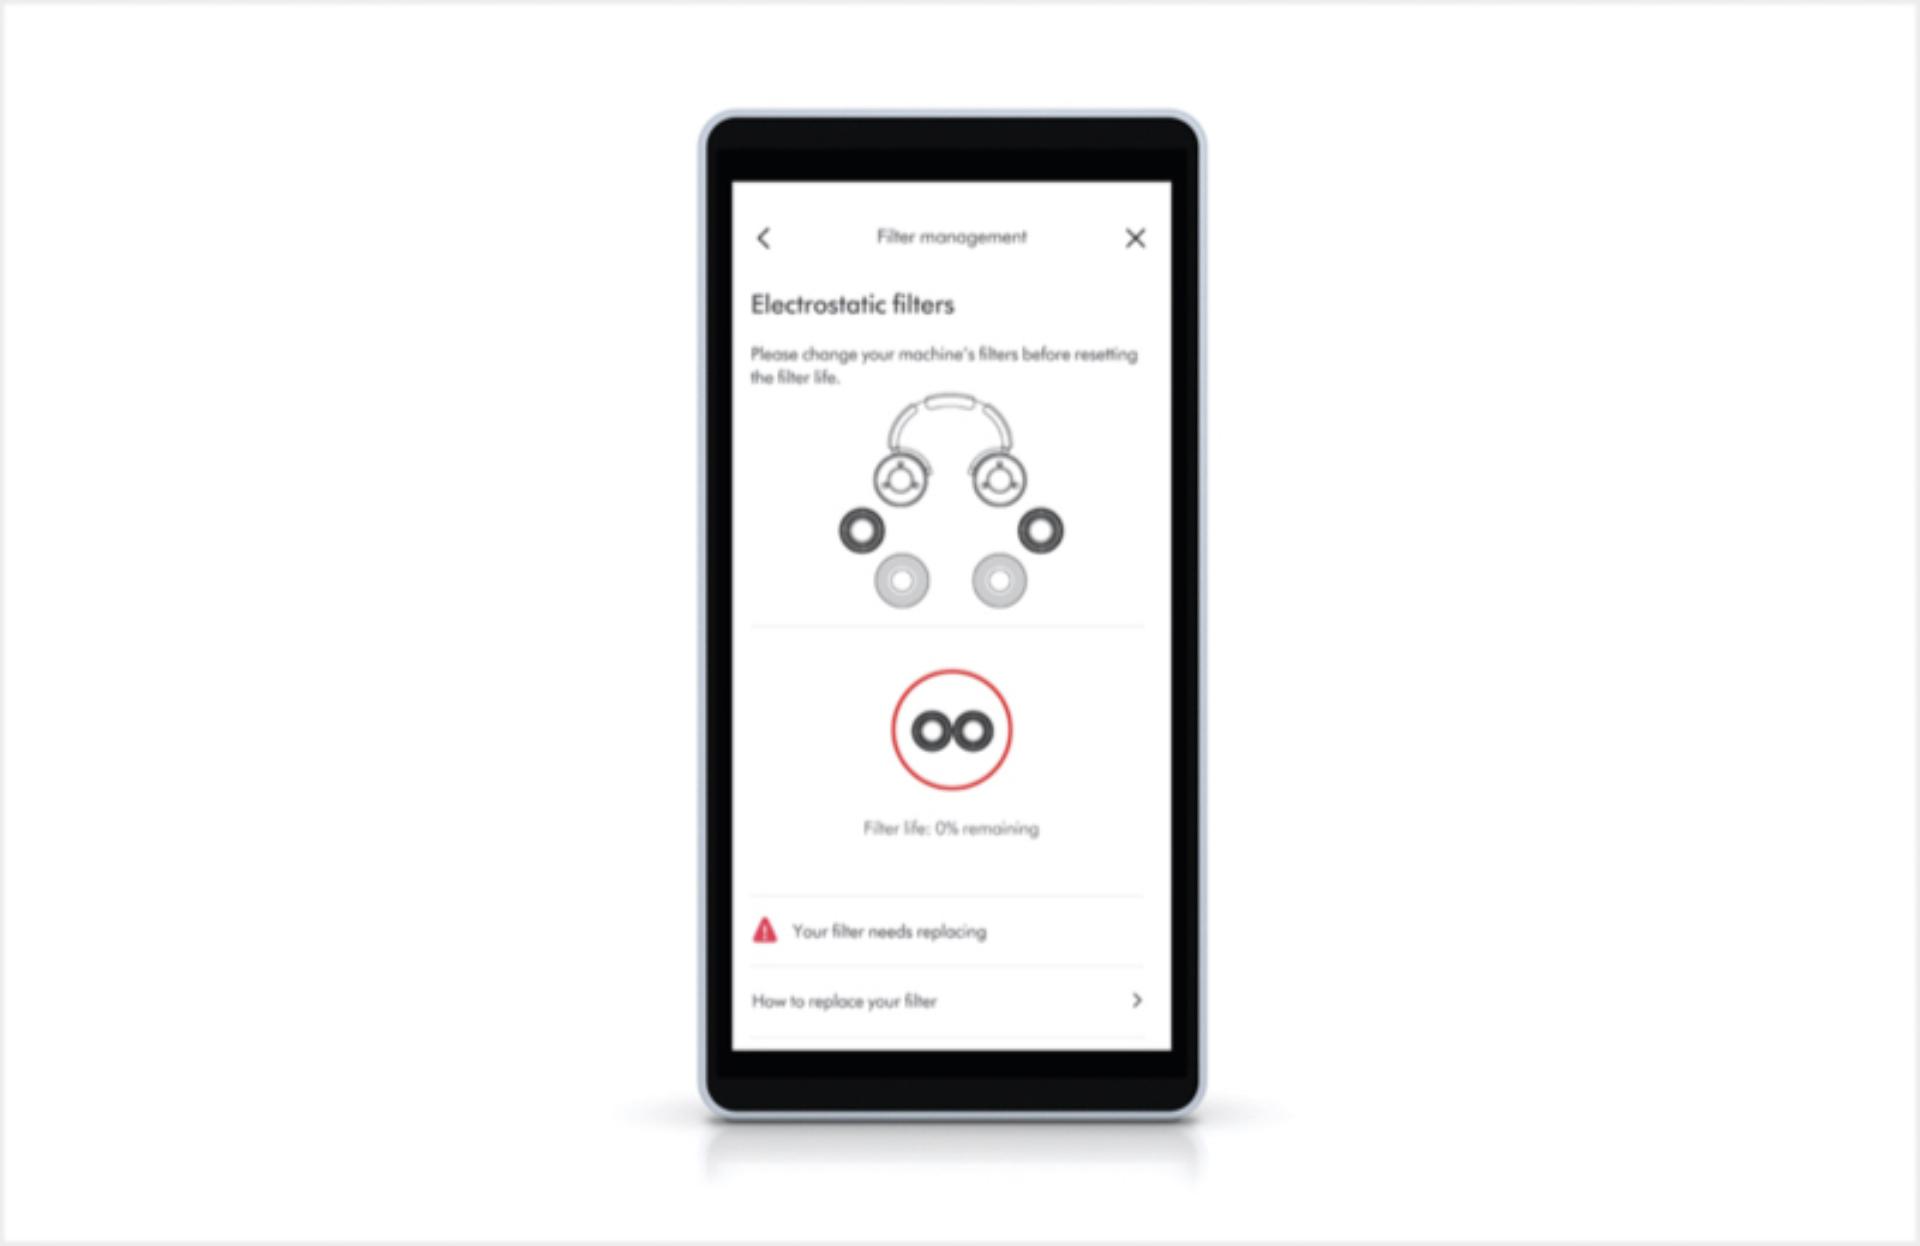
  • Smartphone screen shows the notification for changing your filters.

    Notifications

    The MyDyson™ app will also notify you when your filters need changing, along with other important information.

Set up and connect FAQs

The visor should be positioned to cover your nose and mouth. Leave approximately one centimetre between your mouth and the visor so the air flows effectively.

Place the headphones over your head with the headband a little further back than traditional headphones. Adjust both sides of the headband until comfortable.

Open Bluetooth® in your mobile device’s settings menu. Check that Bluetooth® is turned on and select your Dyson Zone™ air-purifying headphones. When your device has connected to your headphones, return to the MyDyson™ app.

Your air-purifying headphones deliver up to 4 hours of run time when using both air purification and ANC audio, or up to 50 hours if using audio only.² Use Auto on-off to save energy when not in use.
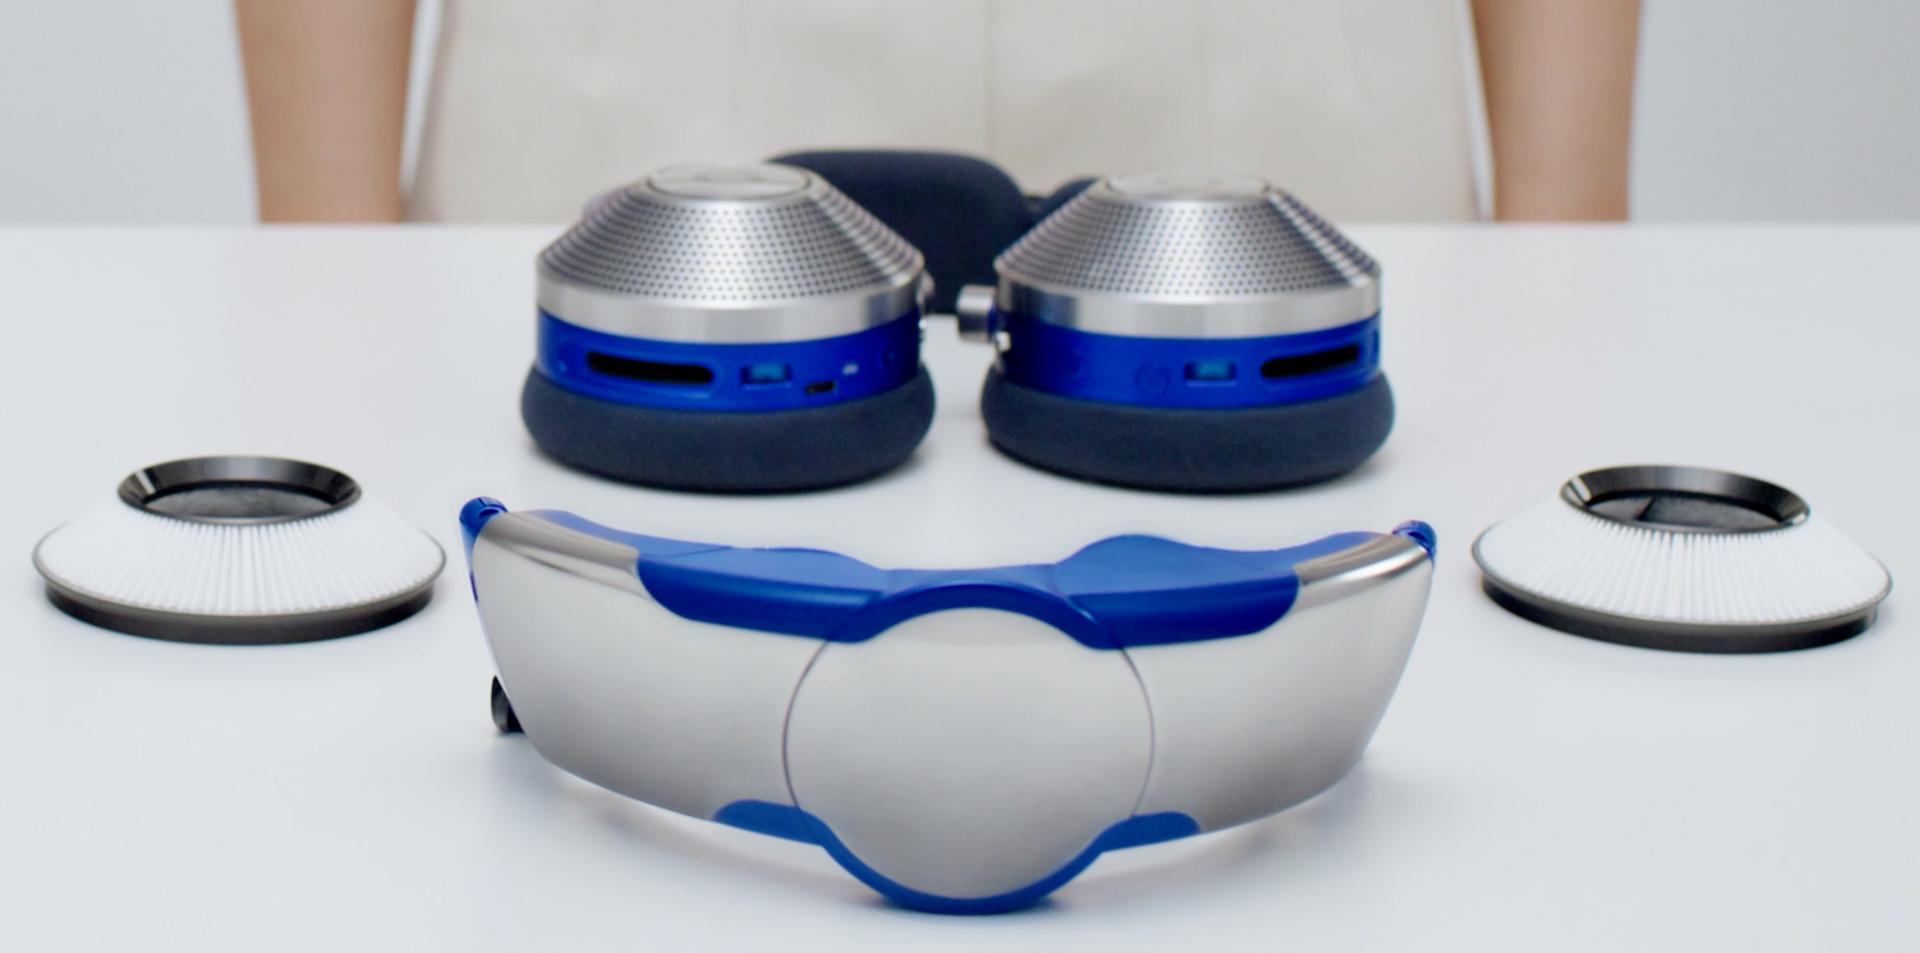
Set up and connect

Key controls

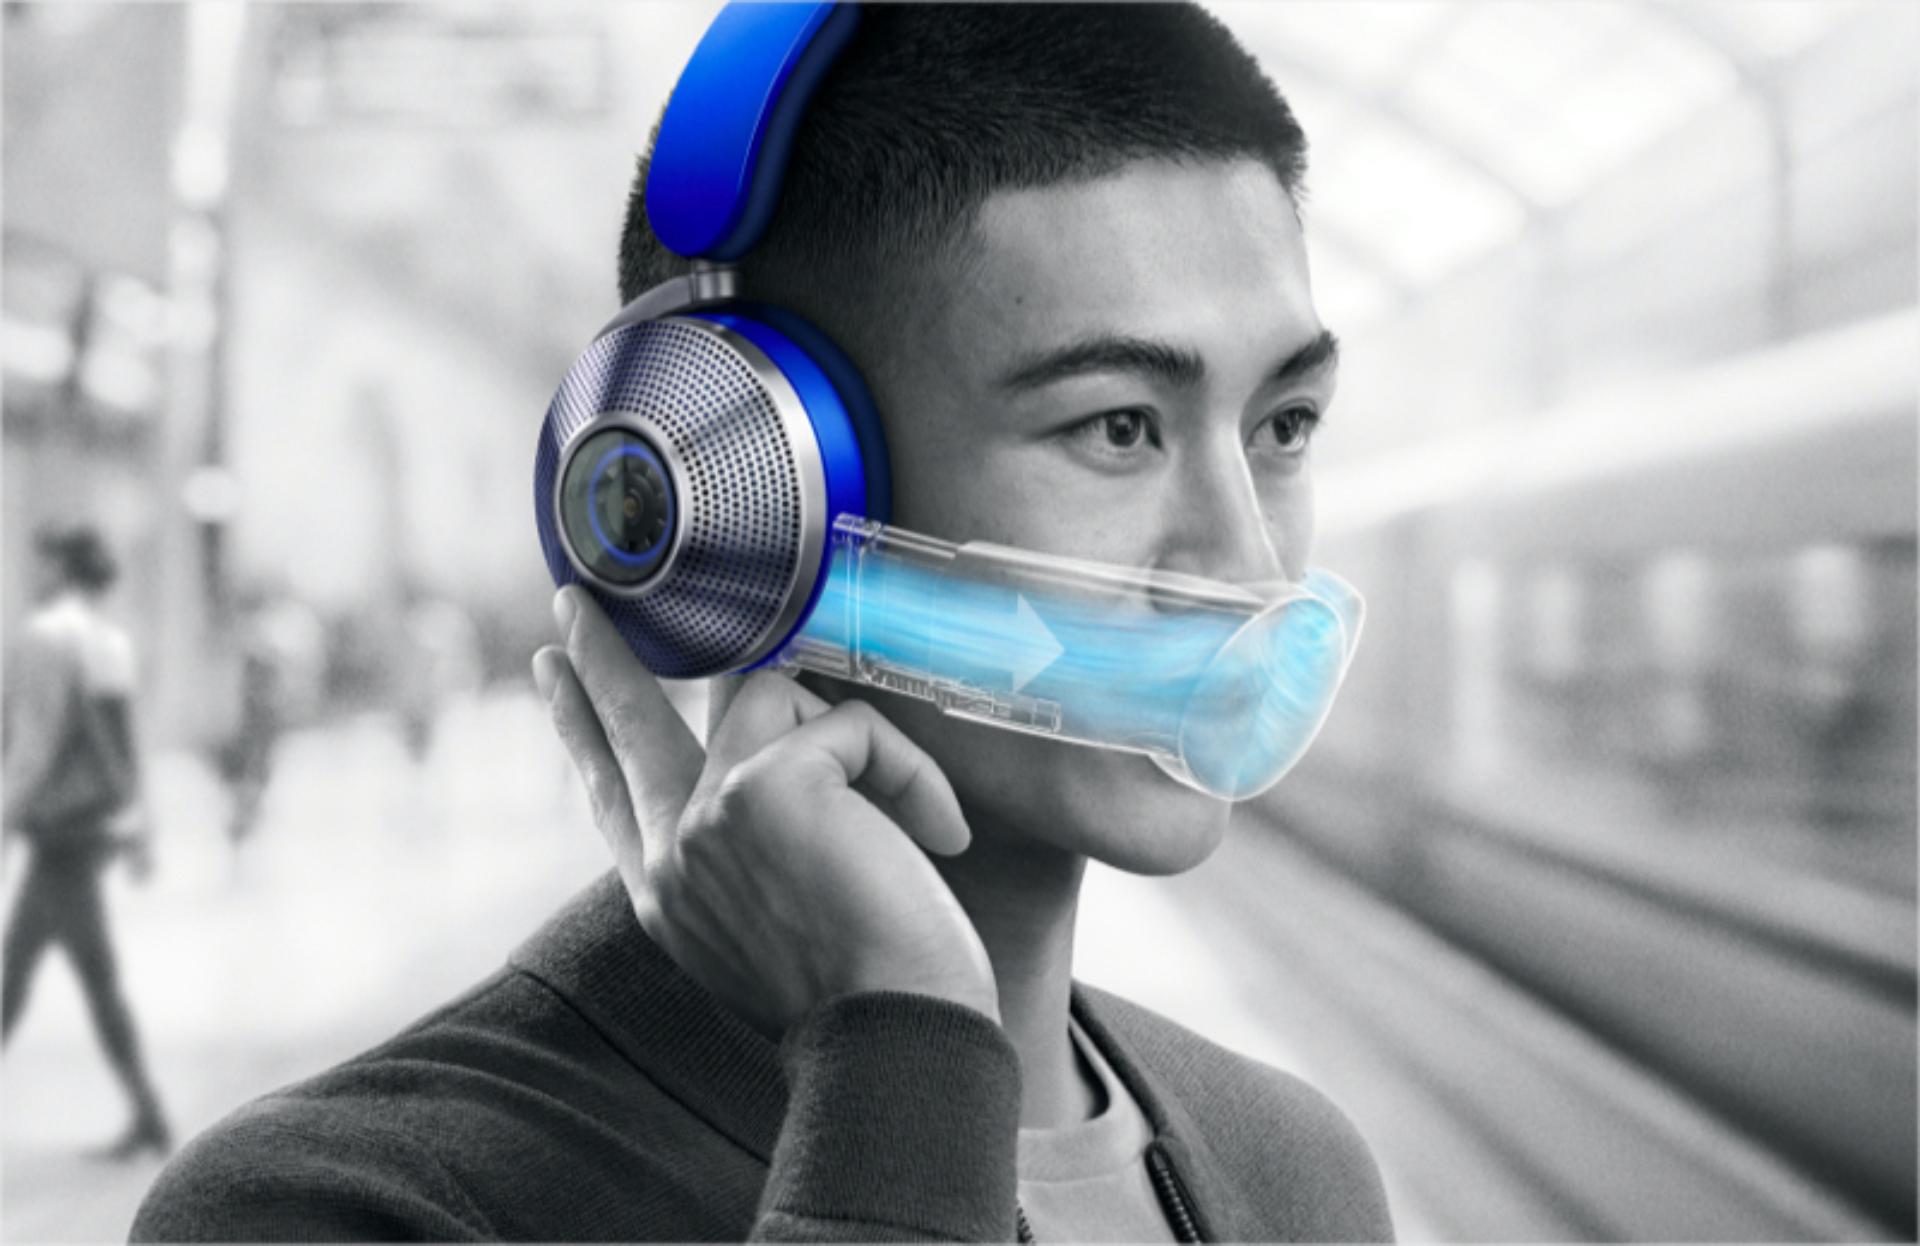
Intelligently adjusts airflow to your activity

In Auto-activity mode, a built-in accelerometer monitors your movement speed to adjust airflow for your breathing rate – optimising battery and filter life, and minimising energy usage.

Learn more about the airflow modes

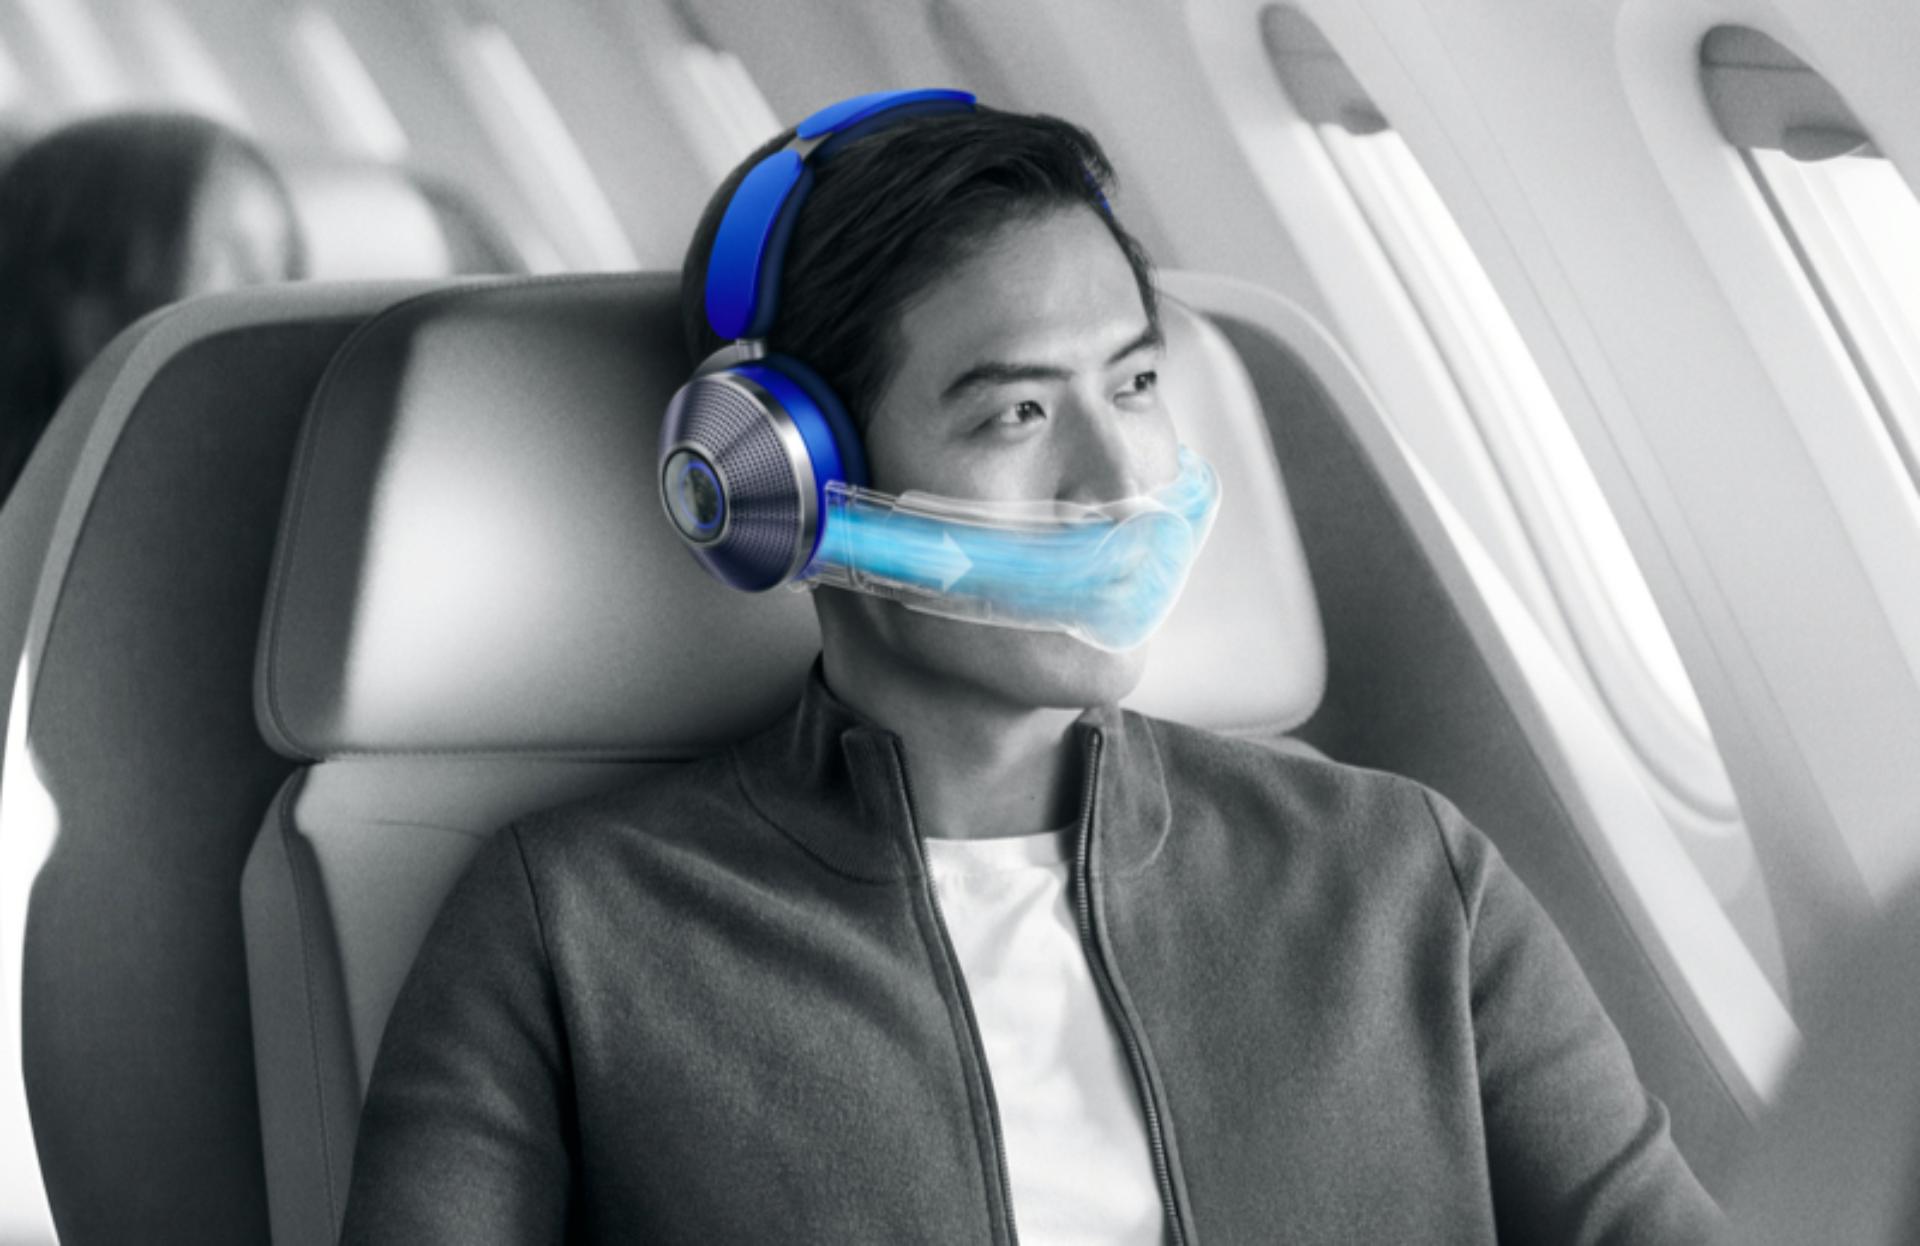
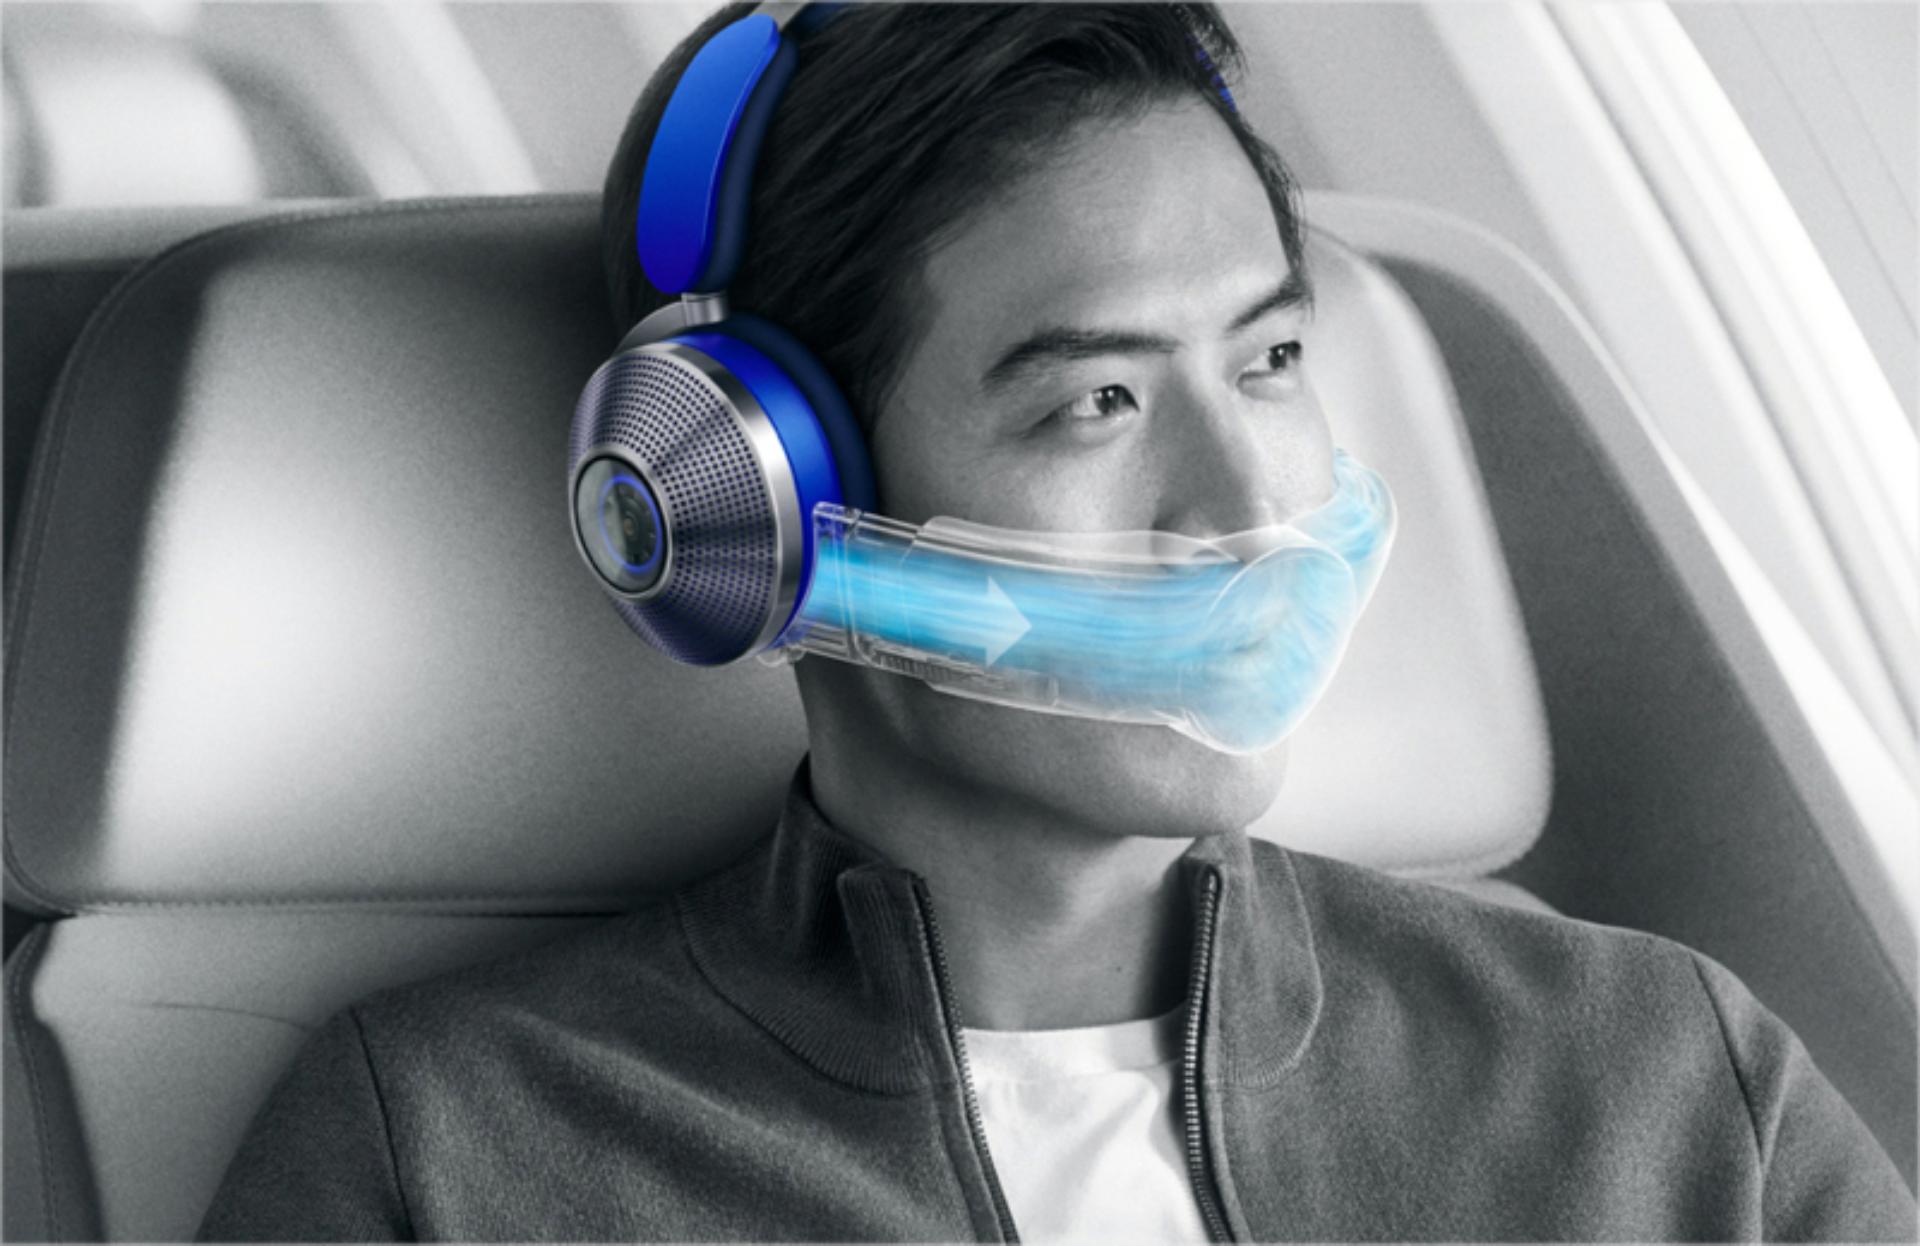
  • Man sat on aeroplane wearing the Dyson Zone air-purifying headphones.

    Sitting and resting

    Supplies the lowest airflow of 1 litre per second.

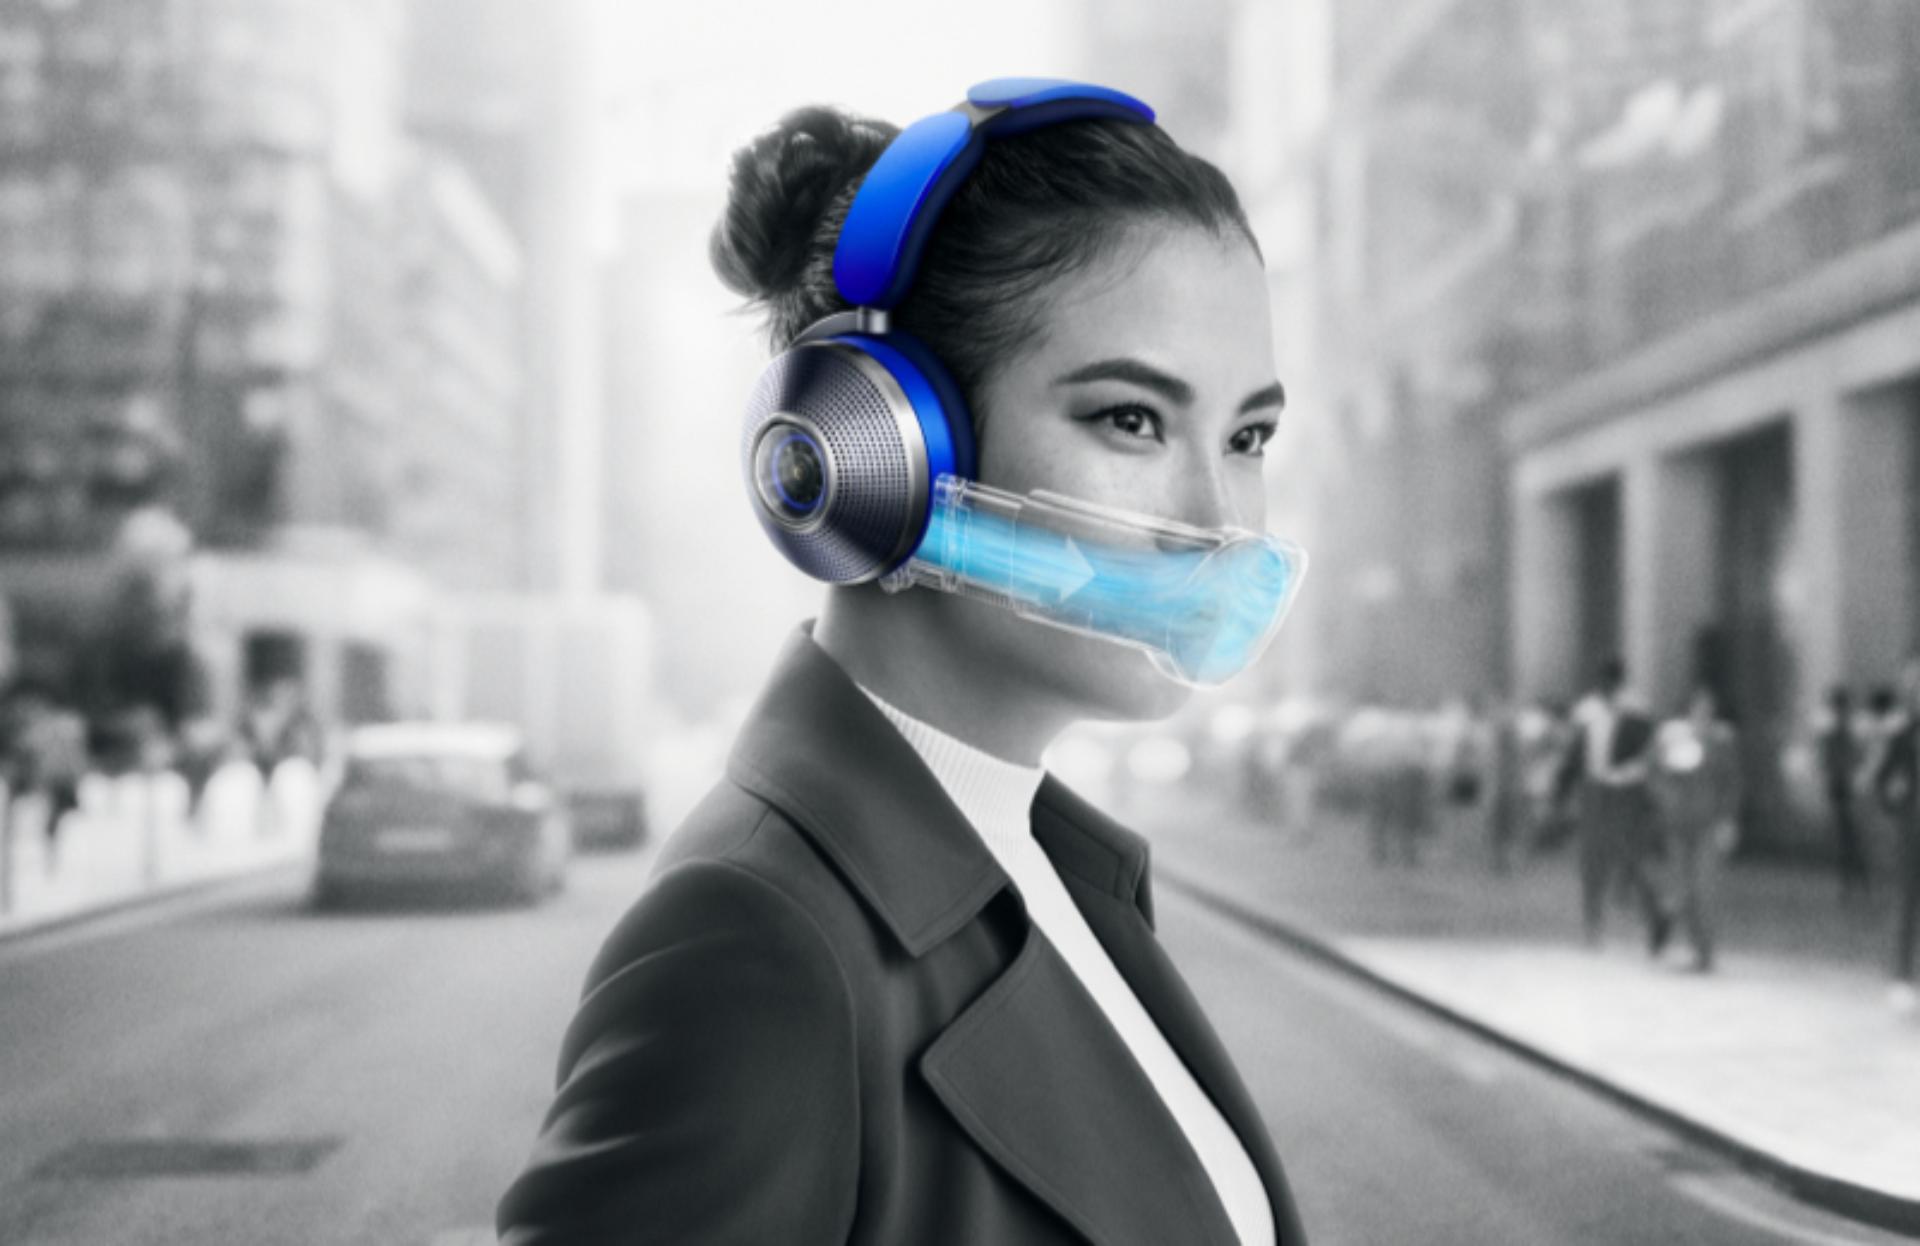
  • Woman wearing the Dyson Zone air-purifying headphones in a busy street.

    Light activity, such as walking

    Increases airflow to up to 1.5 litres per second.

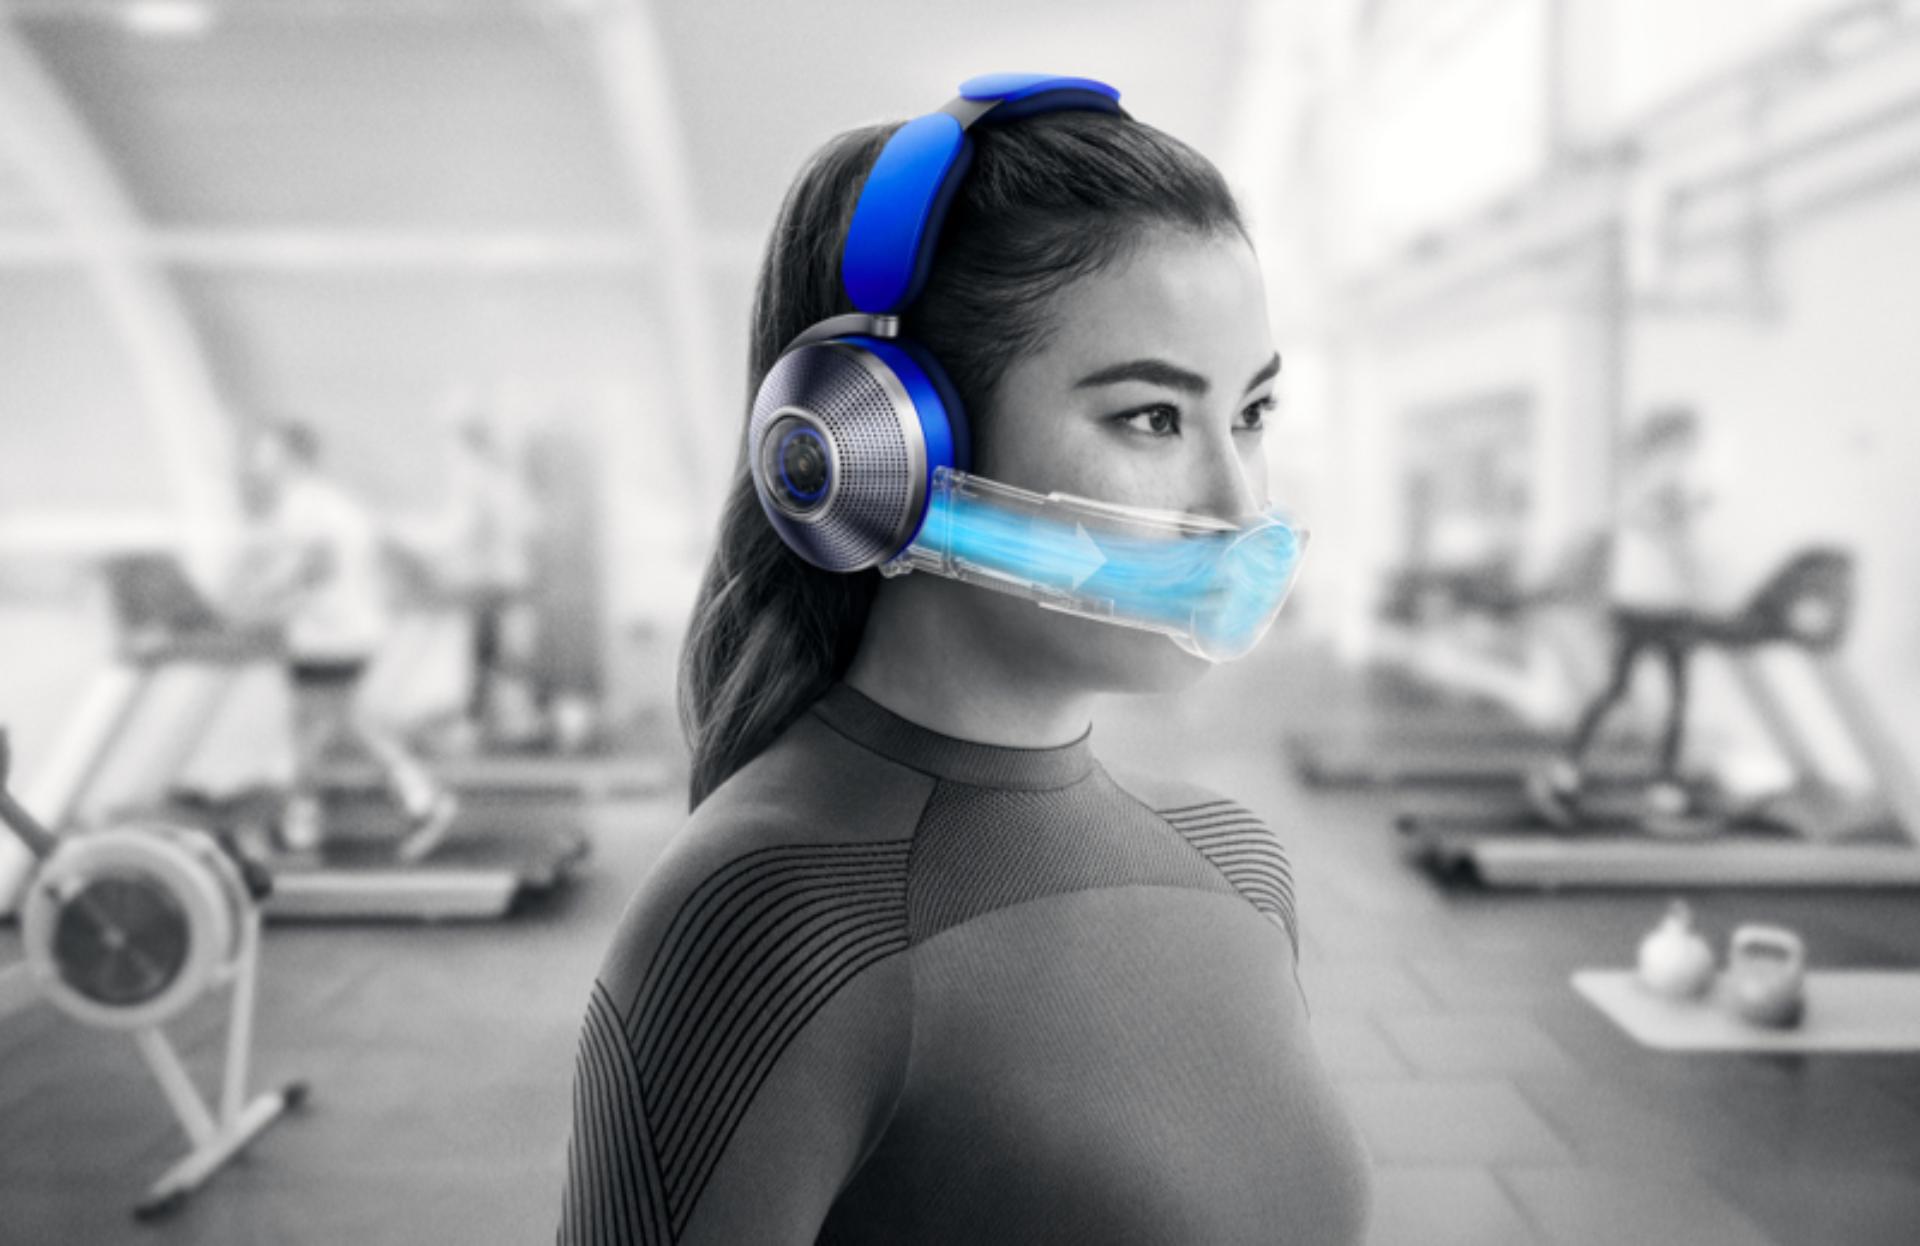
  • Woman wearing the Dyson Zone air-purifying headphones in a gym.

    Moderate activity

    Switches to the highest airflow of 2.25 litres per second.

Understanding the LEDs

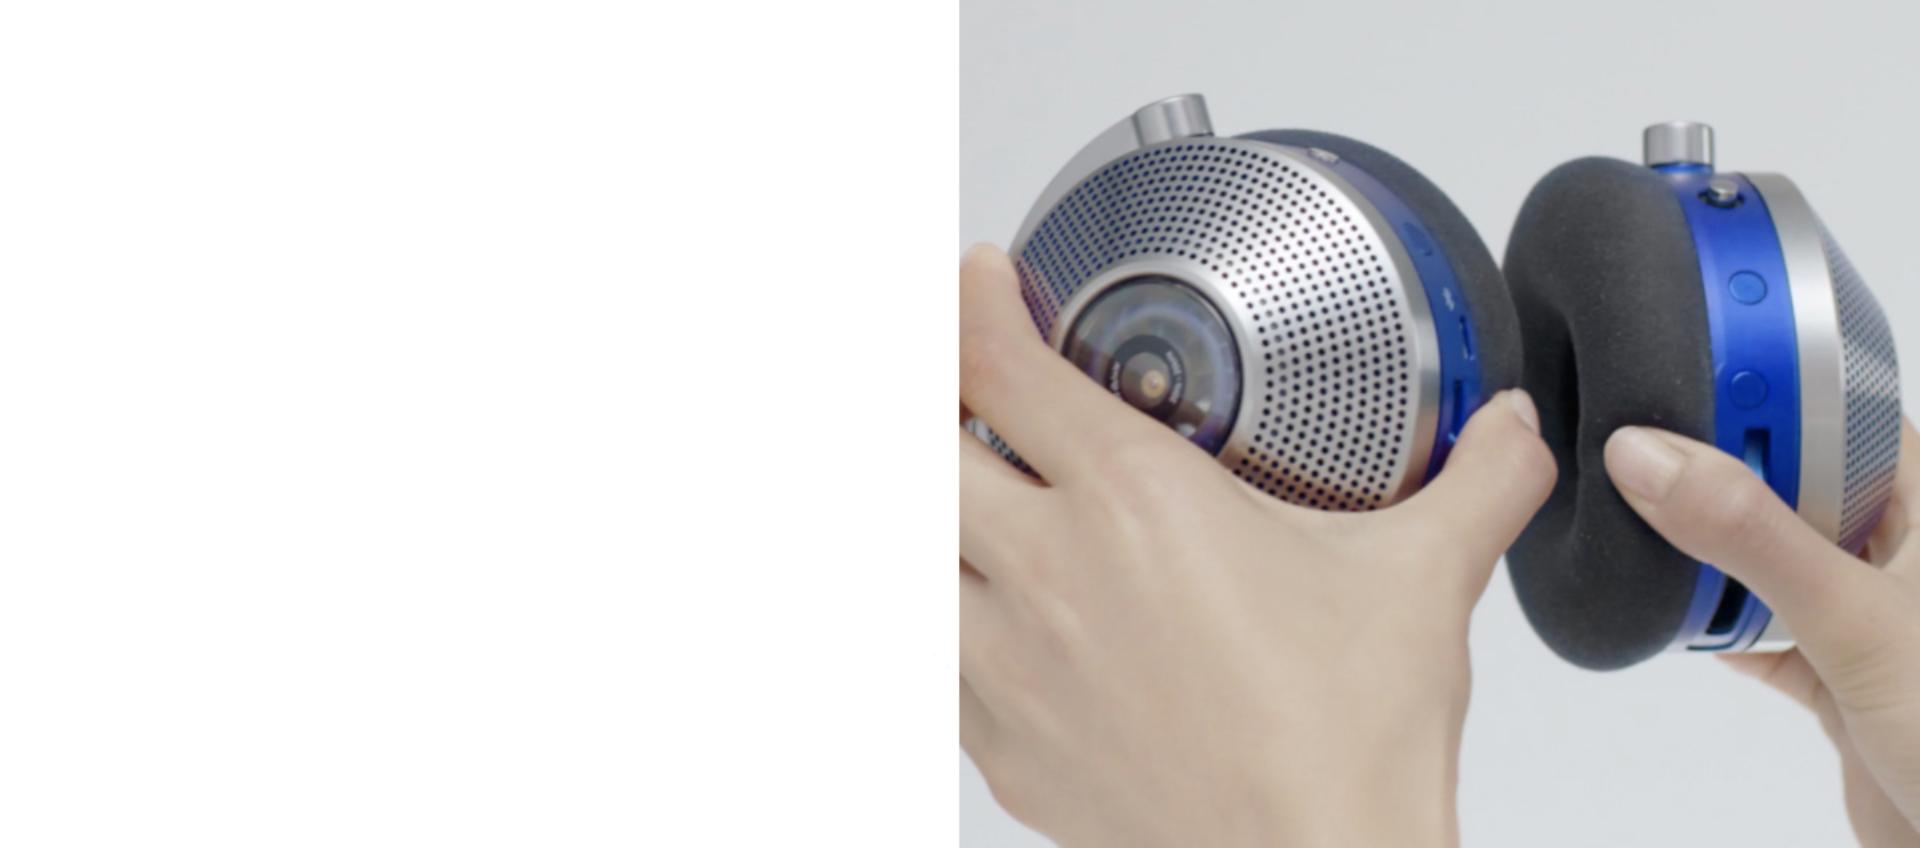
When your headphones are not being worn, press the Airflow button and the LED light will indicate your battery's charge level.

Hands holding the ear cups of the Dyson Zone air-purifying headphones.

See what the LEDs mean

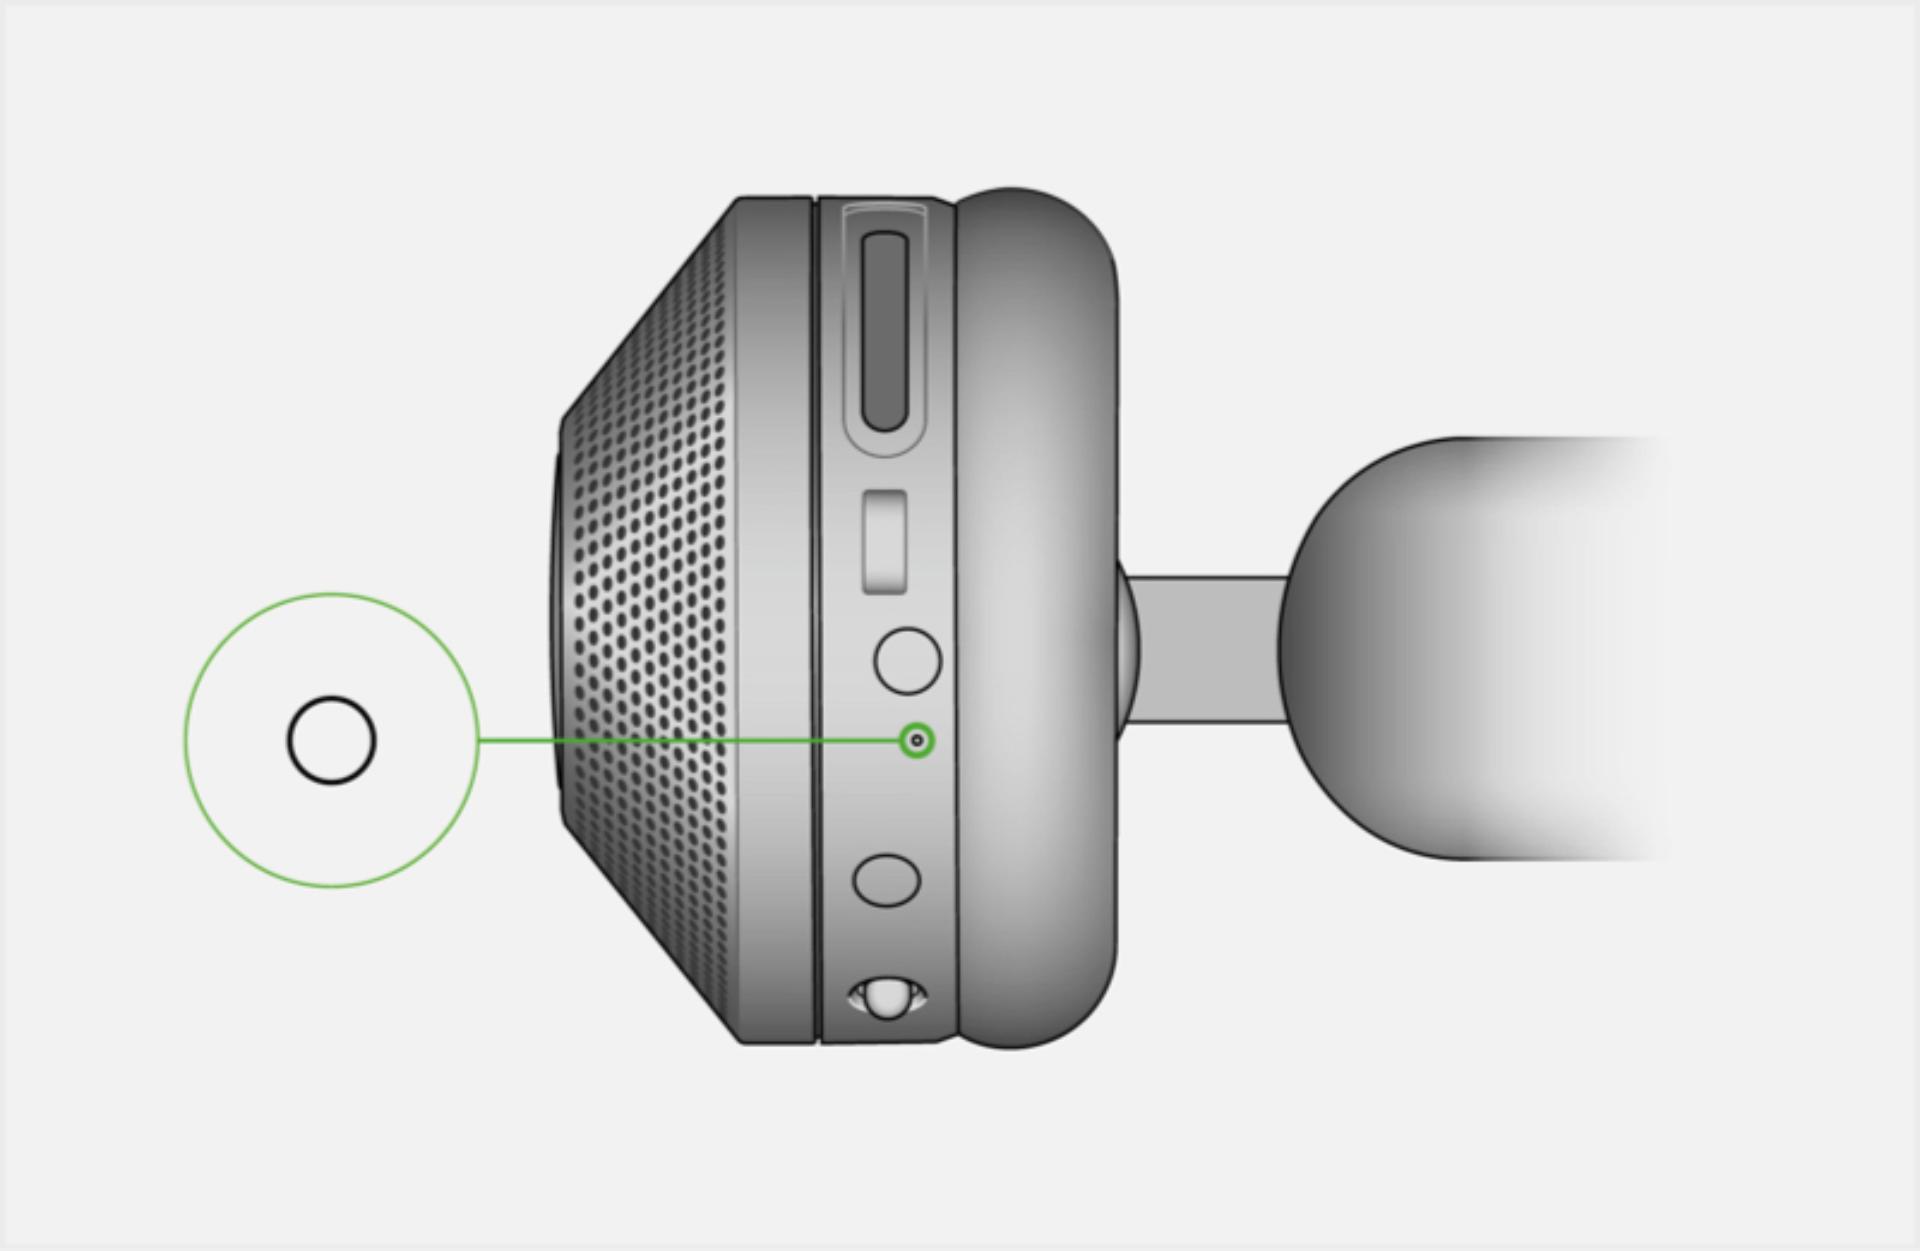
  • The Power on LED indicator.

    Power on

    Indicated by a solid white LED light.

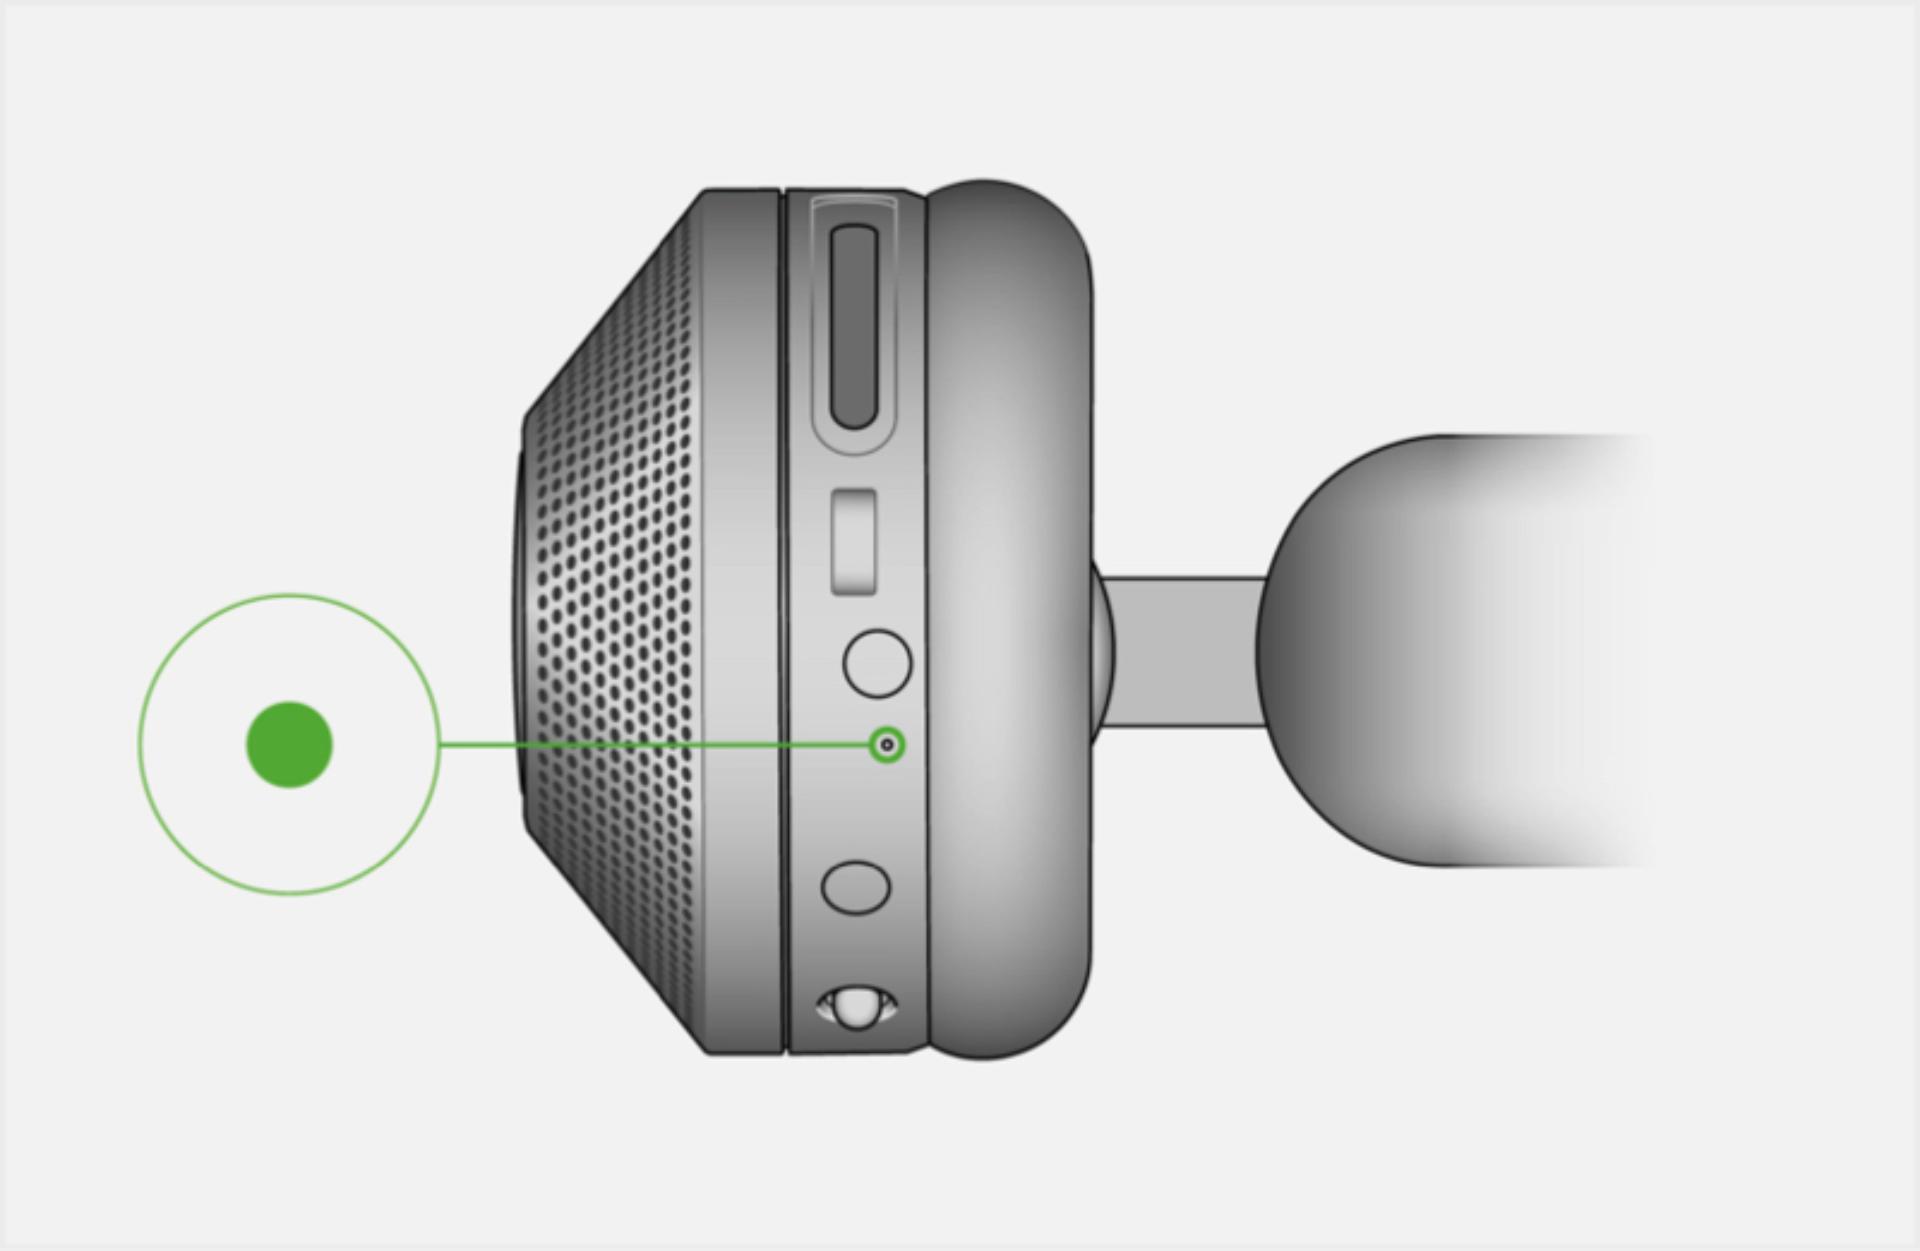
  • The green LED indicates your battery is good.

    Battery good

    Solid green LED means your battery charge level is above 20%.

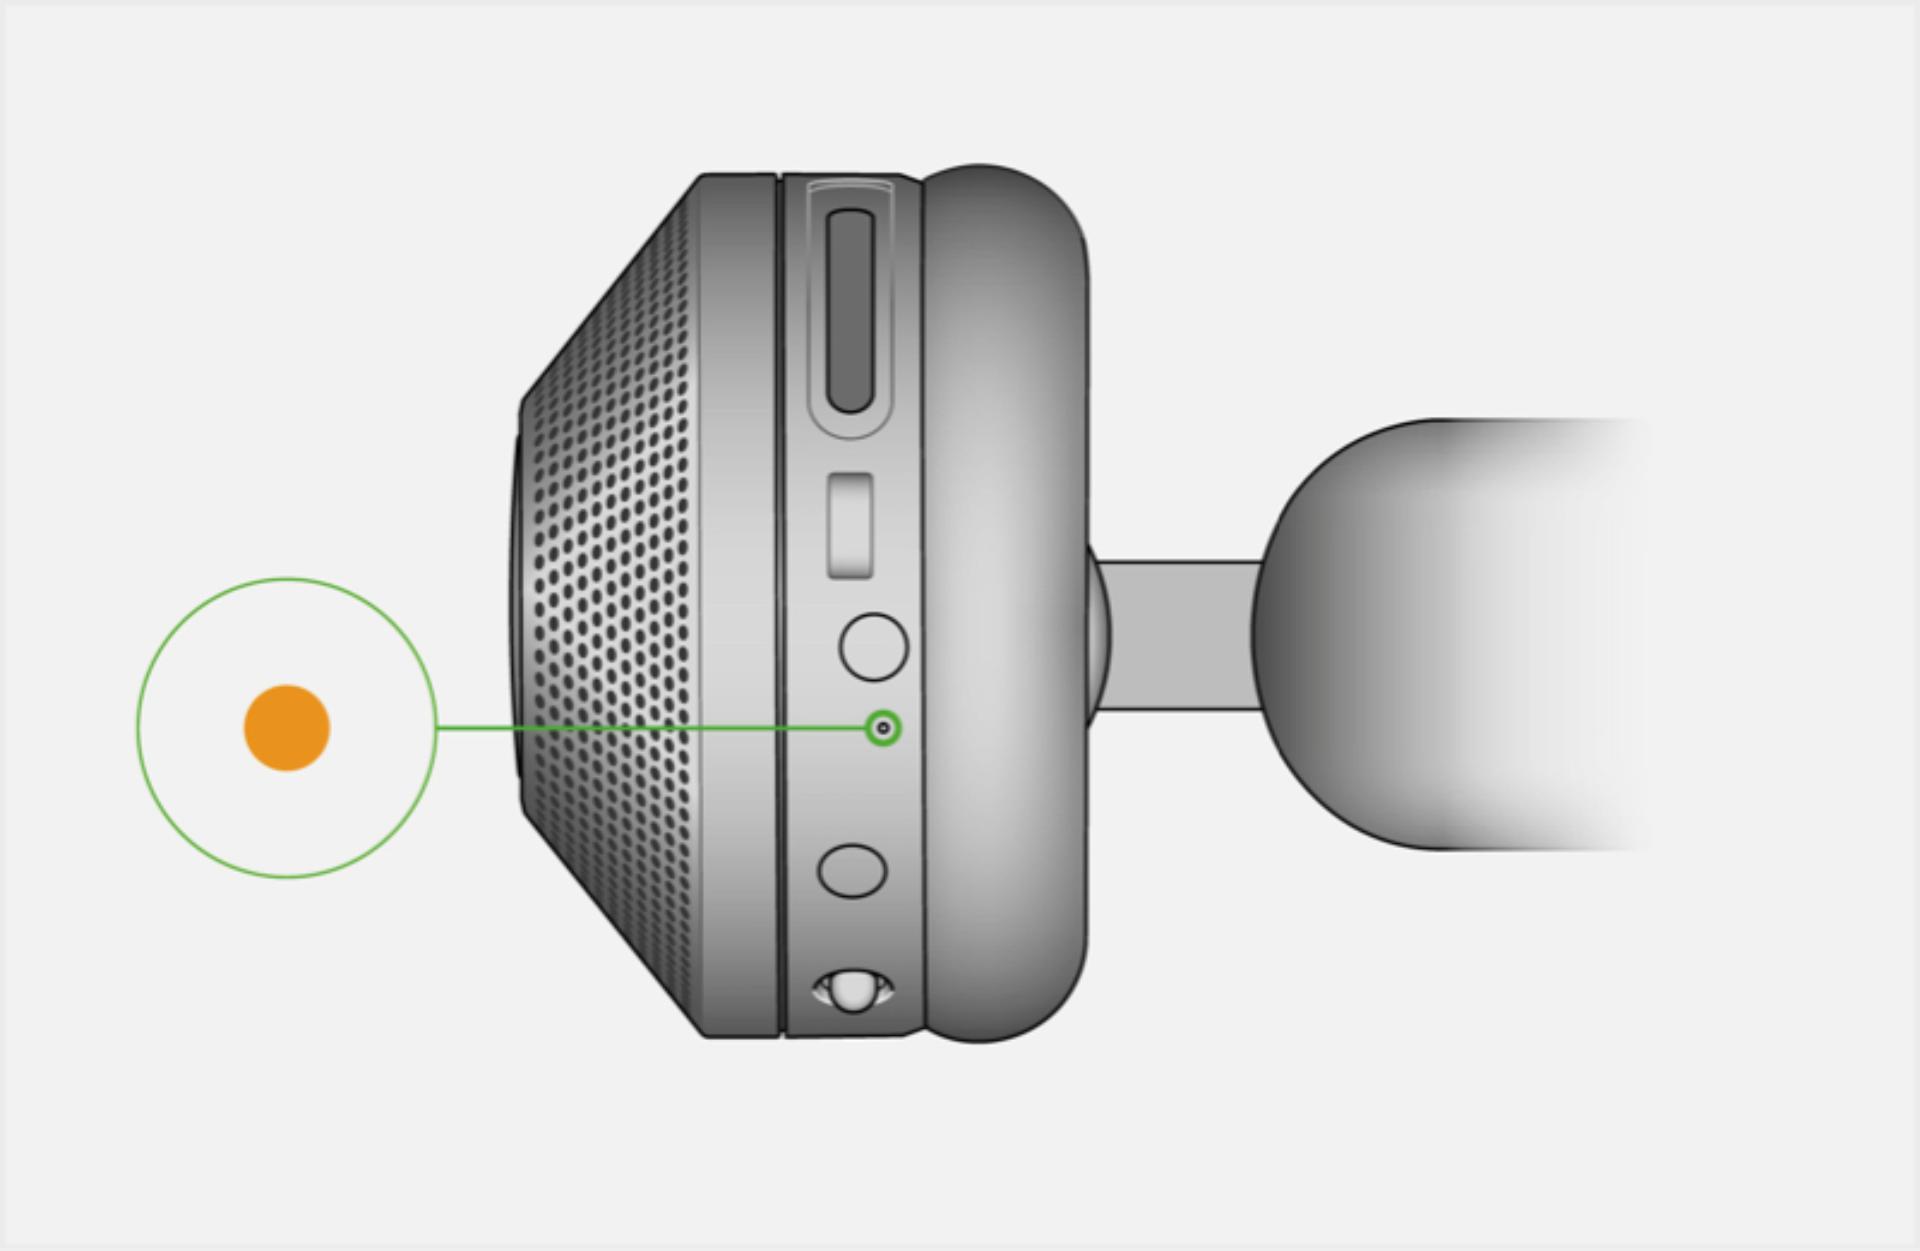
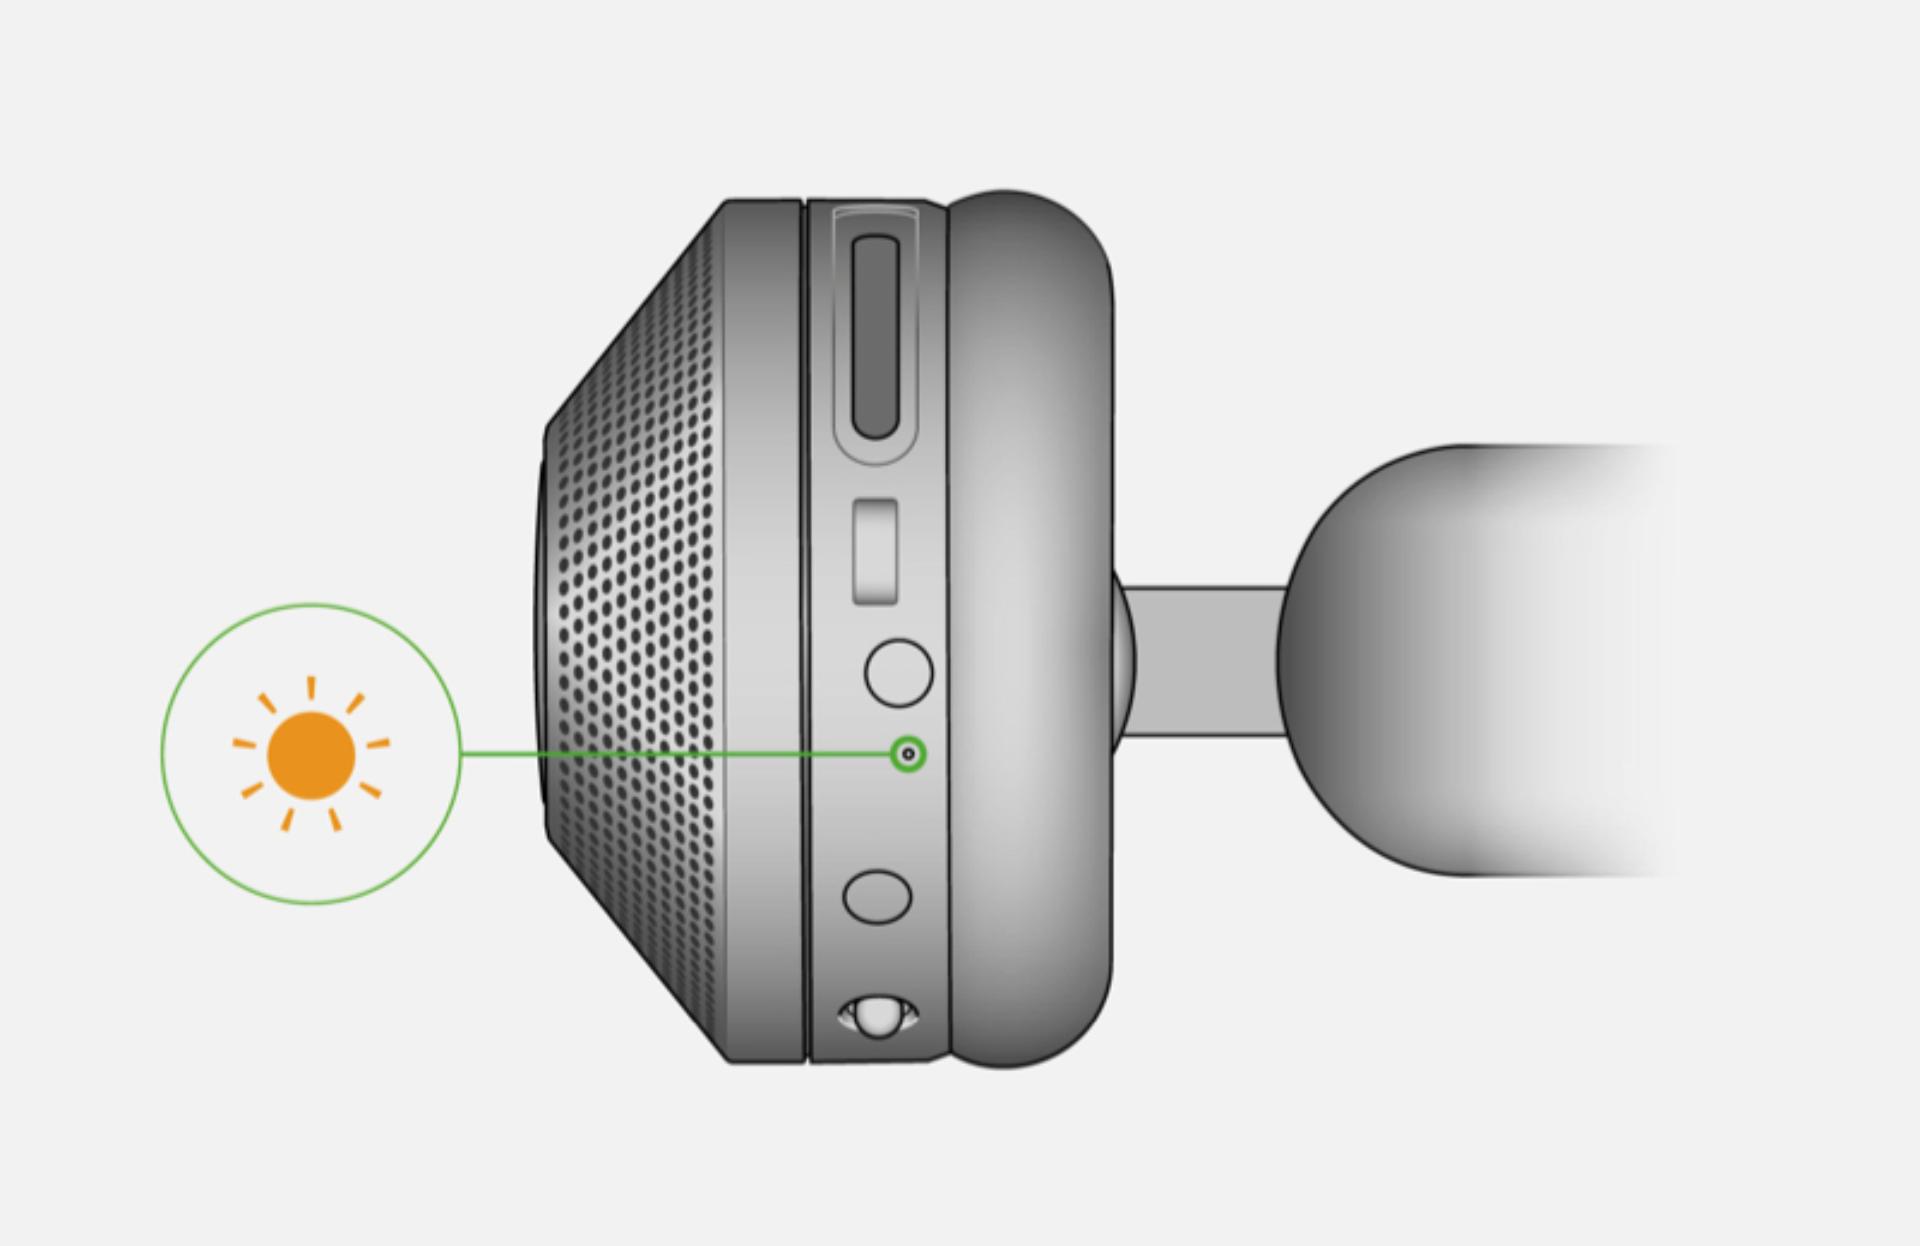
  • The amber LED indicates your battery is low.

    Battery low

    Solid amber indicates your battery charge level is below 20%.

  • The flashing amber LED indicates your battery is very low.

    Battery very low

    Flashing amber means there isn't enough power in your battery to use your purifier.

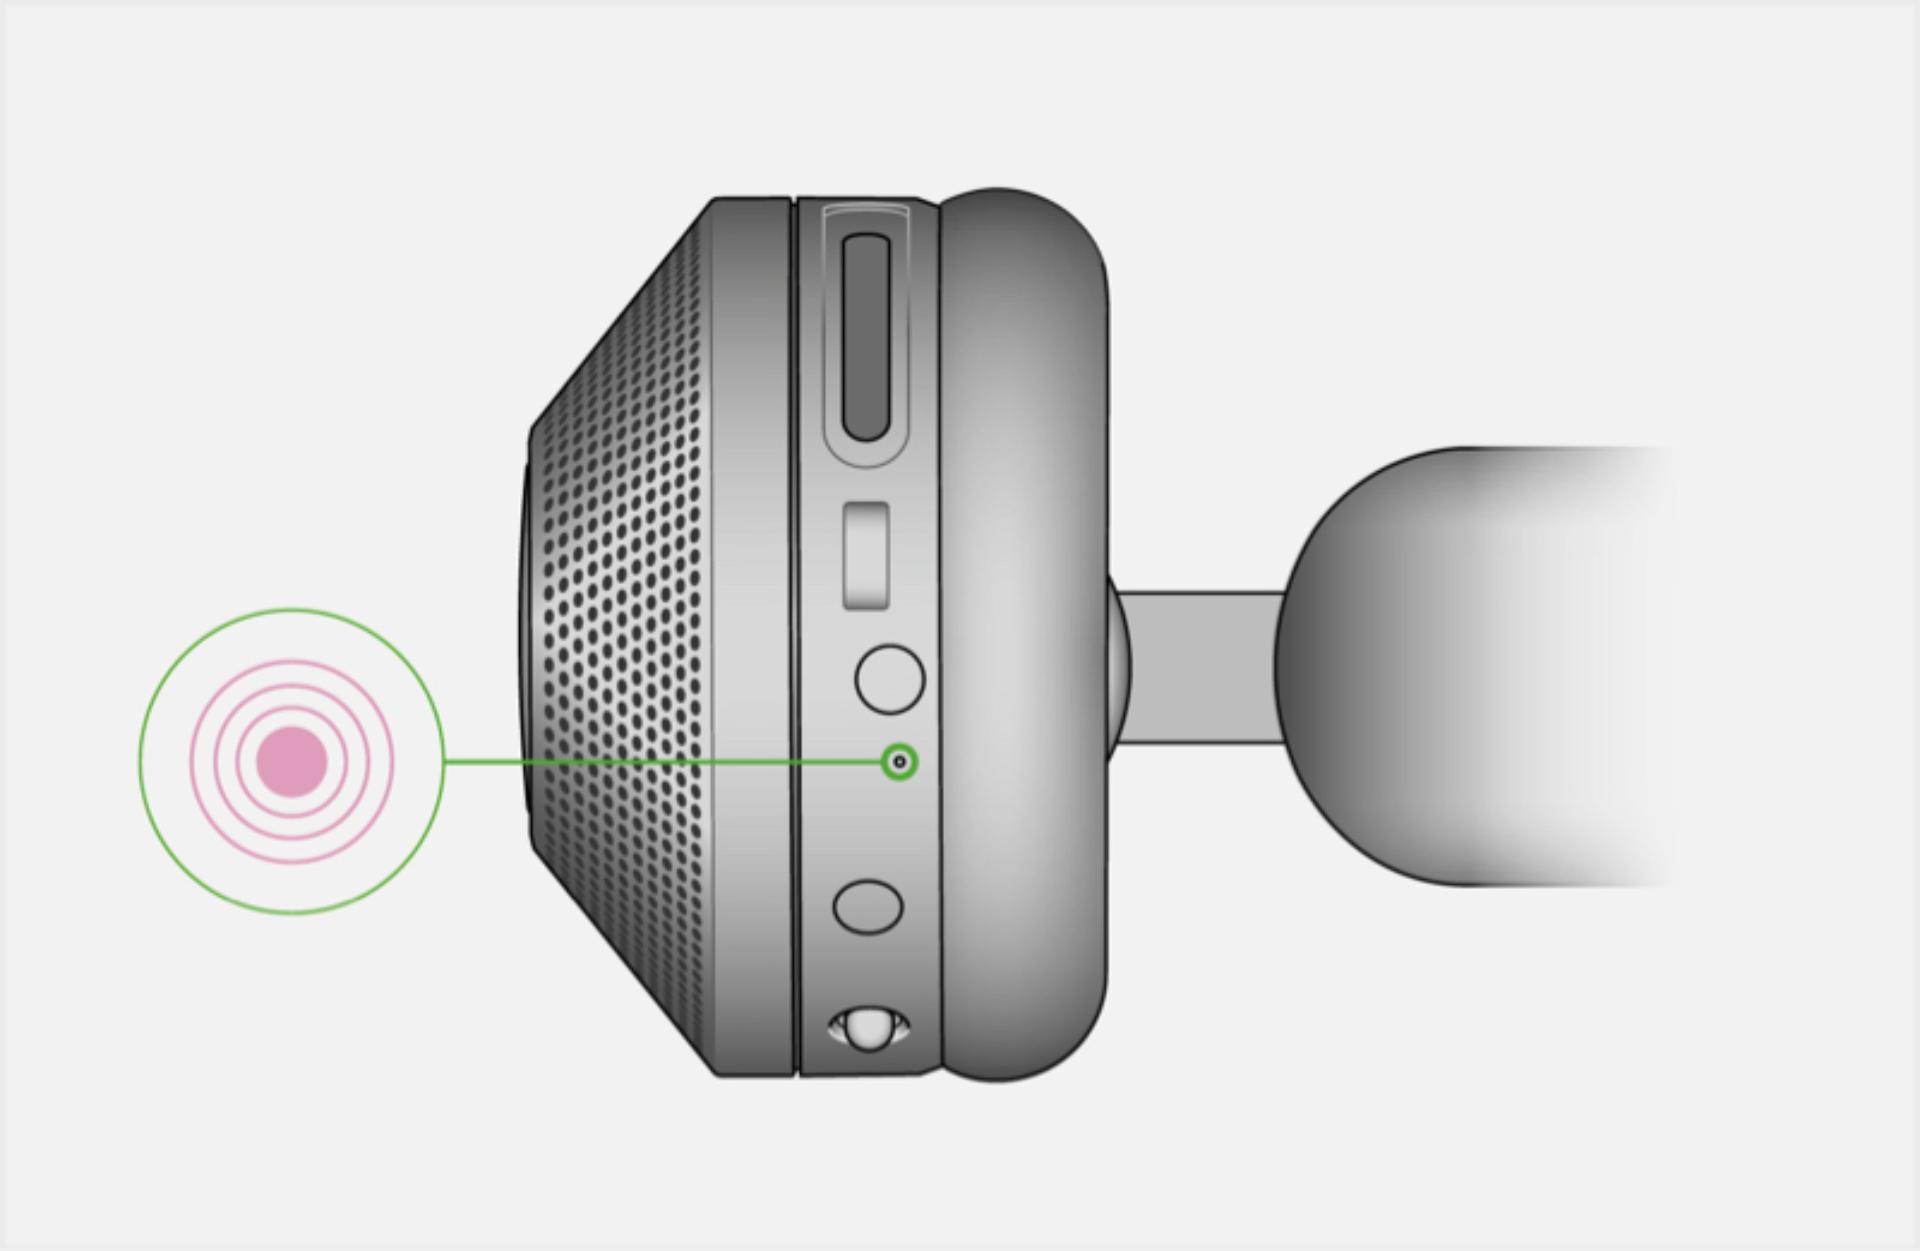
  • The pulsing pink LED indicates your filters need changing.

    Filter needs changing

    The LED will pulse pink when you need to change your filters.

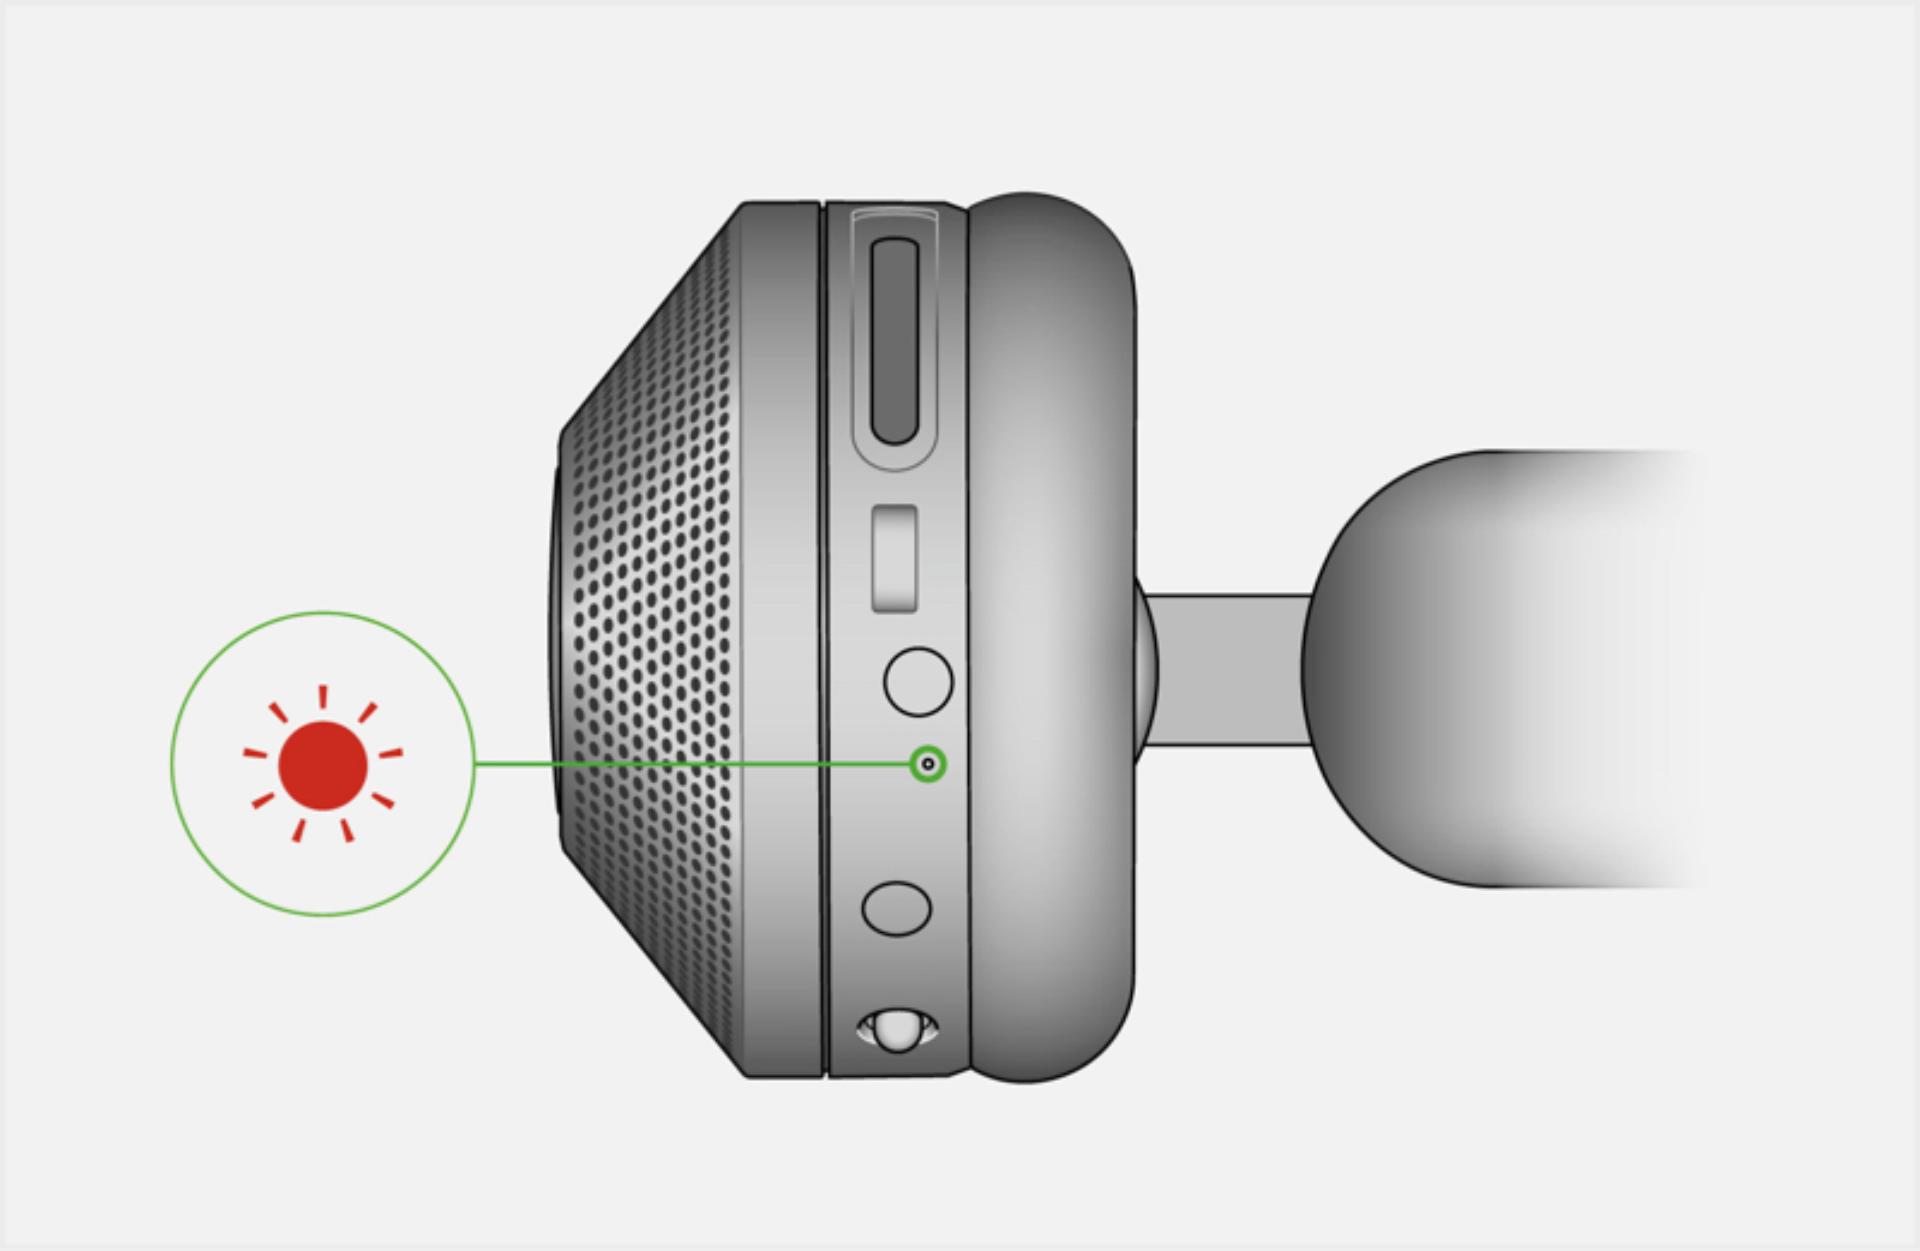
  • The flashing red LED indicates a fault.

    Fault

    Flashing red means you should seek Dyson support. Call our helpline or contact a Dyson Expert for a Live chat.

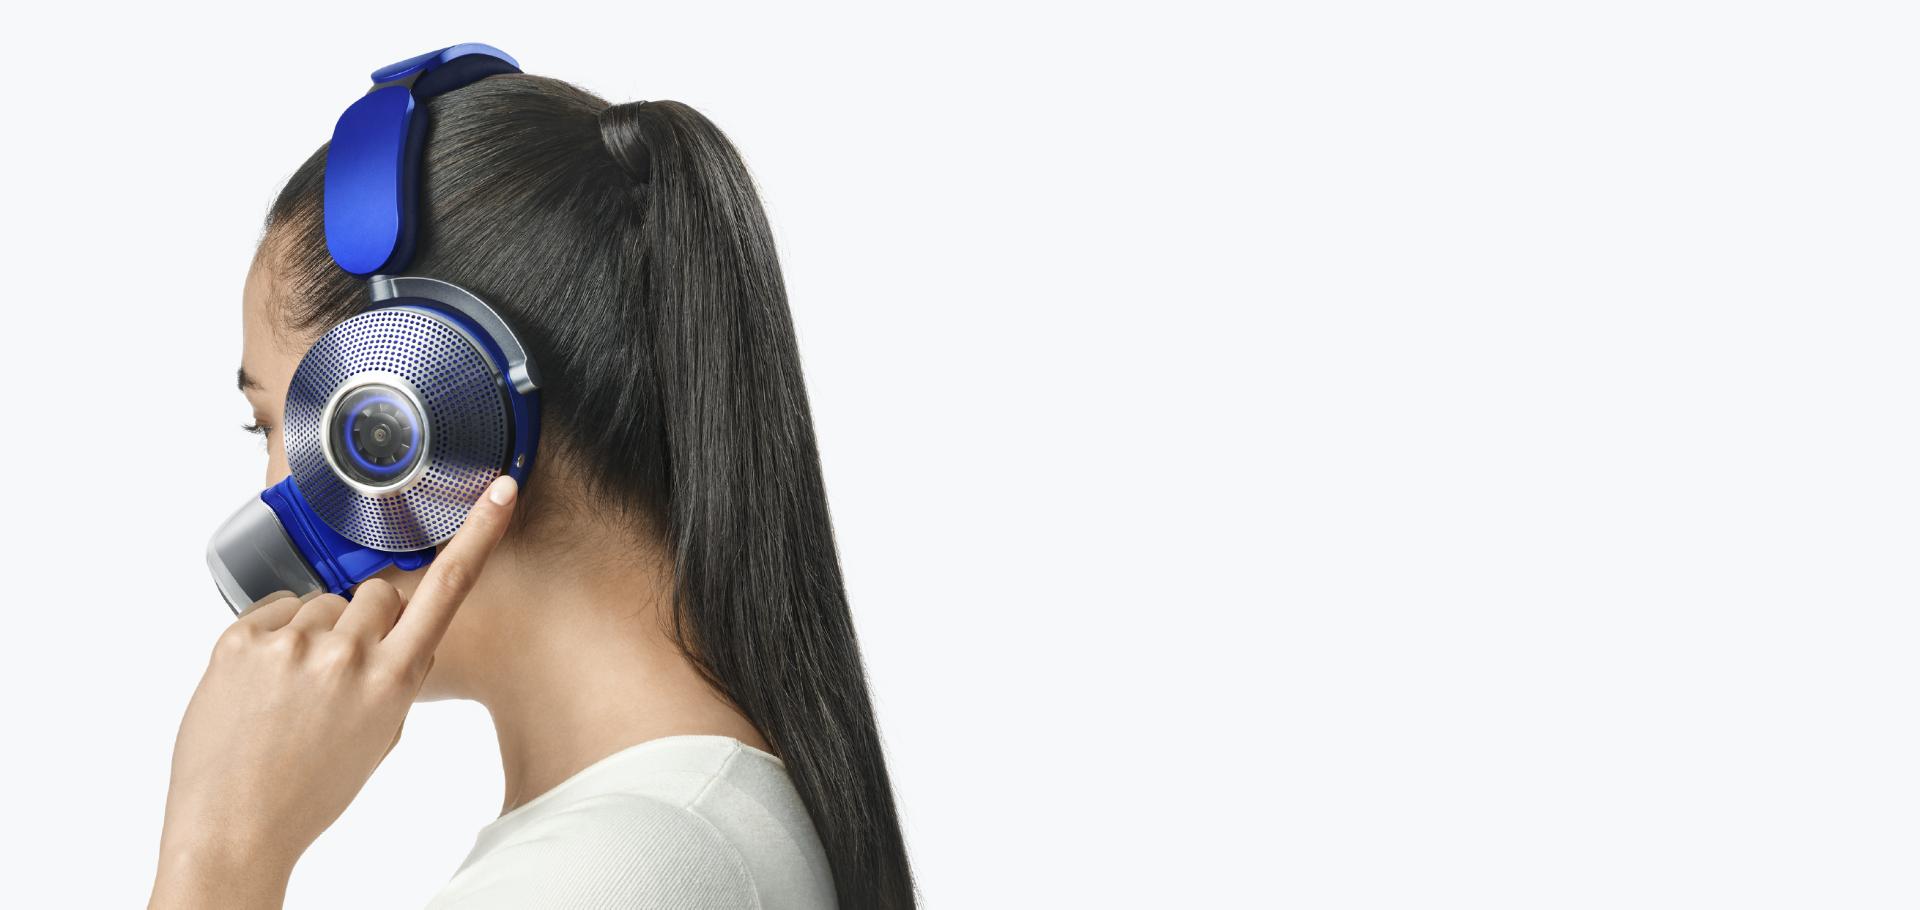
Woman taps the side of the ear cup to change ANC mode.

Understanding the audio controls

Toggle active noise cancelling (ANC) with a simple touch command. You can either reduce background noise, or amplify it to hear both your audio and your surroundings.
See how in our video guide.

Find out more about ANC modes

  • Man wearing the Dyson Zone air-purifying headphones in a railway station.

    Transparency mode

    Hear your audio and surroundings. Double tap either ear cup to change ANC mode. Select Transparency mode when you want to stay alert and hear your audio as well as your surroundings.

  • Man wearing the Dyson Zone air-purifying headphones on an aeroplane.

    Isolation mode

    Silence the world around you. Double tap either ear cup again to select Isolation mode. Now background noise is cancelled so you can focus on the audio you're listening to.

  • Woman flips the visor down to initiate Conversation mode.

    Conversation mode

    Voices are amplified so you can hear with your headphones on. Simply flip the visor down to pause airflow and noise cancelling.

Key controls FAQs

By default, the ANC on your Dyson Zone™ air-purifying headphones is set at maximum noise reduction, known as Isolation mode. You can switch to Transparency mode by double tapping either ear cup. In Transparency mode, surrounding sounds are amplified so you can hear and stay alert. You can also initiate Conversation mode by flipping the visor down to talk. This pauses airflow and noise cancelling, and amplifies voices so you can hear and talk with your headphones on.

Yes, you can control both airflow and audio from your mobile device with the MyDyson™ app. You can also connect to platforms such as Spotify and Apple Music through Bluetooth-enabled products and play music through your device from there.

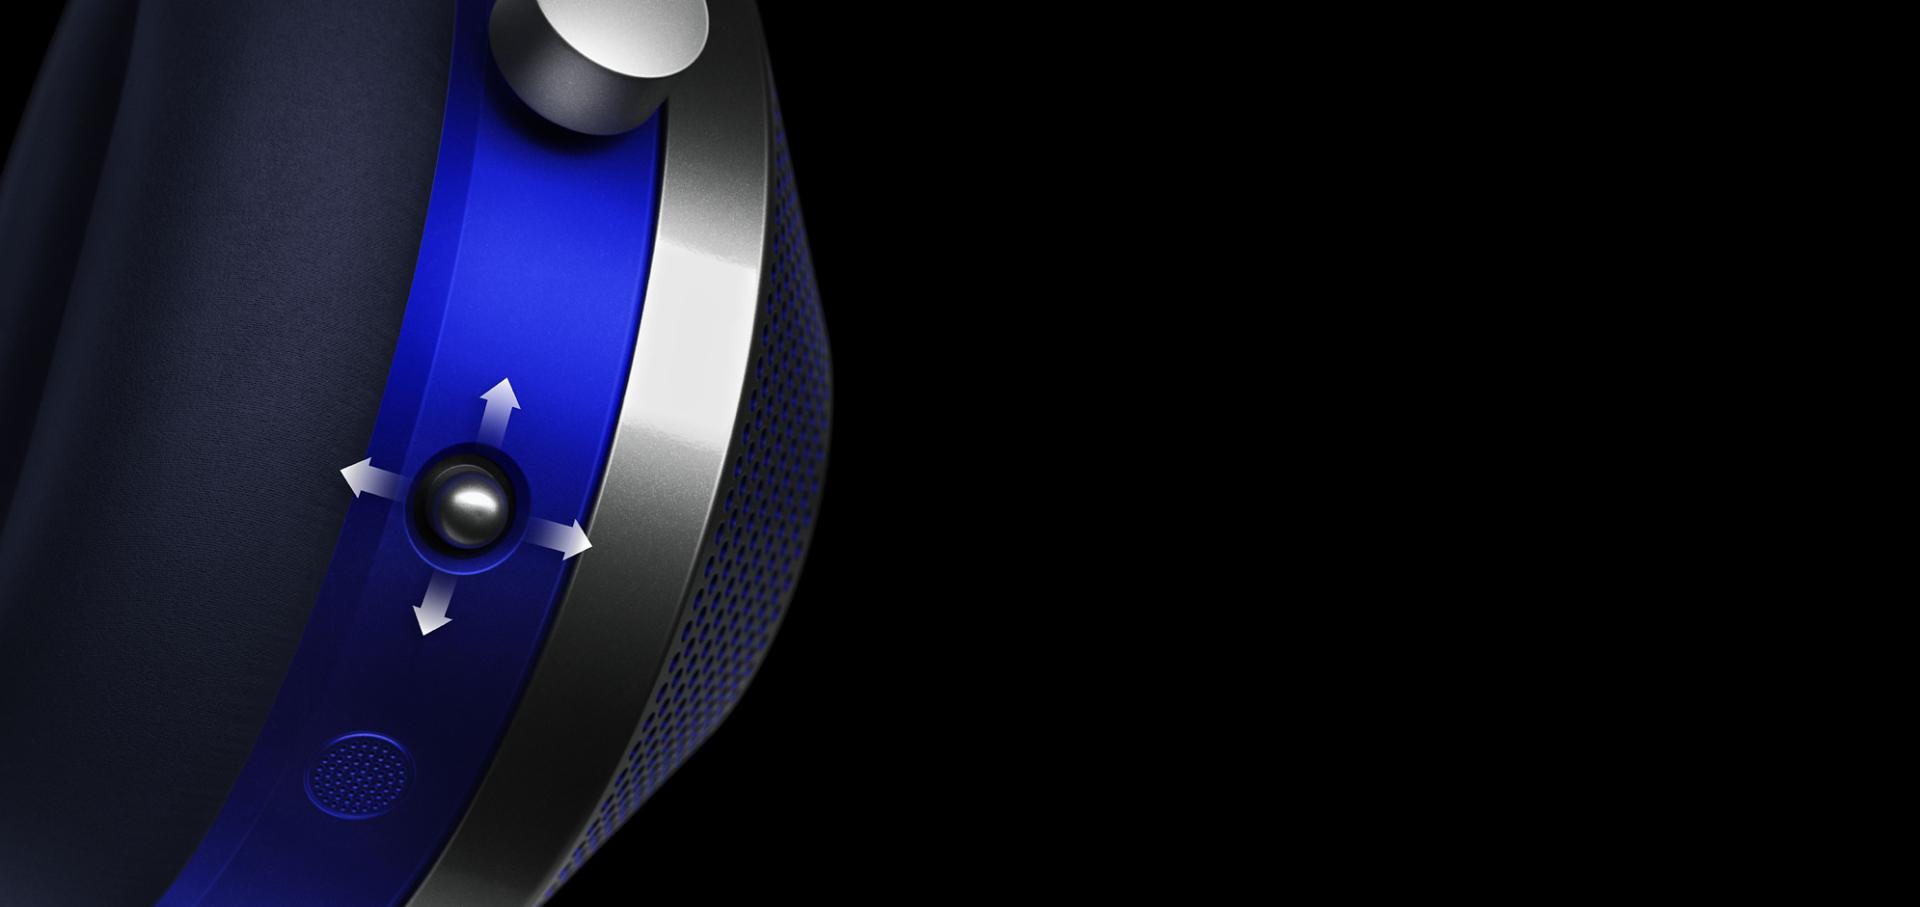
Once you’ve connected your headphones to your mobile device via Bluetooth®, you can control audio and telephone calls using the Audio joystick on the back of your right ear cup. When your smartphone rings, press the joystick to accept the call, or hold to decline. While a call is in progress, press the joystick again to end the call.

Activity rate refers to your level of physical activity while wearing the Dyson Zone™ air-purifying headphones. The more active you are, the faster your breathing rate, and the higher your airflow. In Auto-activity mode, your air-purifying headphones detect your level of activity and adjust airflow automatically. You can also adjust airflow manually using the Airflow button on the back of your left ear cup. Switch between rest, light activity such as walking, and moderate activity.

maintenance

Maintenance

With a little routine maintenance, you can keep your air-purifying headphones working at their best.

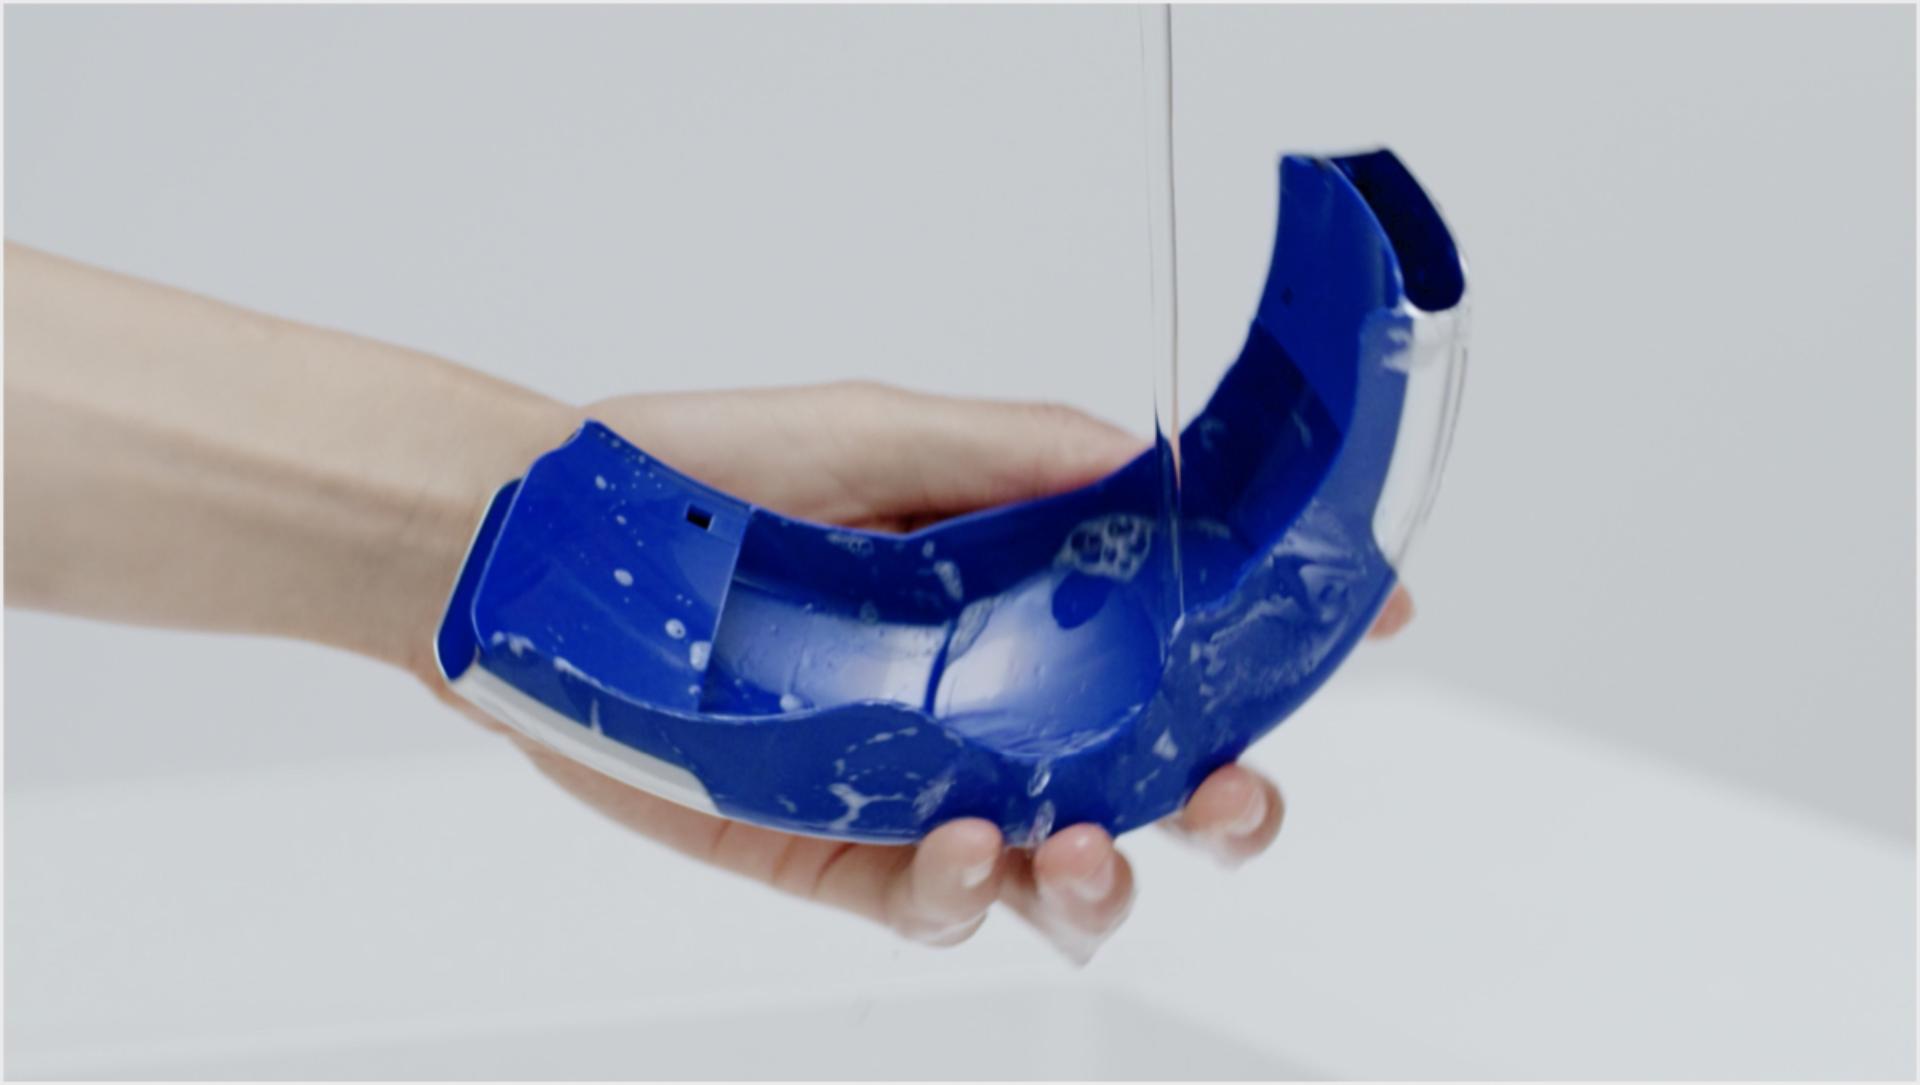
  • Cleaning the visor under a tap.

    Cleaning your machine

    See how to clean your machine.

  • Woman shown replacing the filters in the ear cups.

    Replacing your filters

    See how to replace your filters.

Learn more about maintaining your machine

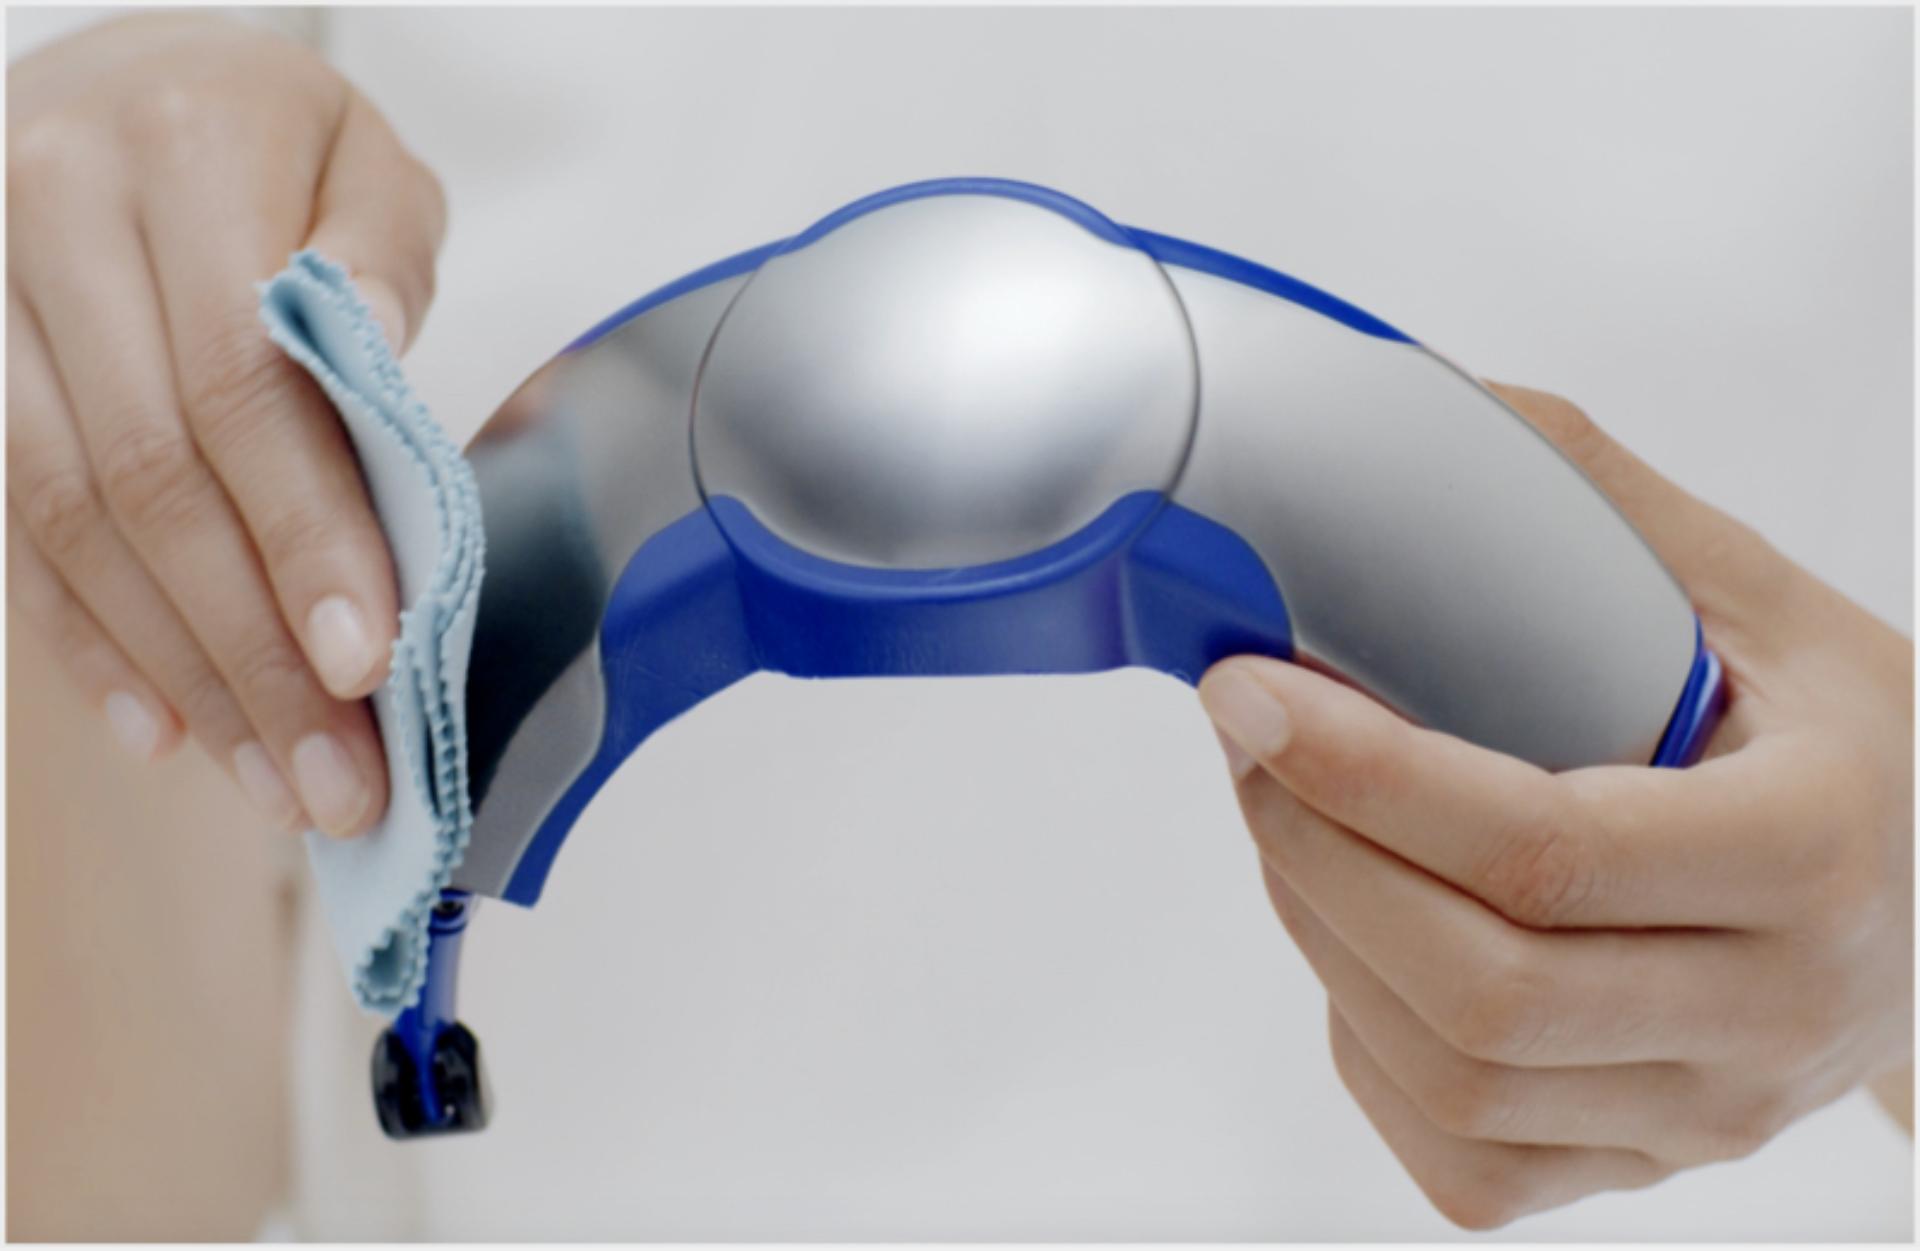
  • Cleaning the visor with a damp cloth.

    Daily visor clean

    Detach your visor from the headphones and wipe clean with a damp cloth. Leave to dry before re-attaching.

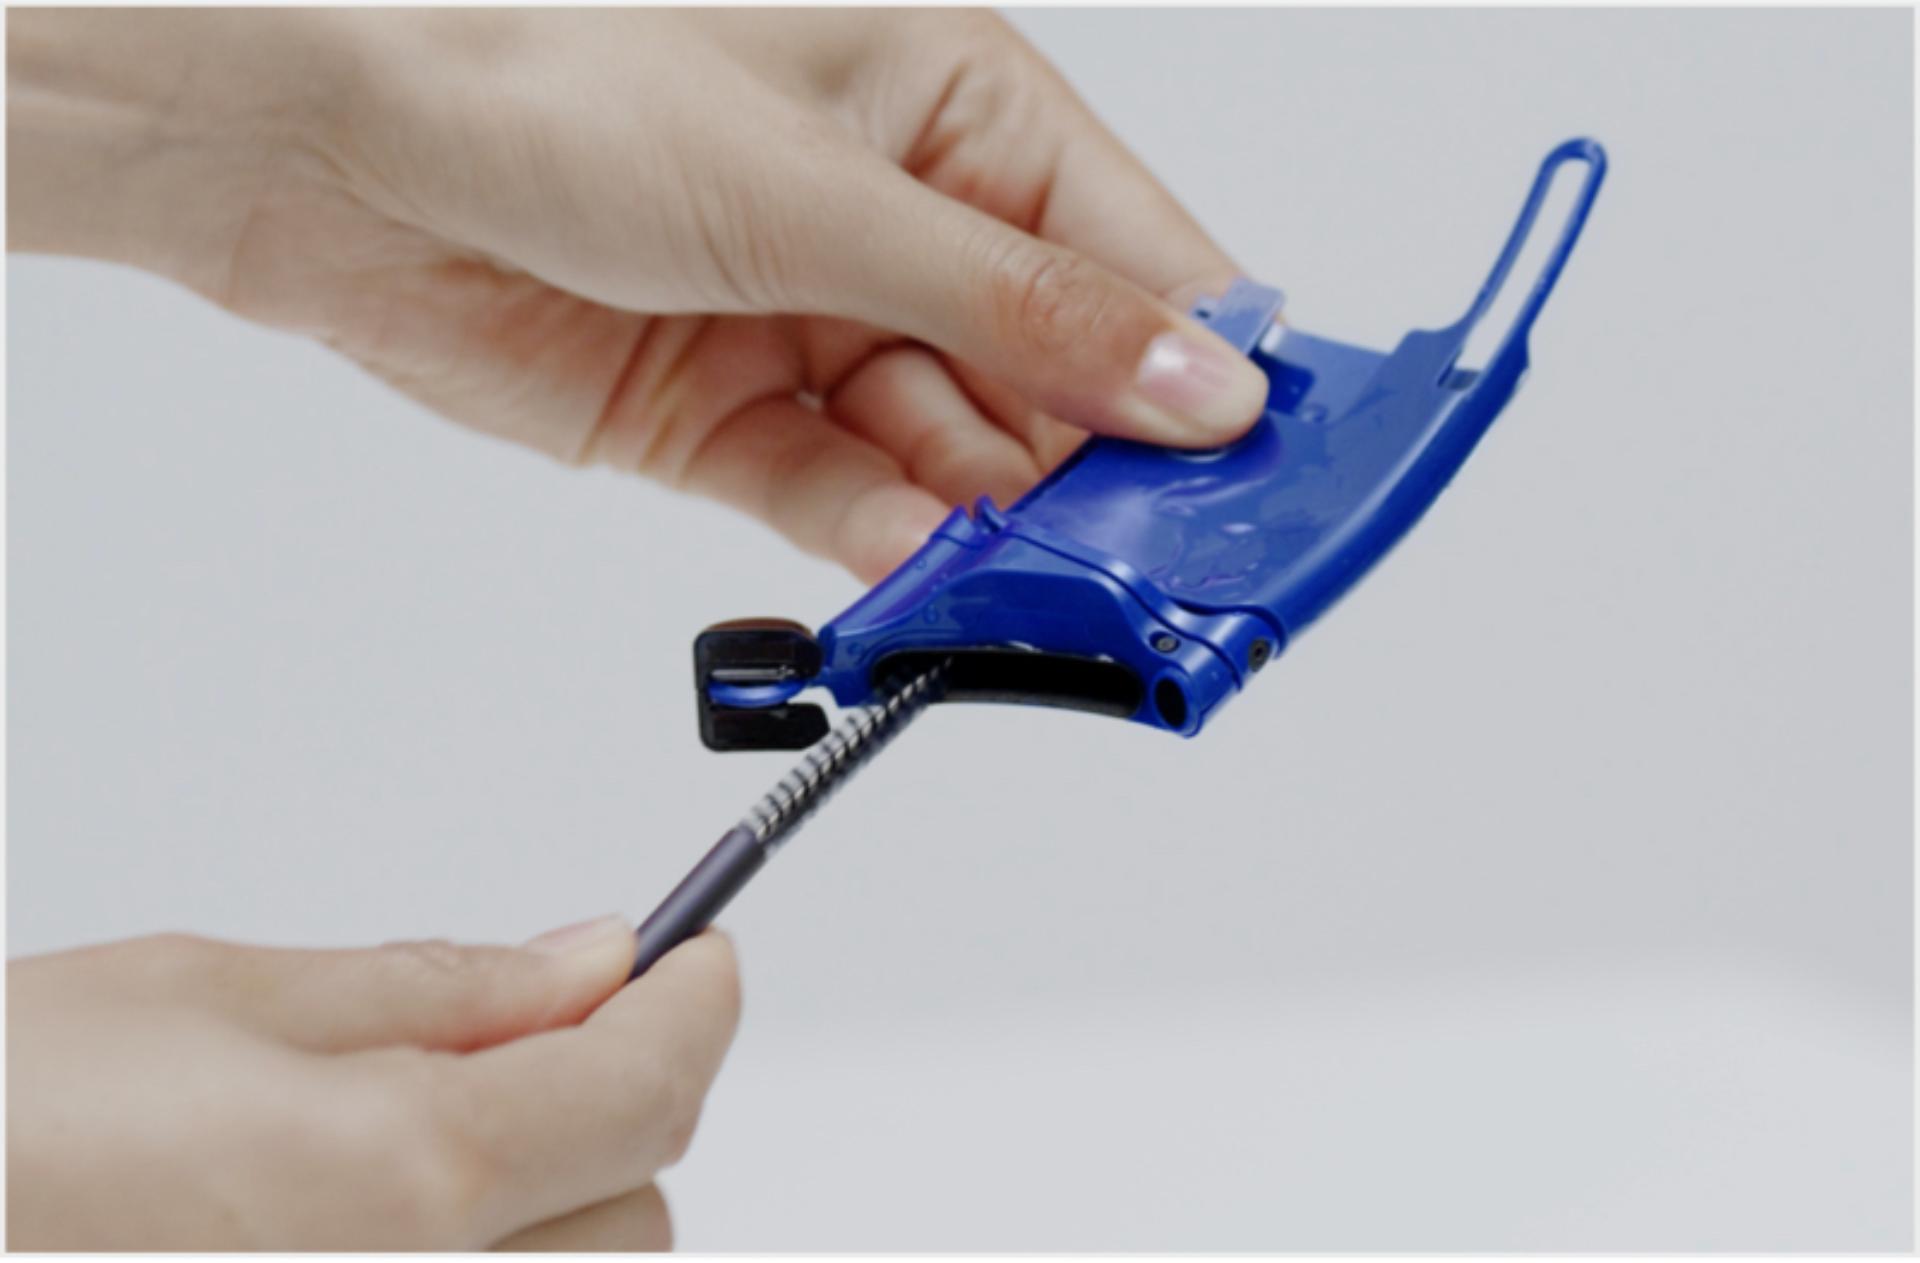
  • Using the visor brush to clean the visor.

    Periodic visor cleaning

    Detach your visor from the headphones and submerge in warm, soapy water. After soaking for 30 seconds, clean around the edges with your visor brush. Leave to dry before reattaching.

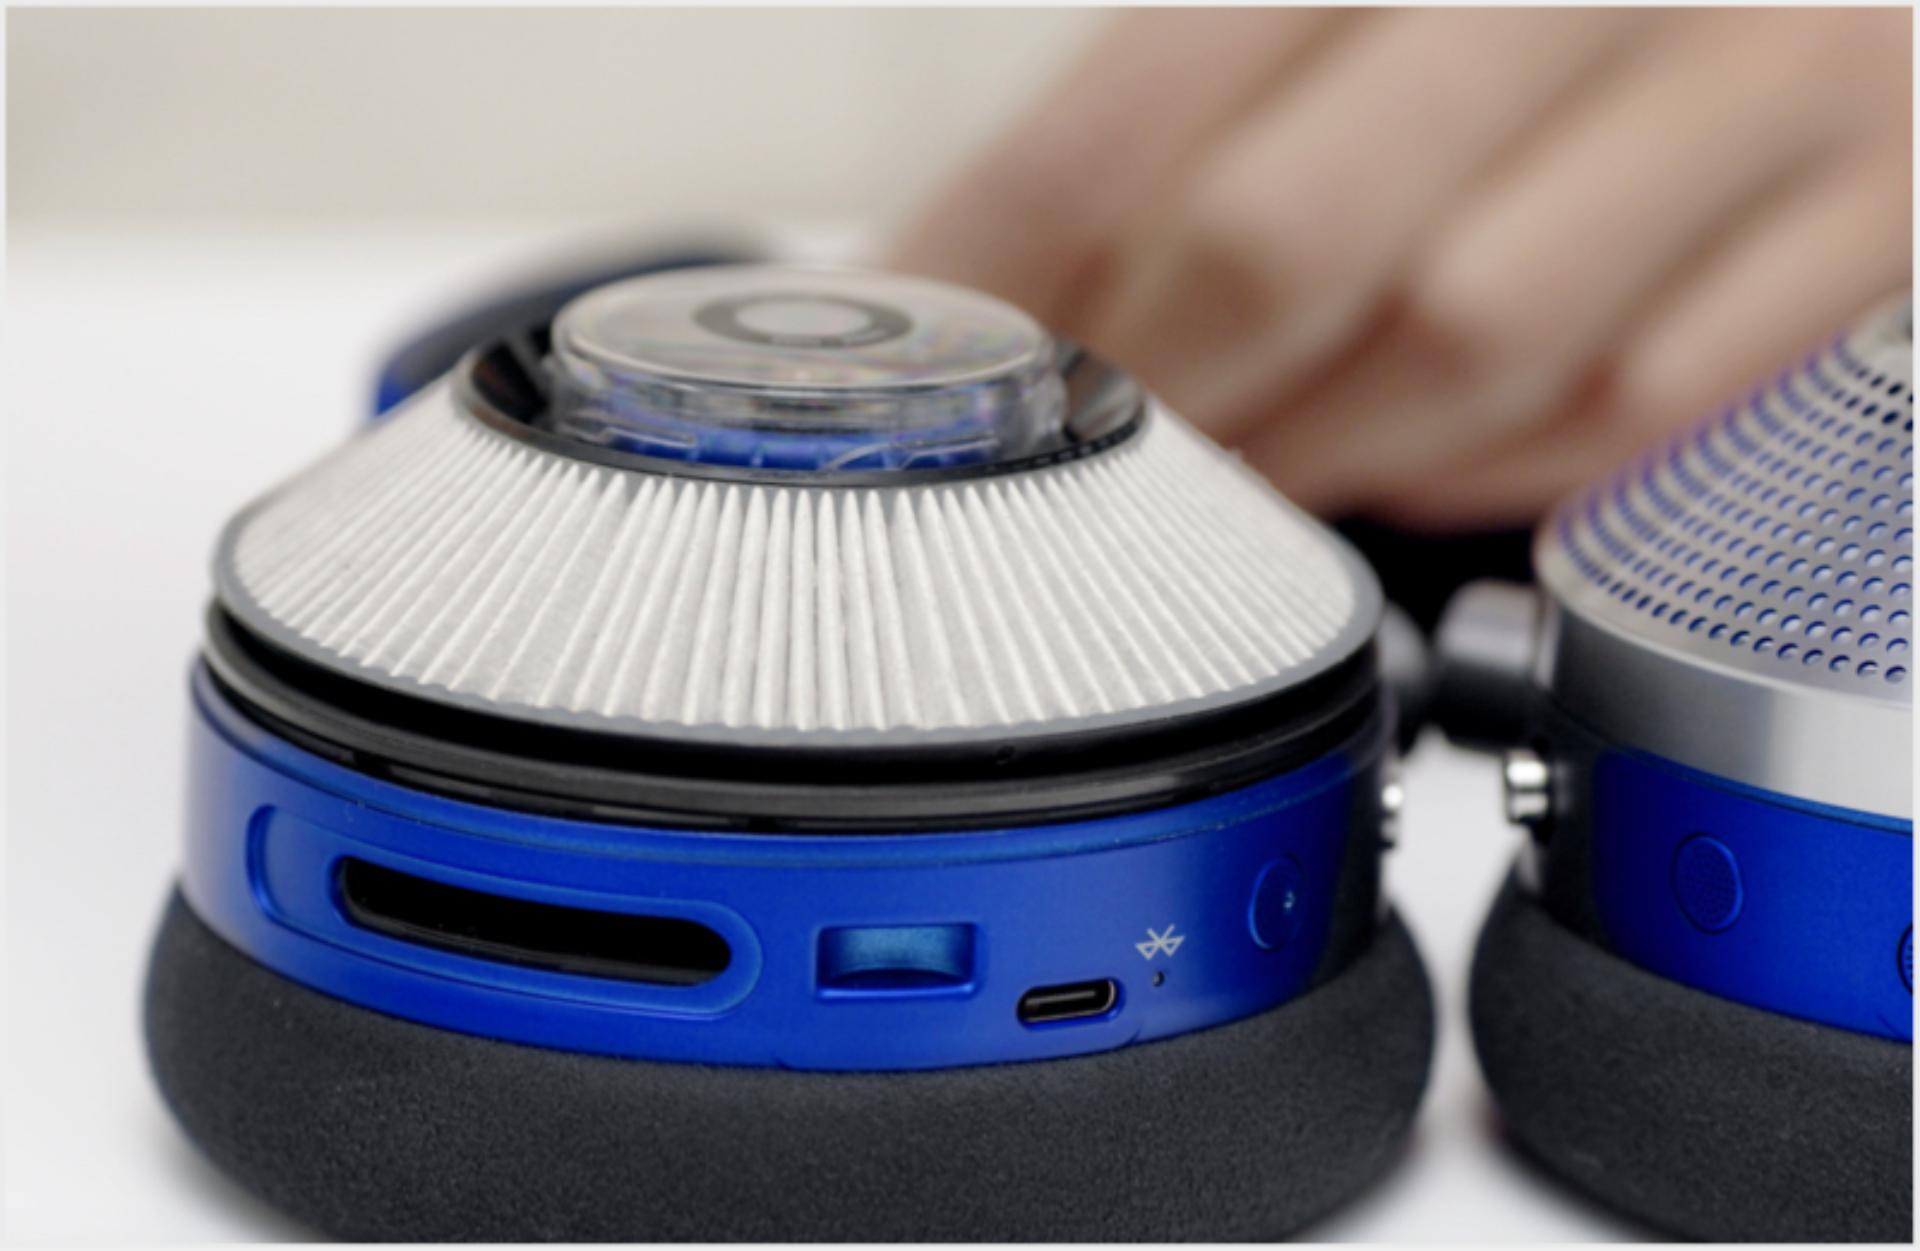
  • The filter inside one of the ear cups.

    Filter replacement

    The MyDyson™ app will let you know when your filters need to be changed. When not being worn, a pulsing pink LED on the ear cup also signals when the filters need replacing.

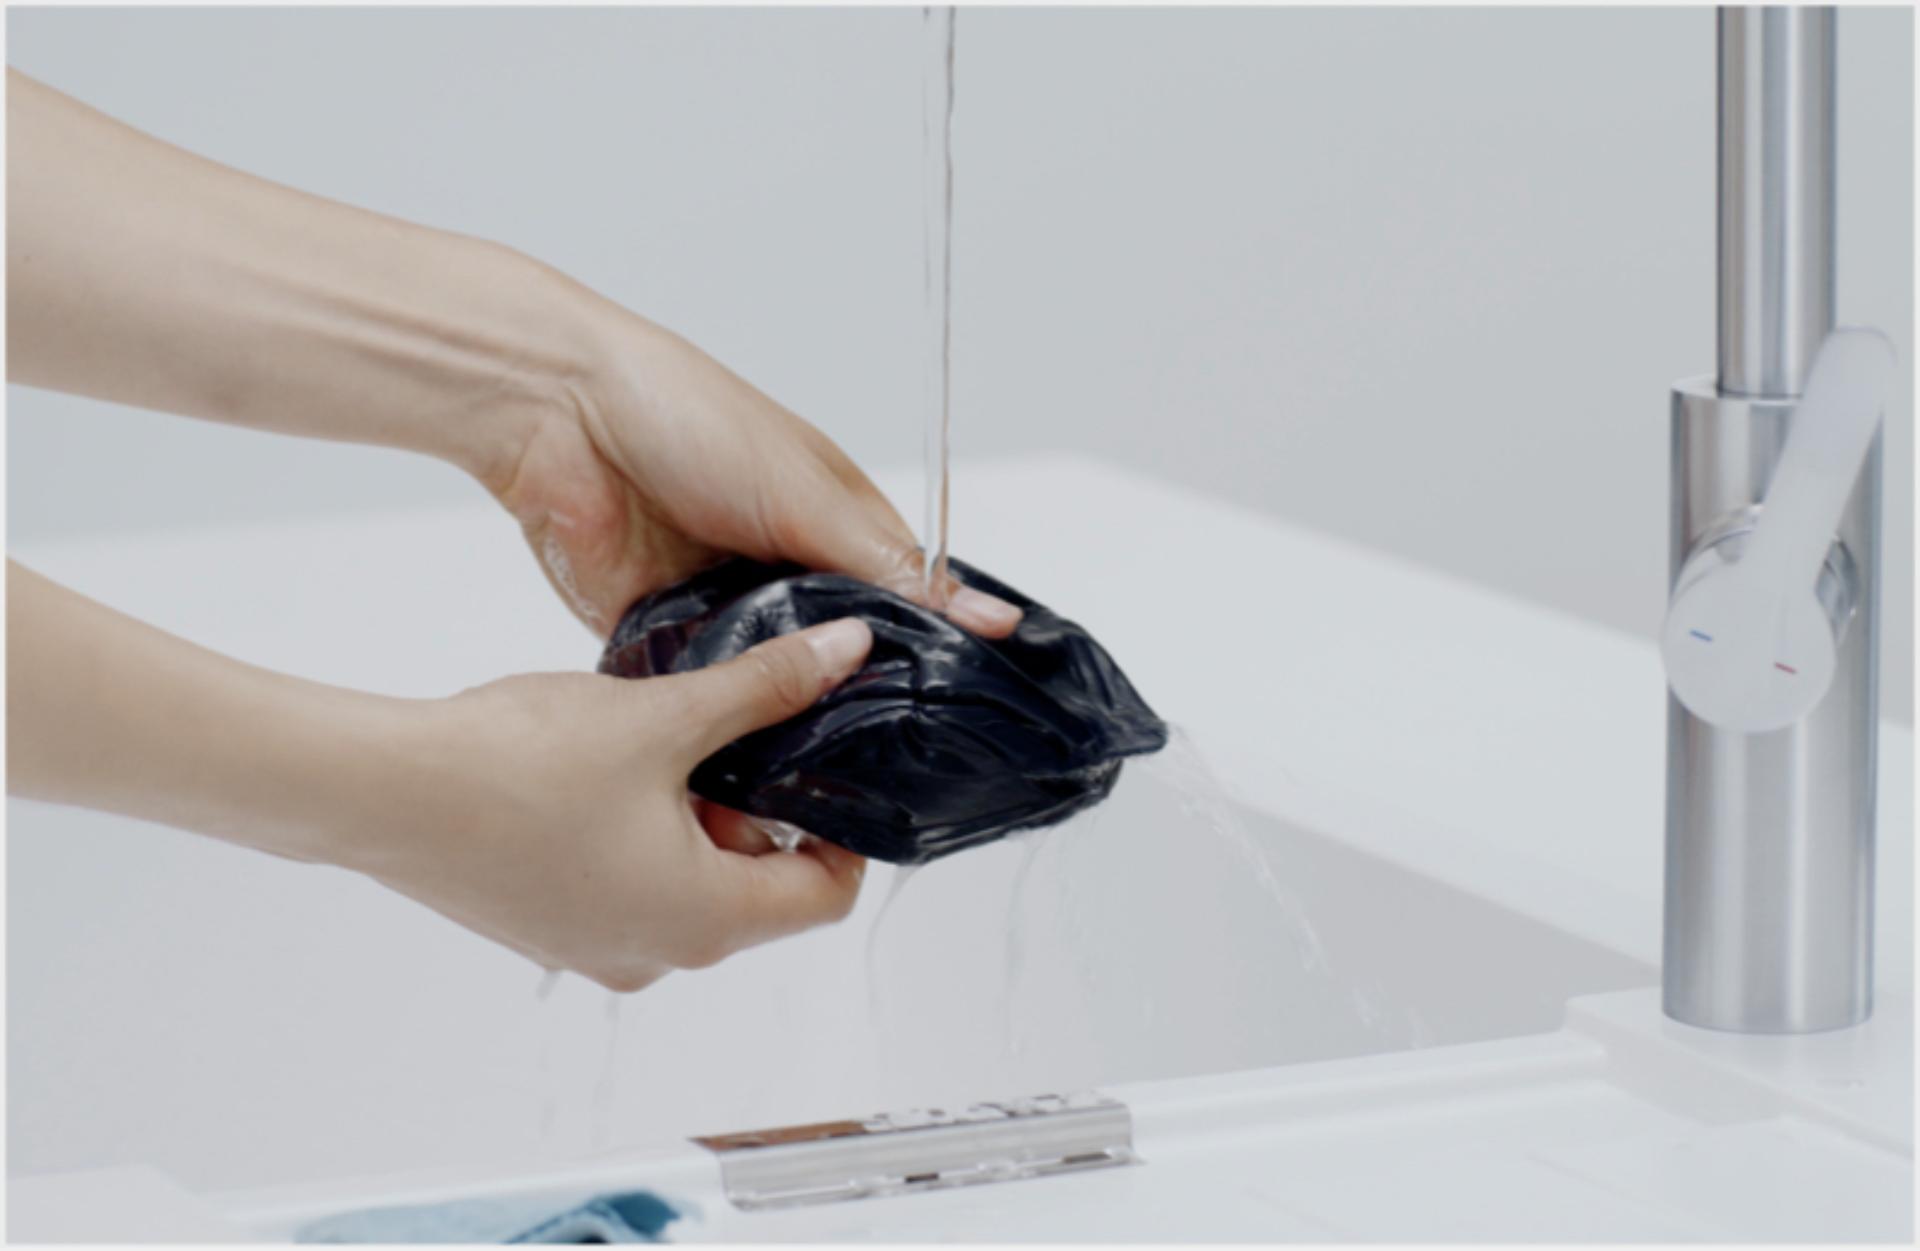
  • Cleaning the Community face covering with warm, soapy water.

    Cleaning your face covering

    The Community face covering can be washed in warm, soapy water. Leave to dry before reattaching.

Maintenance FAQs

The MyDyson™ app will let you know when your filters need to be changed. A pulsing pink LED on the ear cup also signals when your filters need replacing.

To change your filters, remove the covers on your ear cups by twisting them until they release. Lift the filters out carefully without dropping any dust into the ear cups. Dispose of the used filters. Remove the new filters from any packaging and place in the ear cups. Replace the covers and twist to lock them into position.

Detach the visor from your headphones and submerge it in warm, soapy water. After soaking for 30 seconds, clean around the edges with your visor brush. Leave to dry before re-attaching.

The reusable Community face covering can be washed in warm, soapy water. Leave to dry for at least 24 hours before re-attaching.

Charge your air-purifying headphones using the USB-C cable. When connected to a power supply, the LED will pulse amber. When fully charged, the LED will turn green and then fade to off.

Replacement parts

Replacement parts and accessories

Your Dyson Zone™ air-purifying headphones have replaceable filters that will need changing over time. The MyDyson™ app will let you know when to do this. For all genuine Dyson parts and accessories, visit Dyson.com

User manual

User guide

Download the user guide for your Dyson Zone™ air-purifying headphones.

User guide

12MB

Speak with Dyson Expert

Our Experts are on hand to help answer any questions and guide you through the set-up process.

Dyson Expert ready to help.

Always improving

With the MyDyson™ app your headphones can always receive the latest software updates.¹ These updates protect your data privacy and ensure your headphones always have the latest features. You can turn updates on or off at any time.

1 App functionality requires a data connection. Standard data and messaging rates may apply. [Your mobile device must have Bluetooth [4.0] support for telephony connection. For iOS or Android version compatibility please check Dyson website.]
2 In low flow mode with Bluetooth on. Performance may vary based on environmental conditions and usage.

Talking to us is easy.

You can call us
Email us
WhatsApp WhatsApp