Support for your Dyson Digital Slim™ vacuum

Here you can find helpful tips, maintenance advice, your user manual and more.
Register your machine
Register your machine for instant access to how-to guides, user manuals and more. You can also receive tailored machine support, direct to your inbox.
Getting started
You can quickly get up and running with our step-by-step guide.
Fully charge before first use
For the best experience, we recommend fully charging your machine, and any additional batteries, as soon as you open the box and after every clean. This is because the battery and monitoring system's algorithm 'learns' over time, and fully charging your batteries helps it to more accurately calculate and display remaining run time.

Dyson Digital Slim™ vacuum user manual
Download your Dyson Digital Slim™ vacuum user manual.

10.2MB
Using your machine
Understanding the three cleaning modes
-
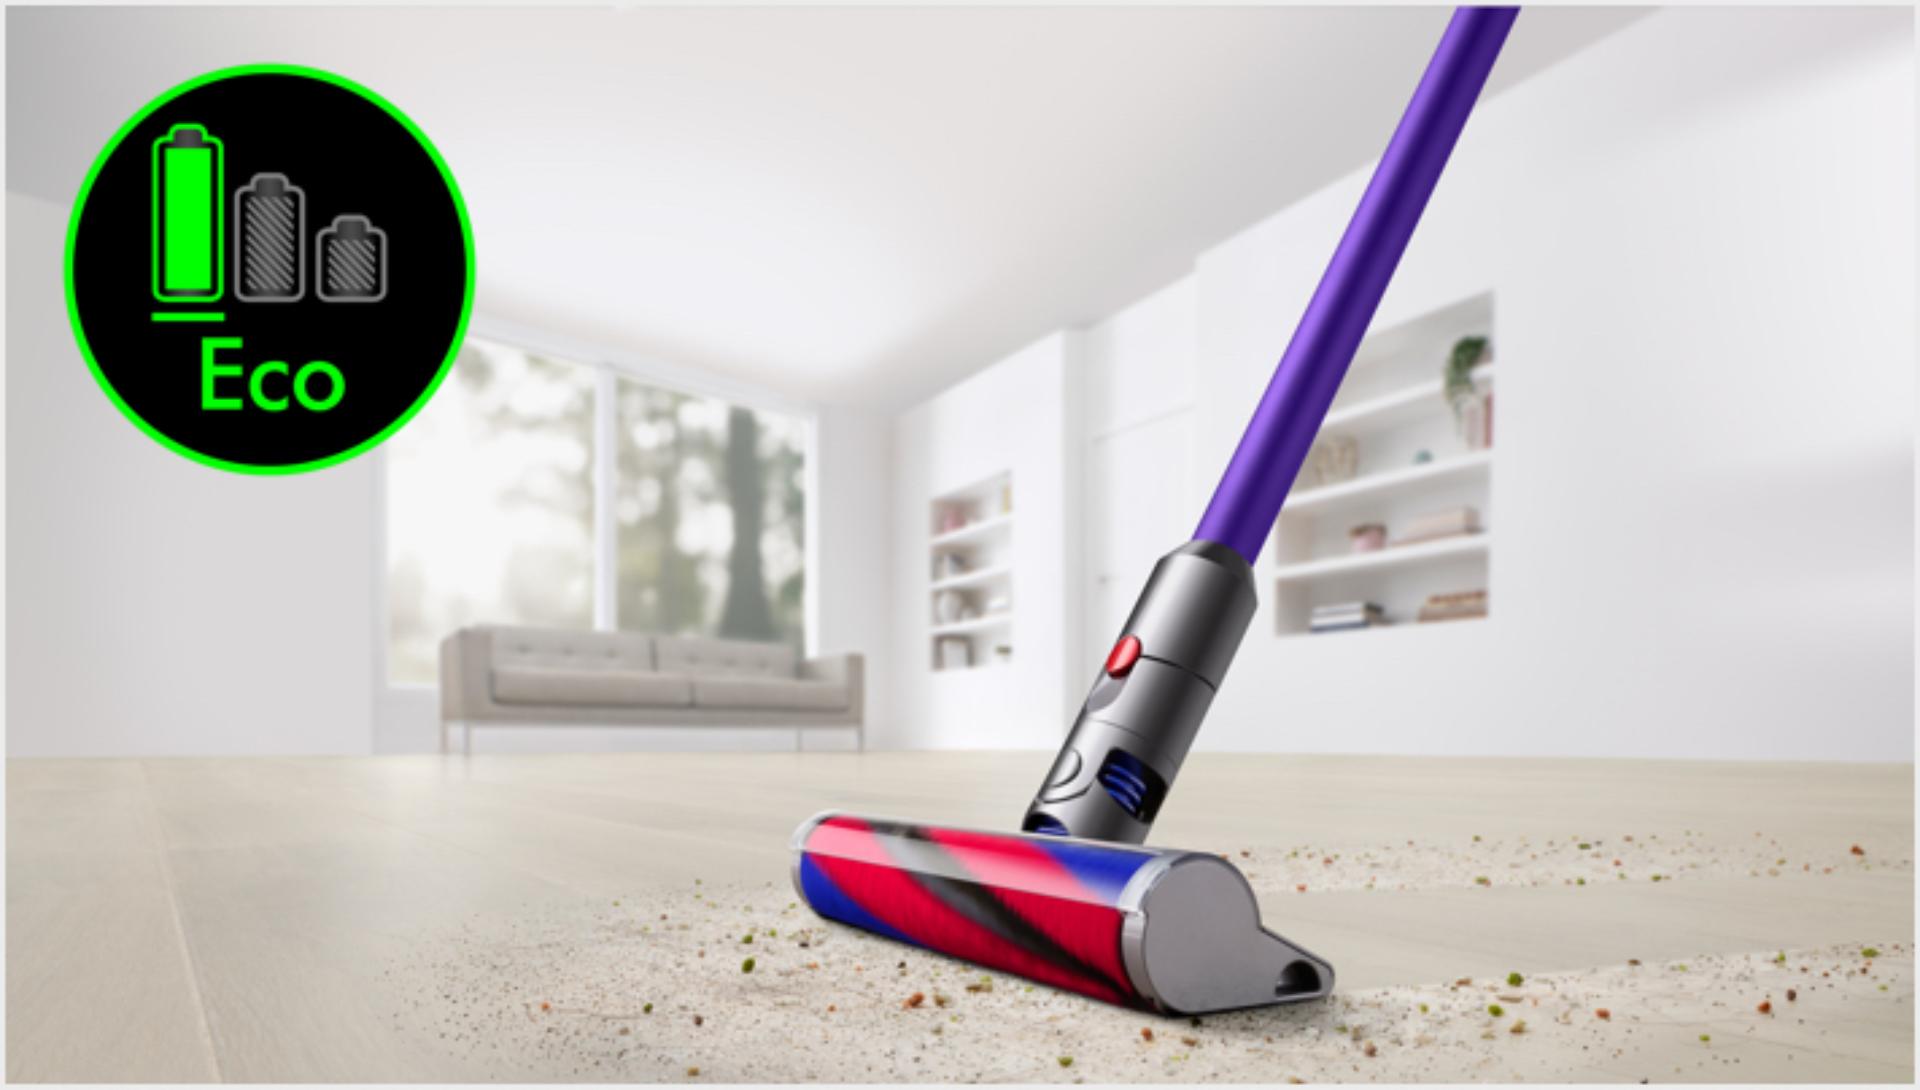
Eco mode
The default mode for your machine. Up to 40 minutes of run time, for longer cleans all around your home.1
-
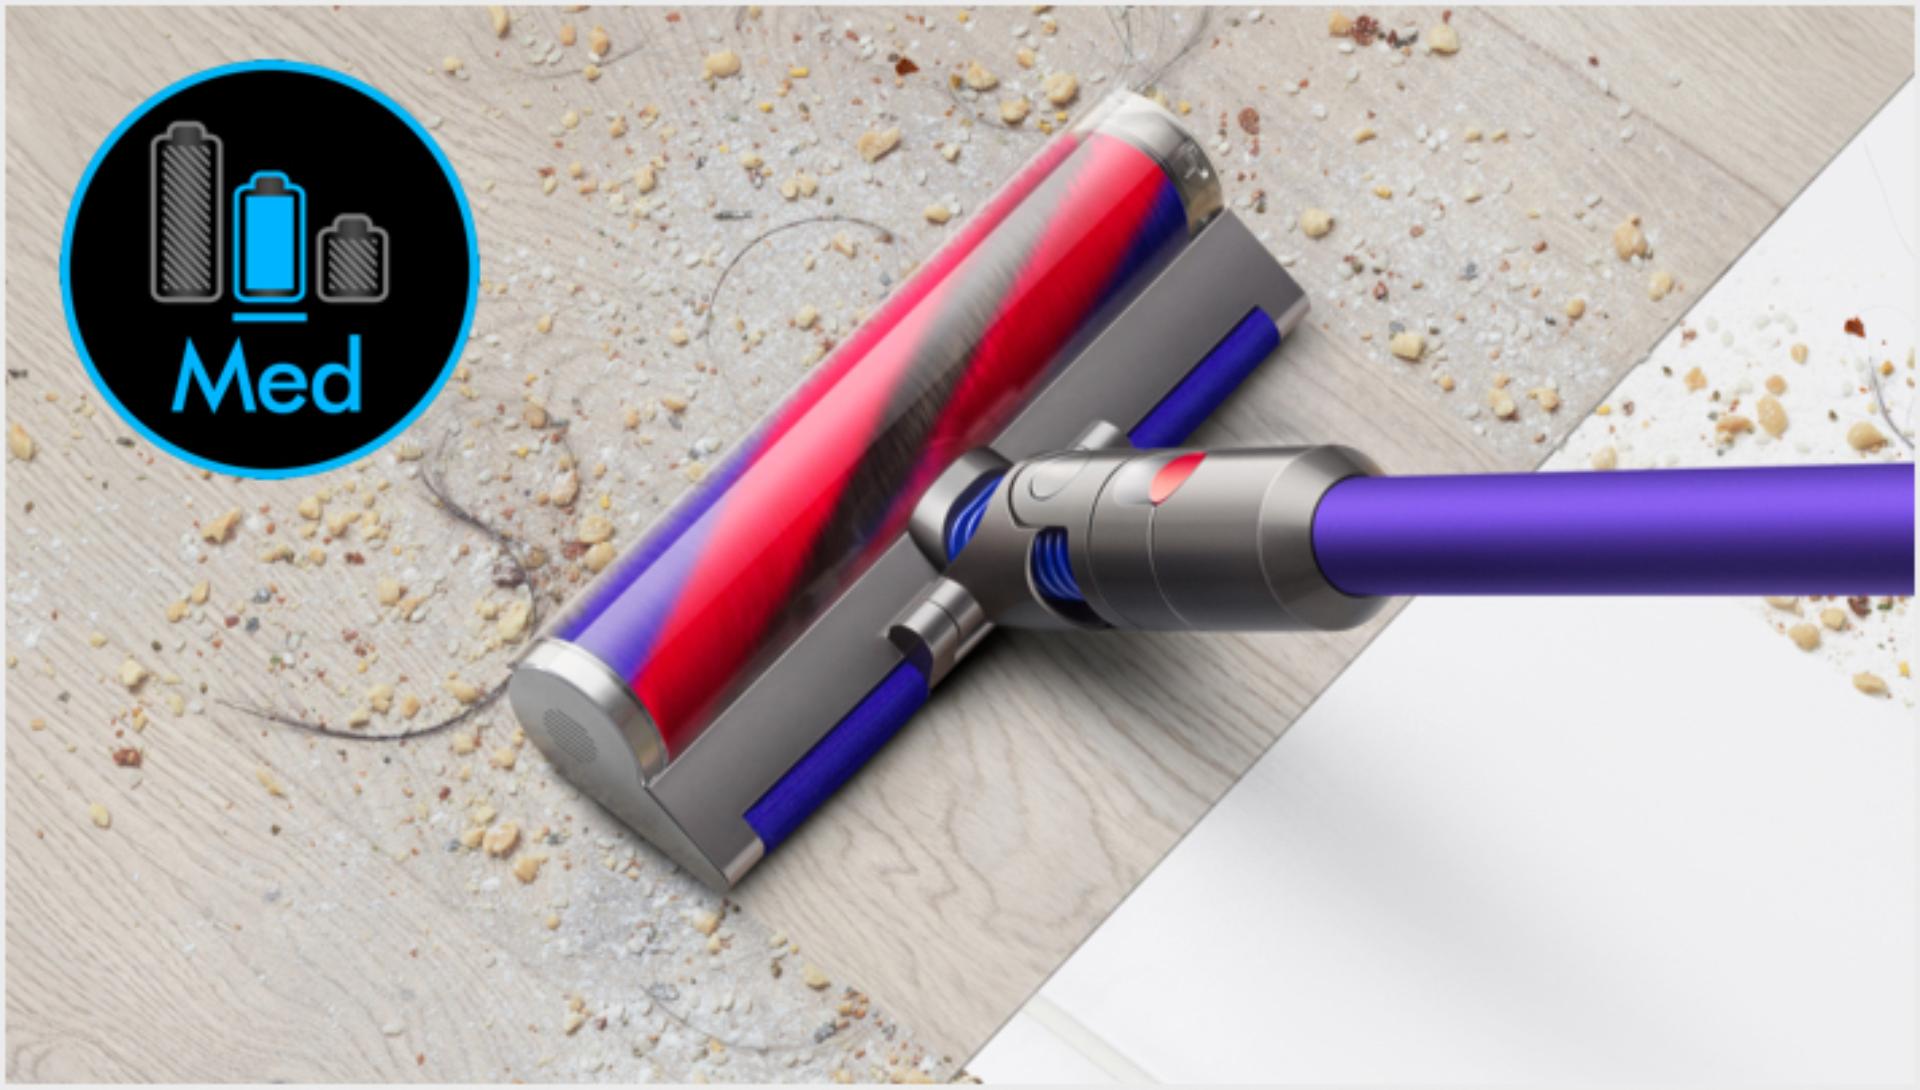
Med mode
The optimum balance of power and run time.
-
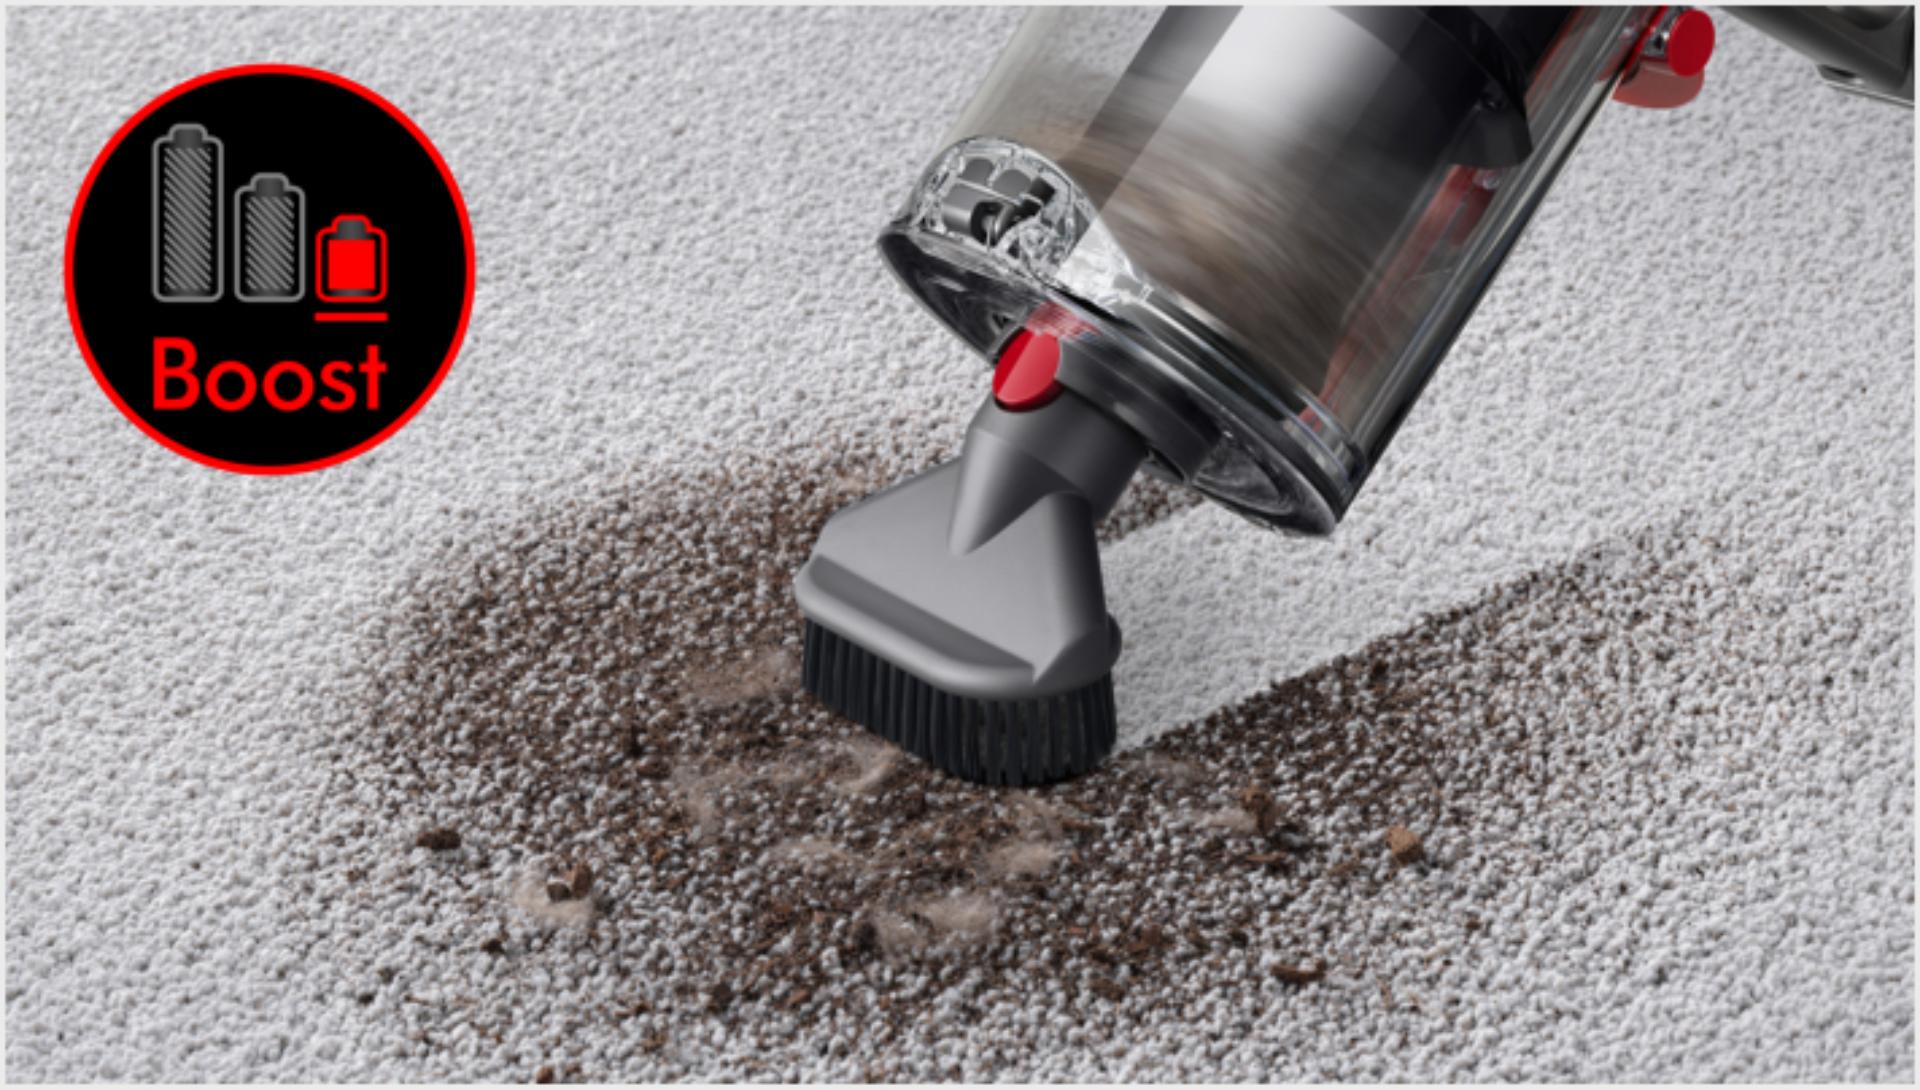
Boost mode
Designed for intensive spot cleaning, with up to five minutes of run time.
Choosing the right tool for the task
-
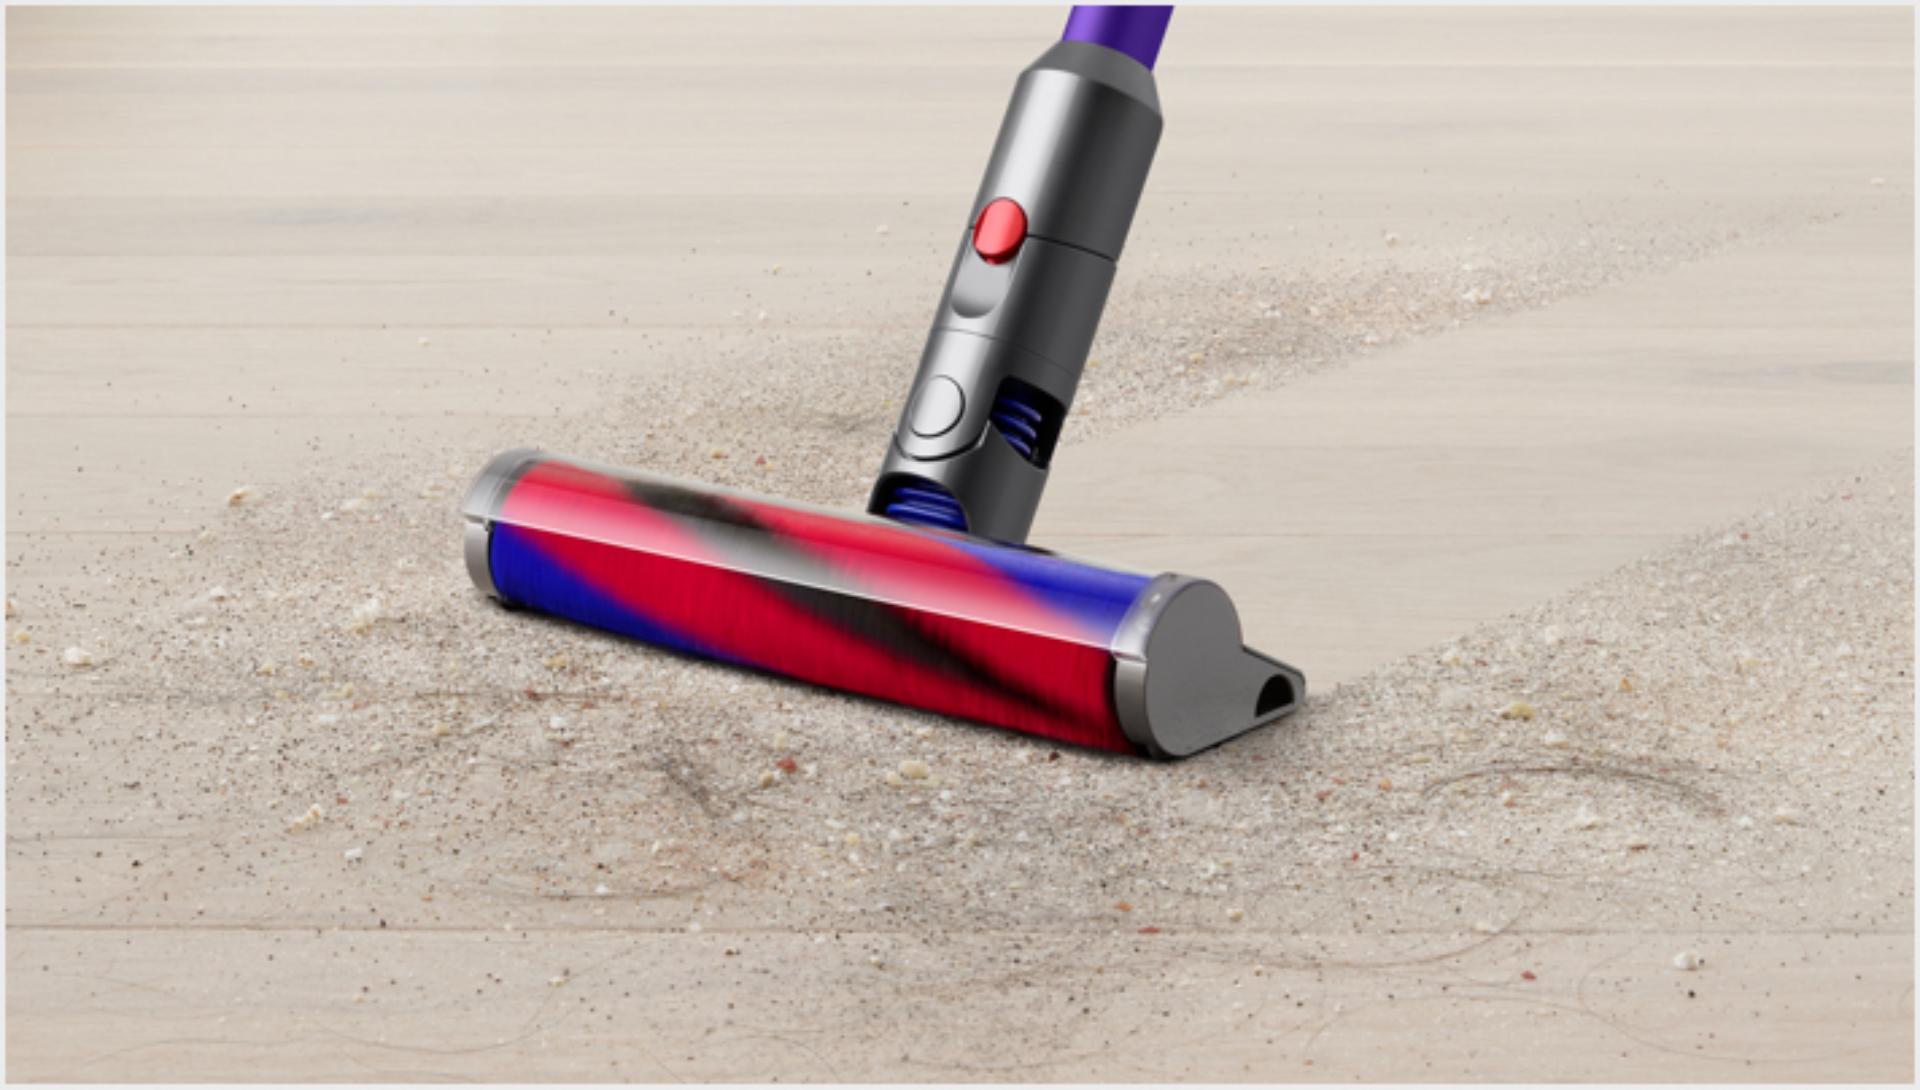
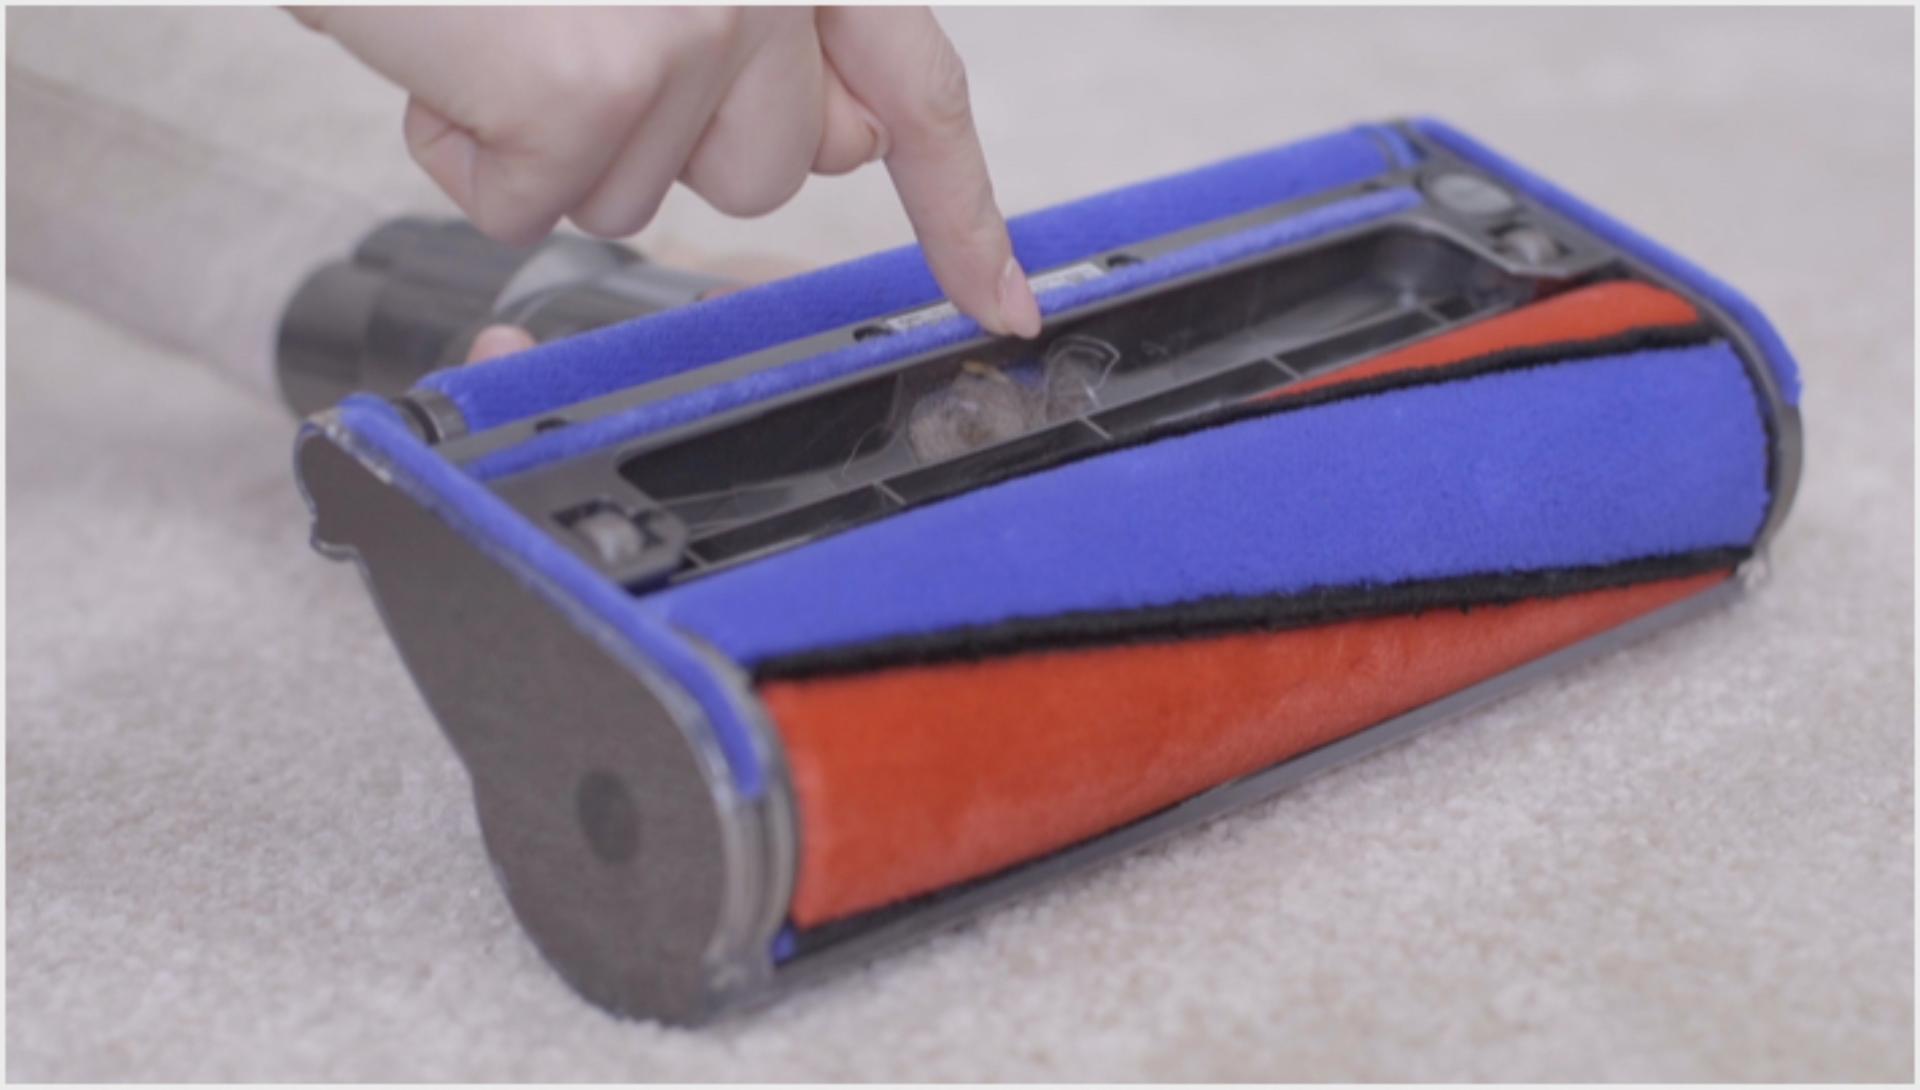
Slim FluffyTM cleaner head
Engineered for hard floors. Sucks up fine dust and large debris simultaneously. 40% lighter and smaller than the Fluffy™ cleaner head.
-
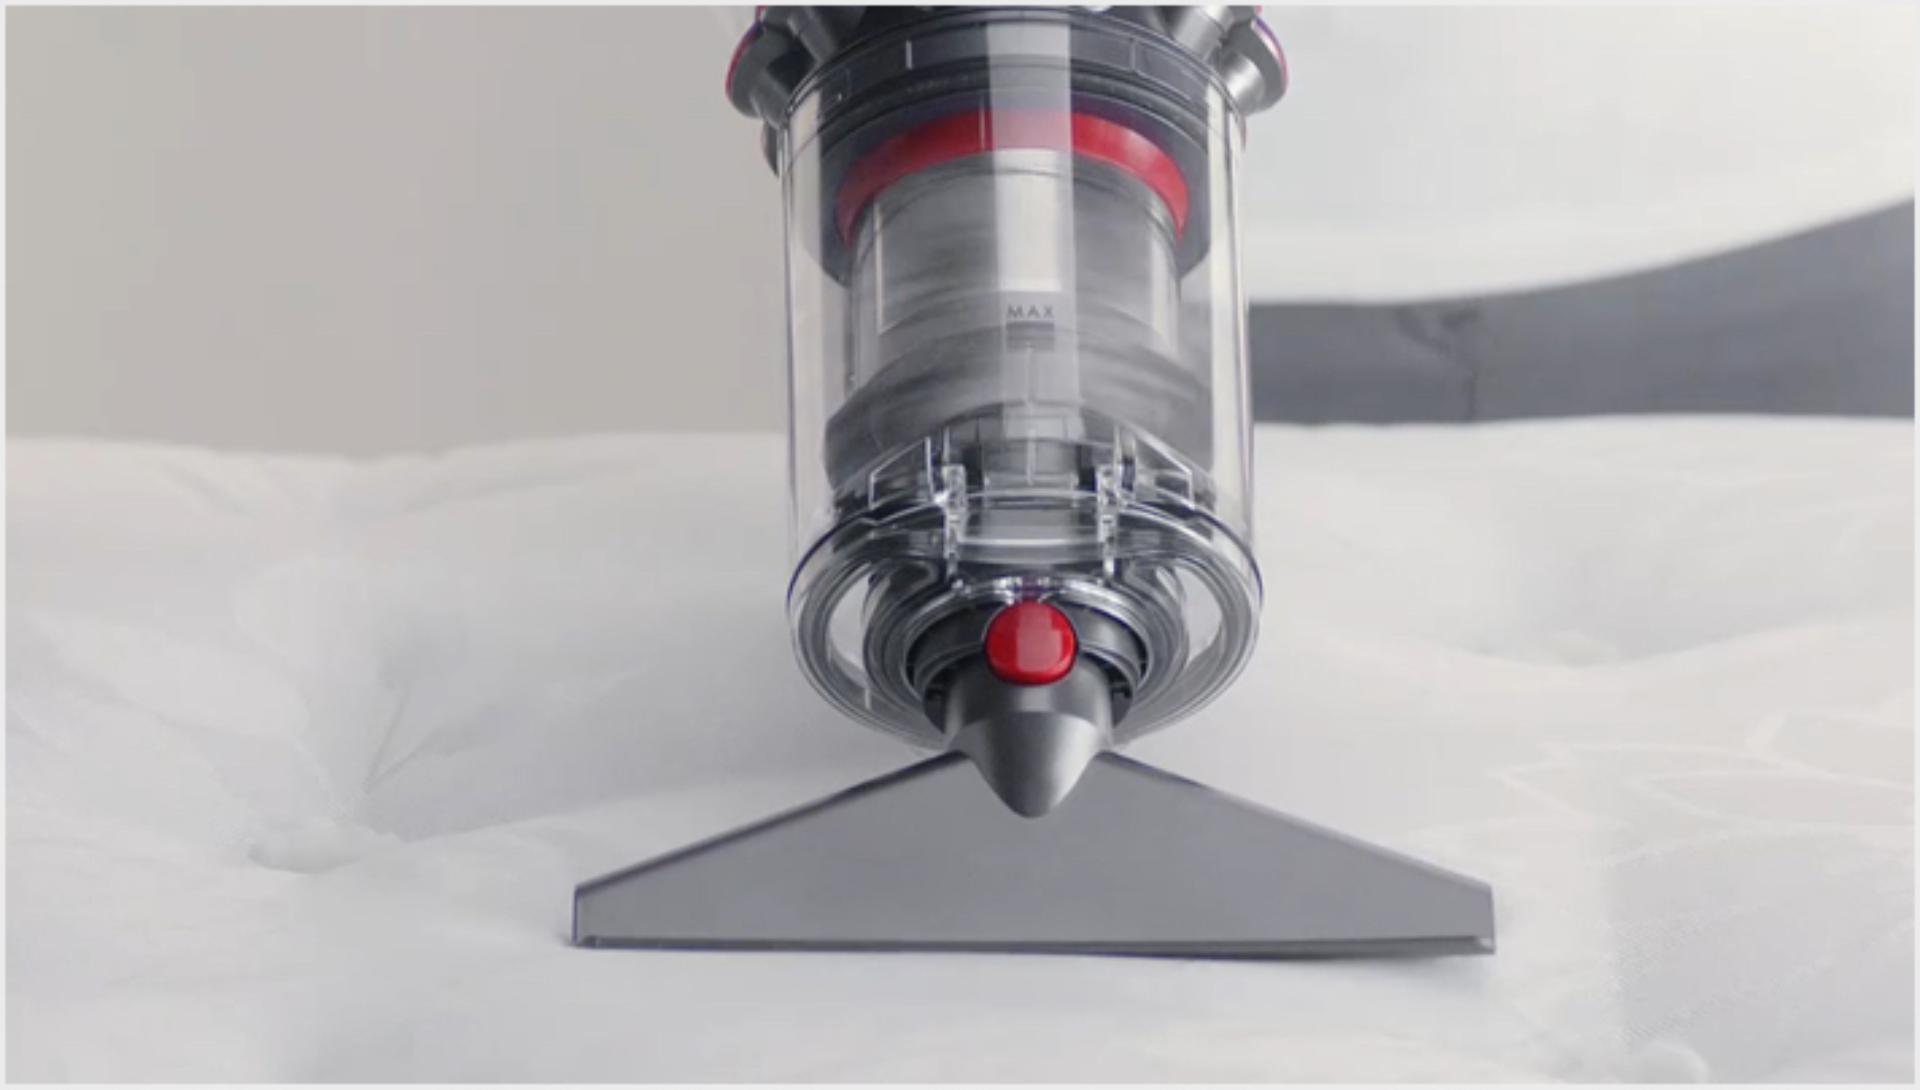
Mattress tool
Removes dirt and debris from mattresses and upholstery.
-
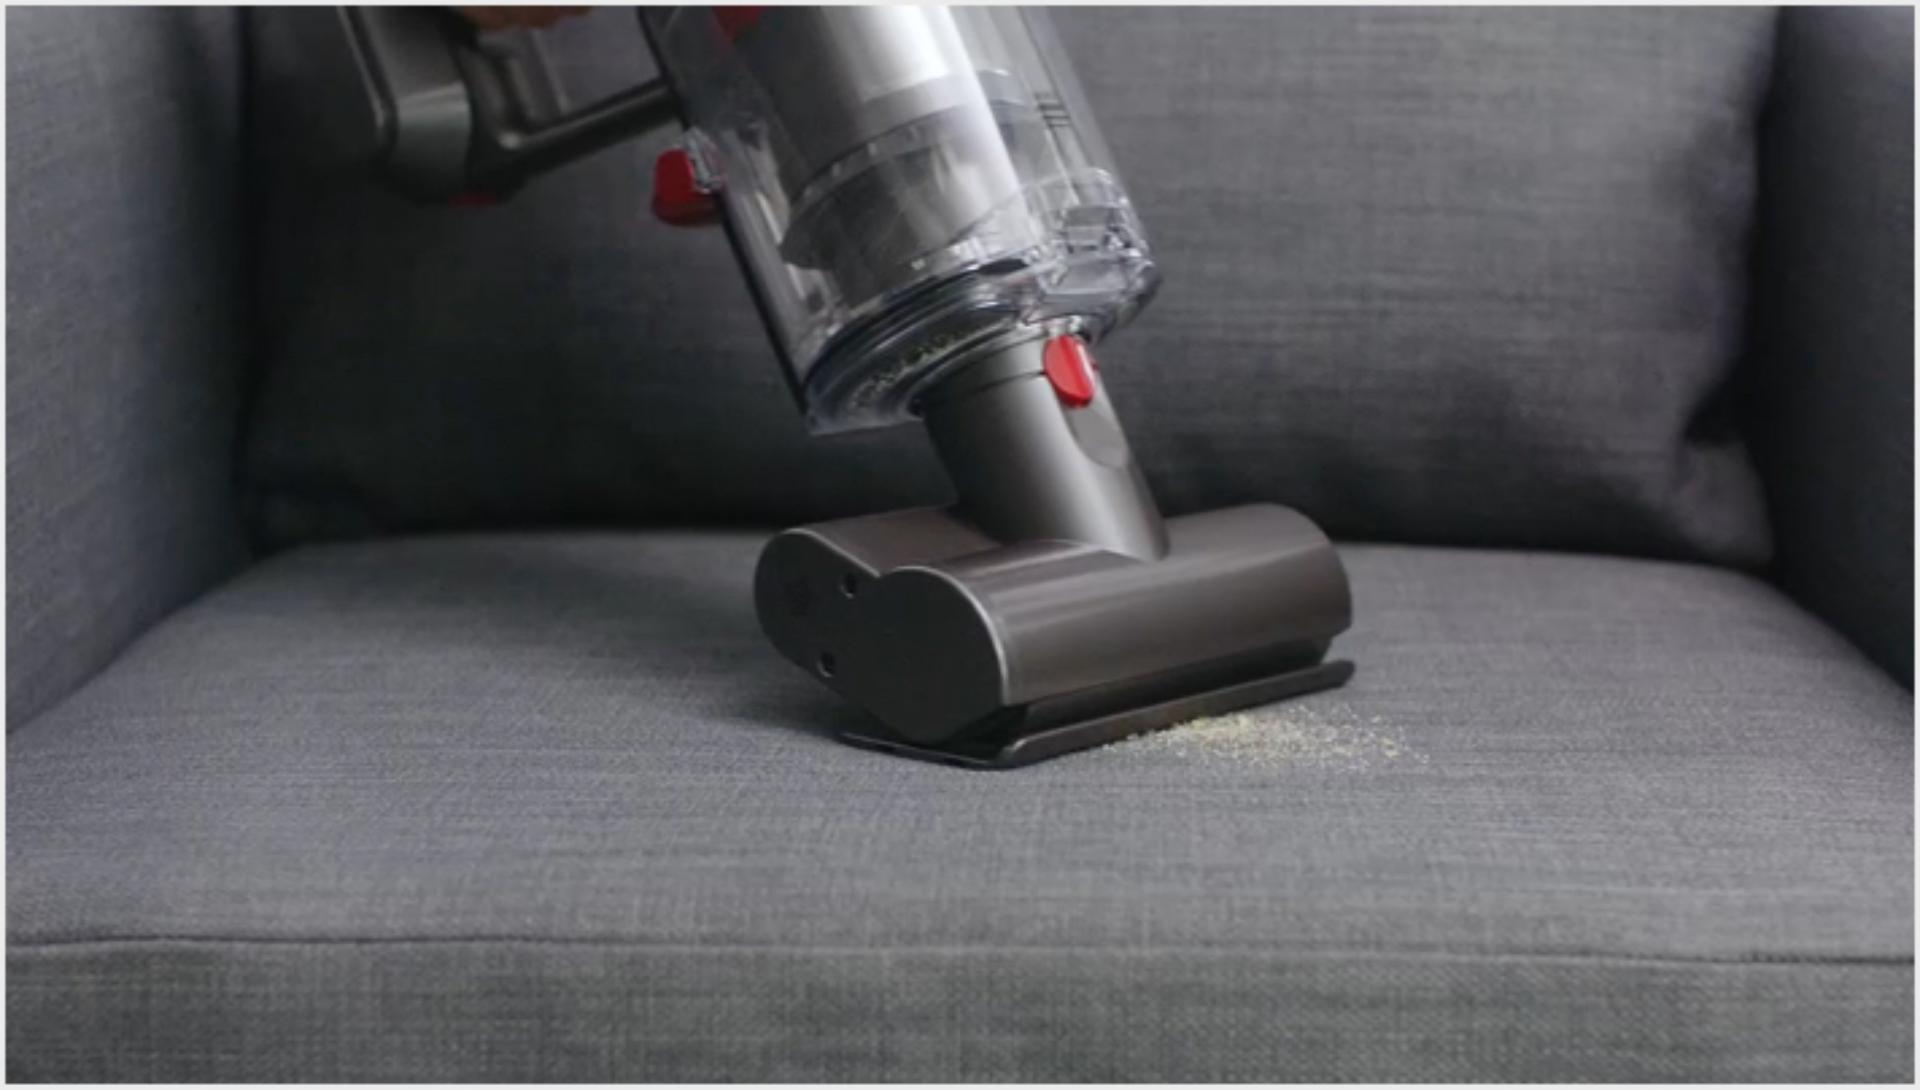
Mini motorised tool
The motorised brush bar tackles hair and dirt in tight spaces. Like sofas, chairs or your car.
-
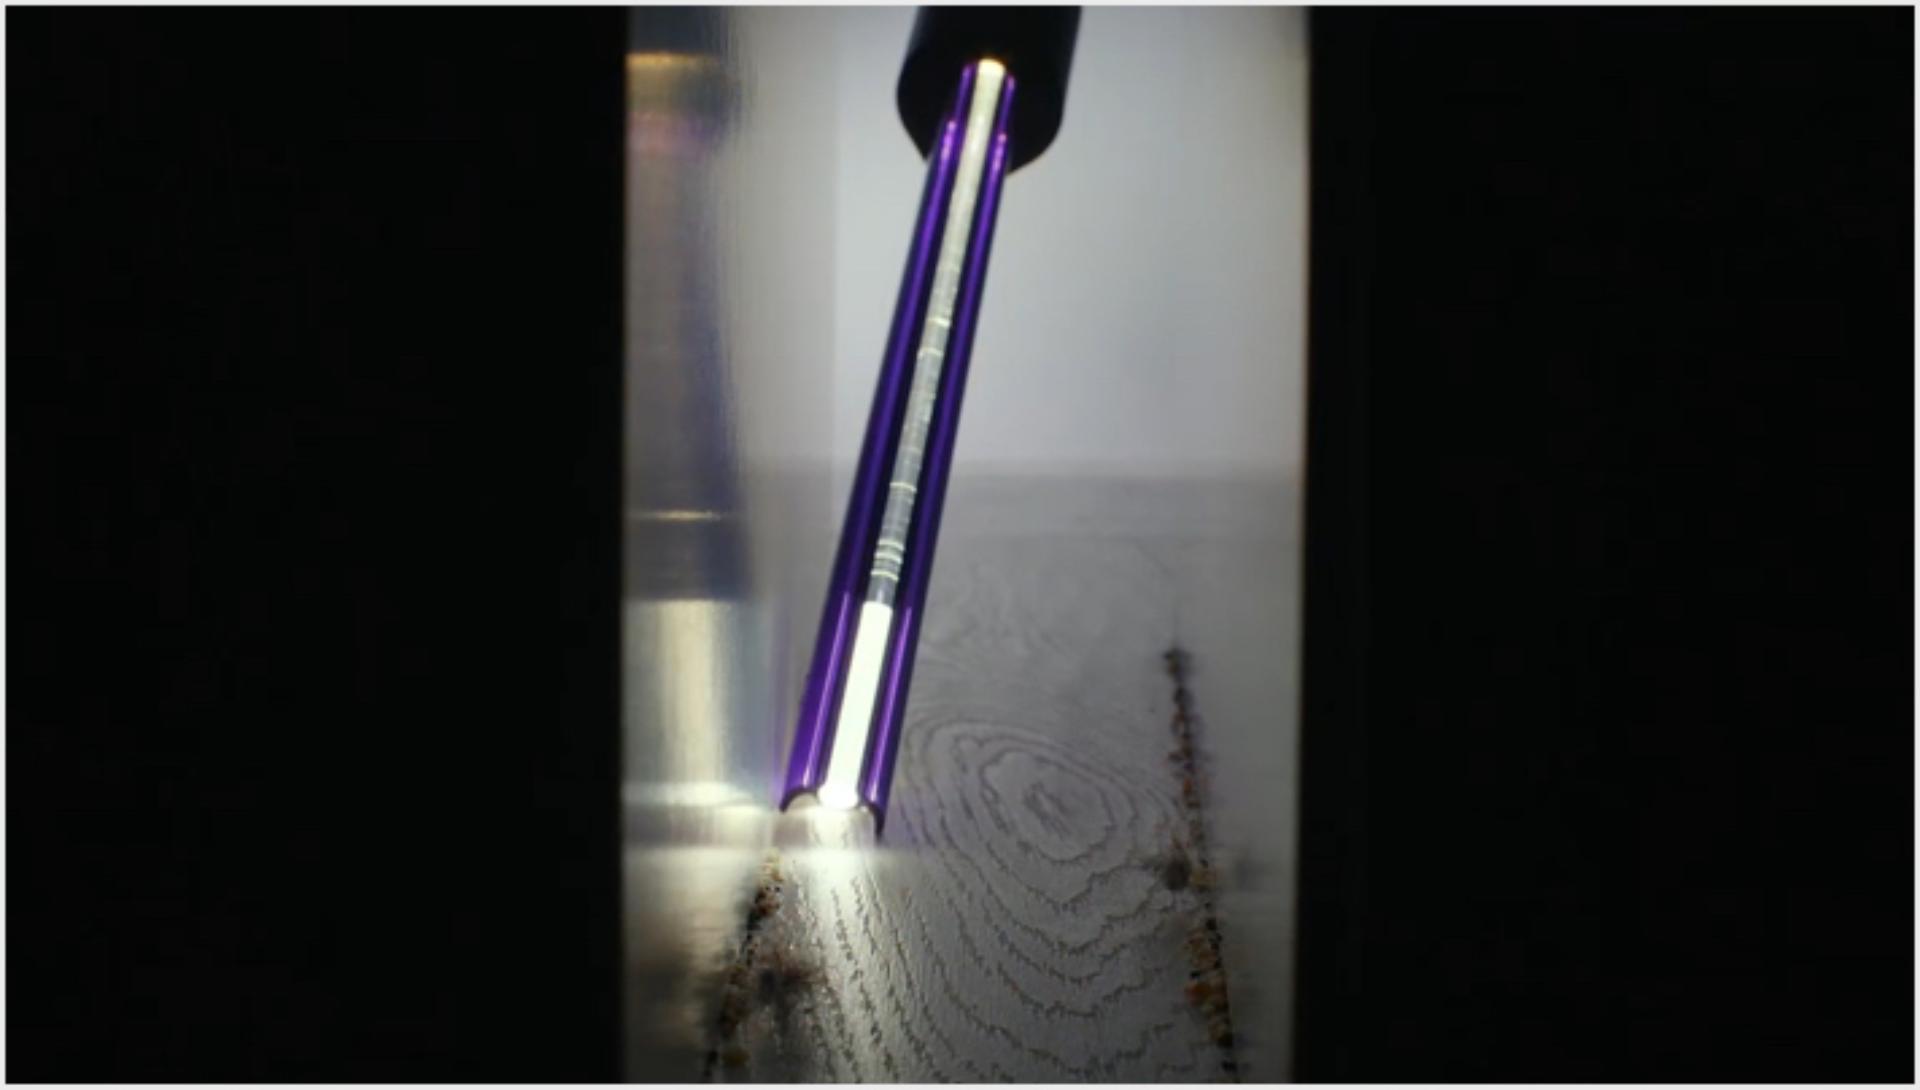
Light-pipe crevice tool
Tackles dust in hard-to-reach places, such as gaps and corners. And shows you where you're cleaning, even in dark spaces.
-
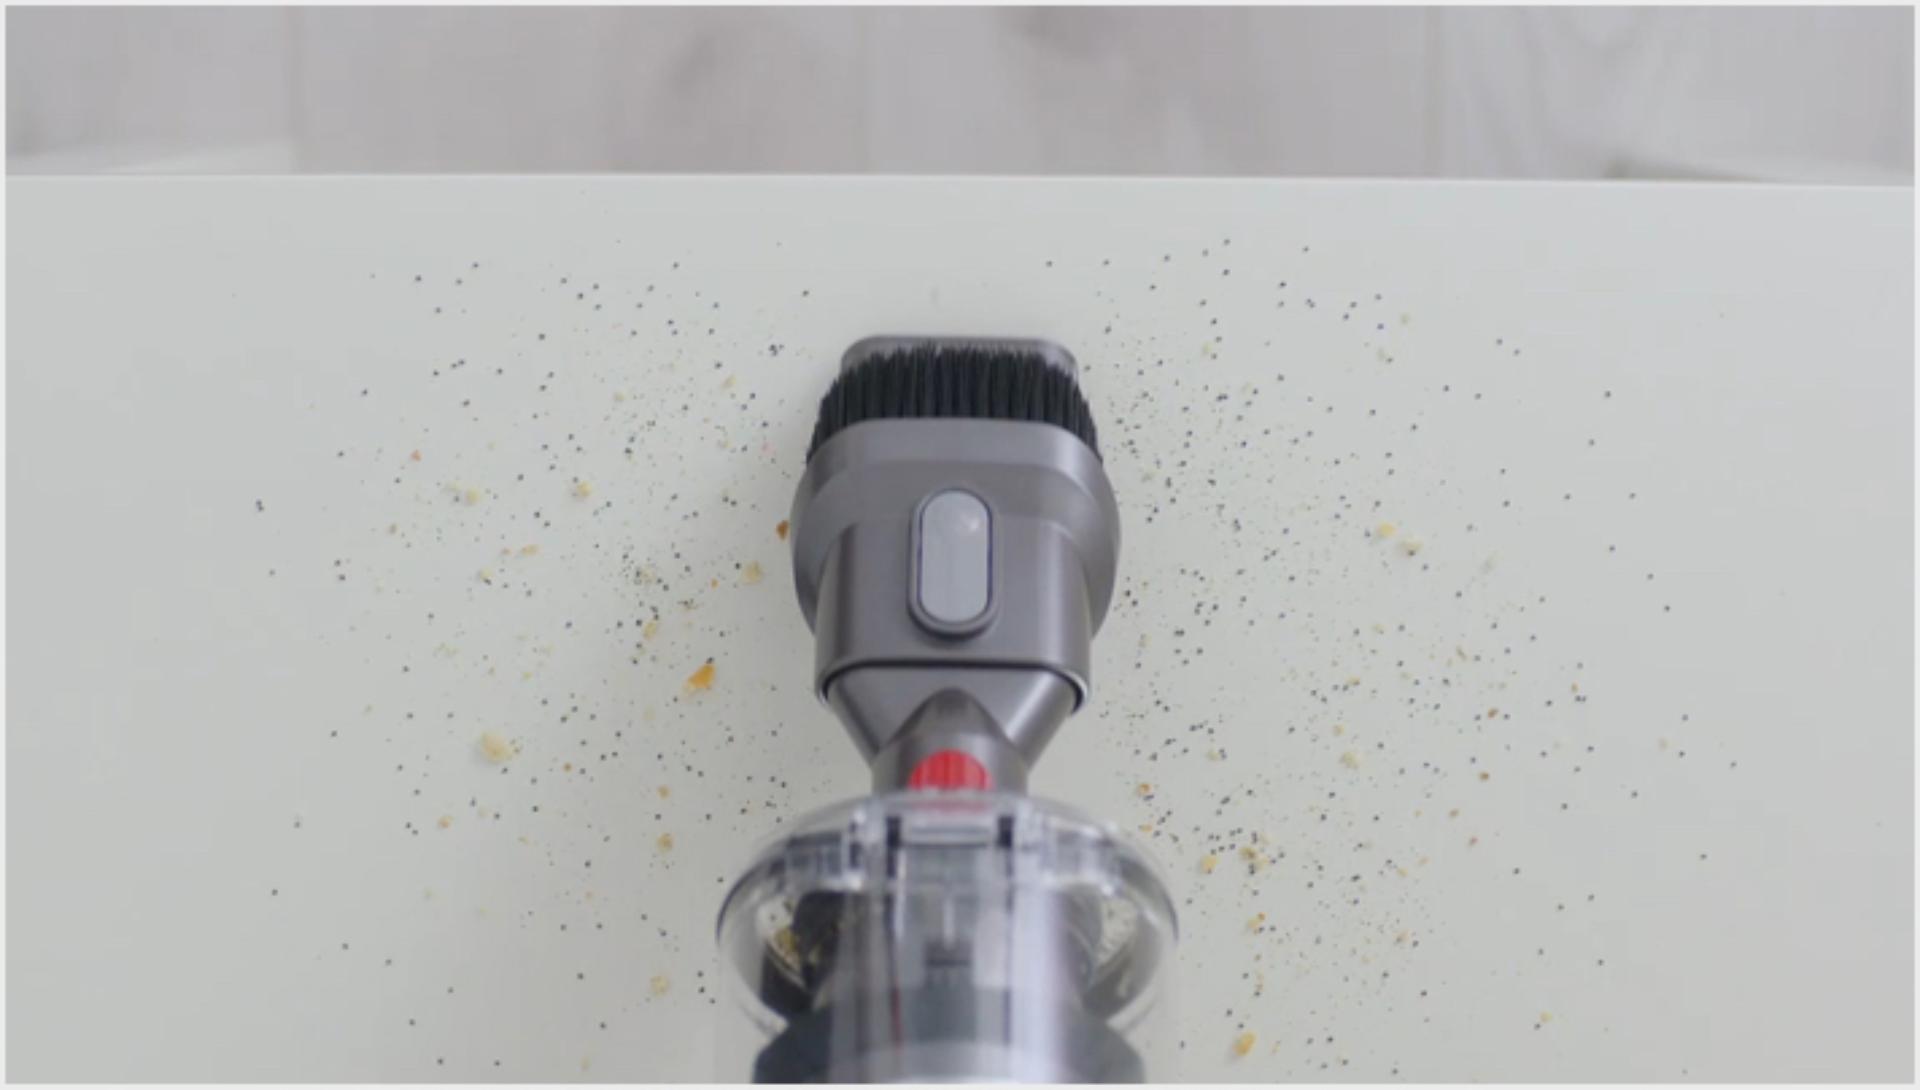
Combination tool
Two tools in one, for versatile cleaning. Its stiff nylon bristles are tough enough to remove ground-in dirt.
-
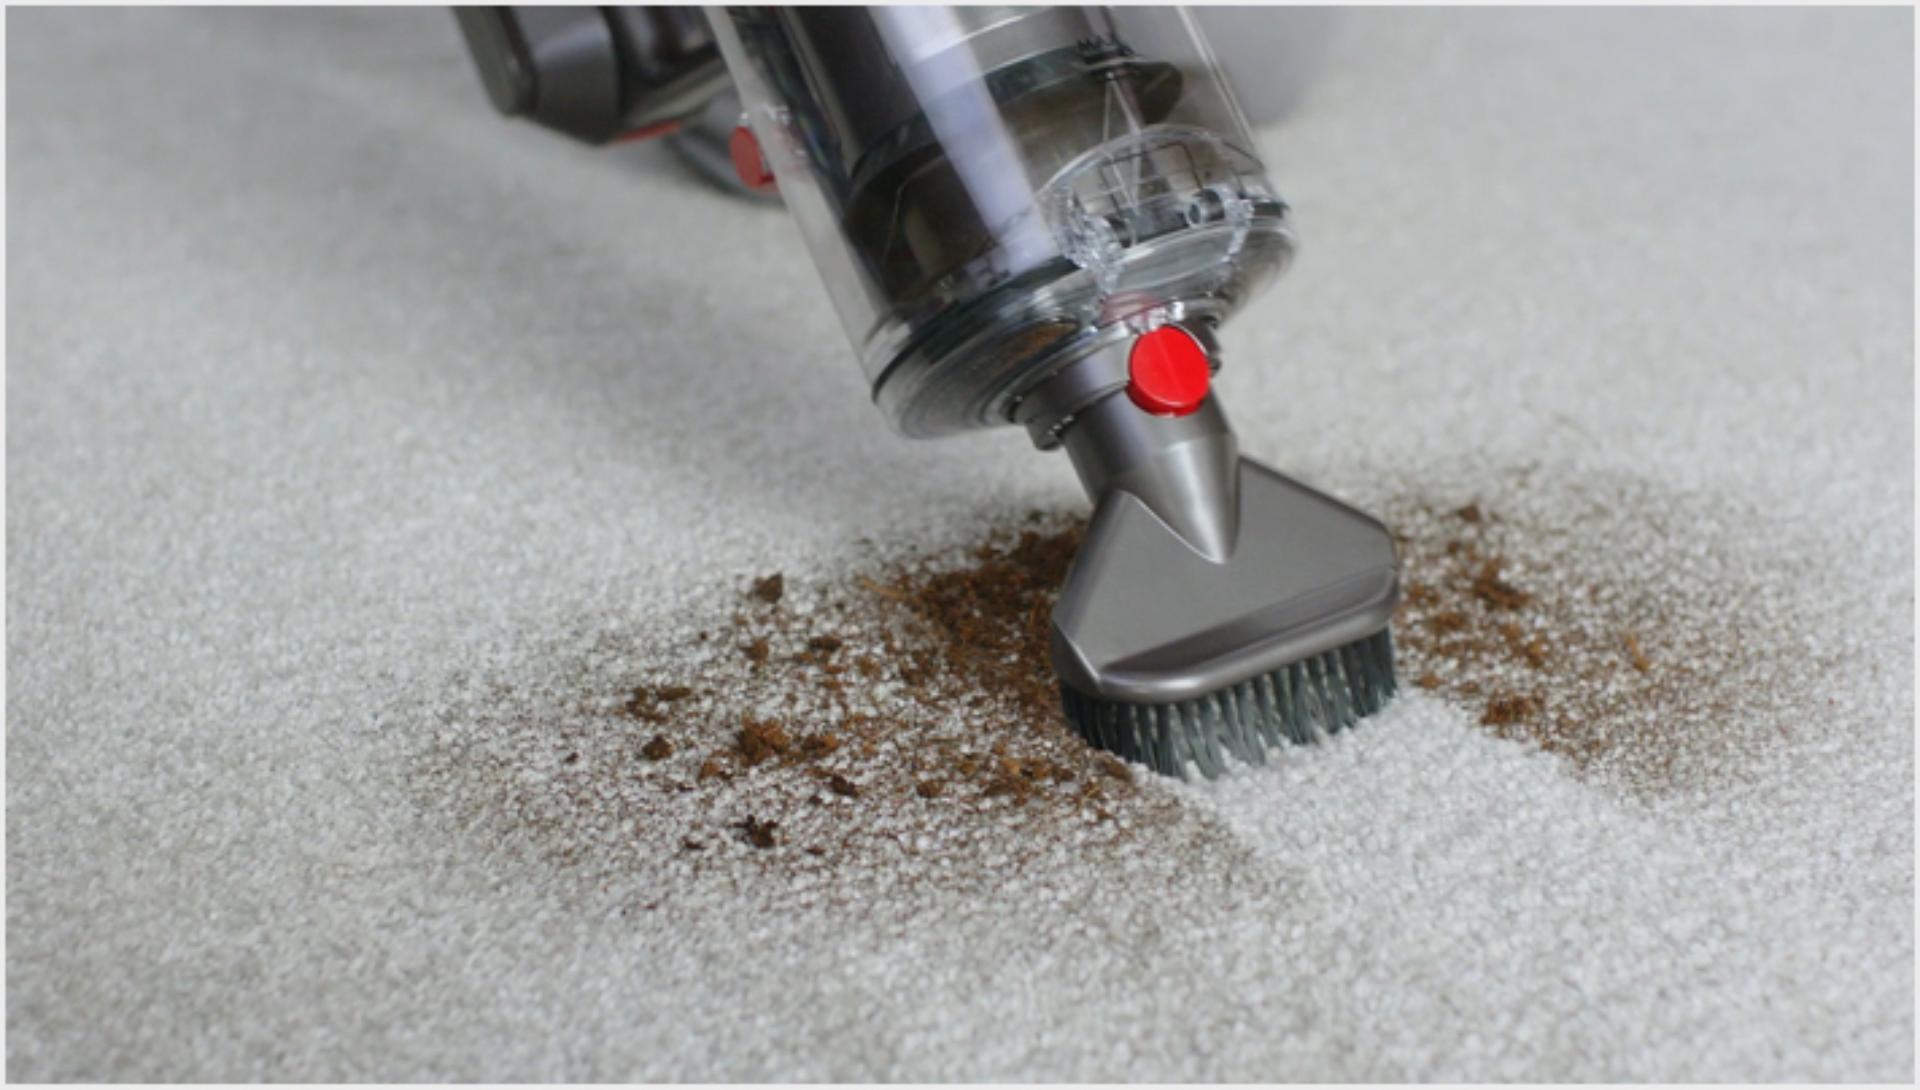
Stubborn dirt brush
The stiff bristles remove mud and dried-in dirt.
-
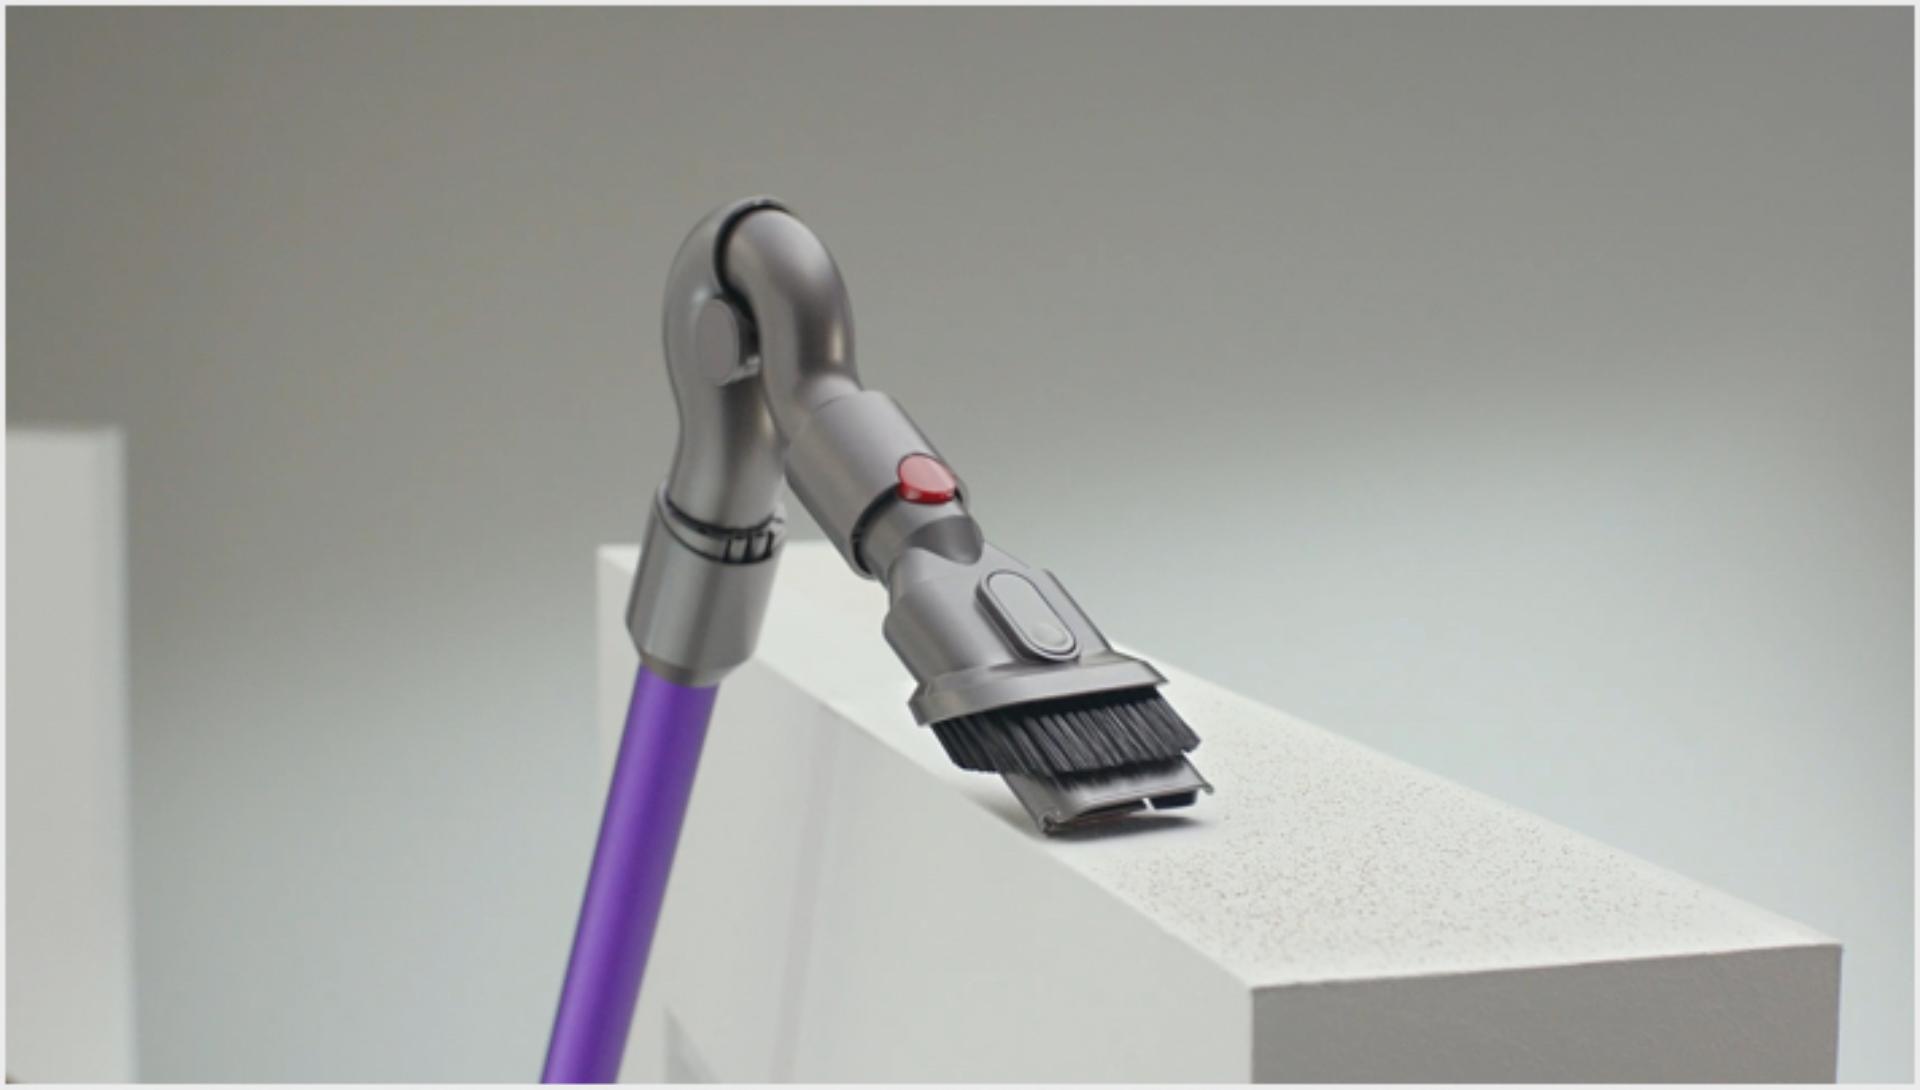
Up-top adaptor
Twists and locks at different angles for effective cleaning in high-up areas of your home.
-
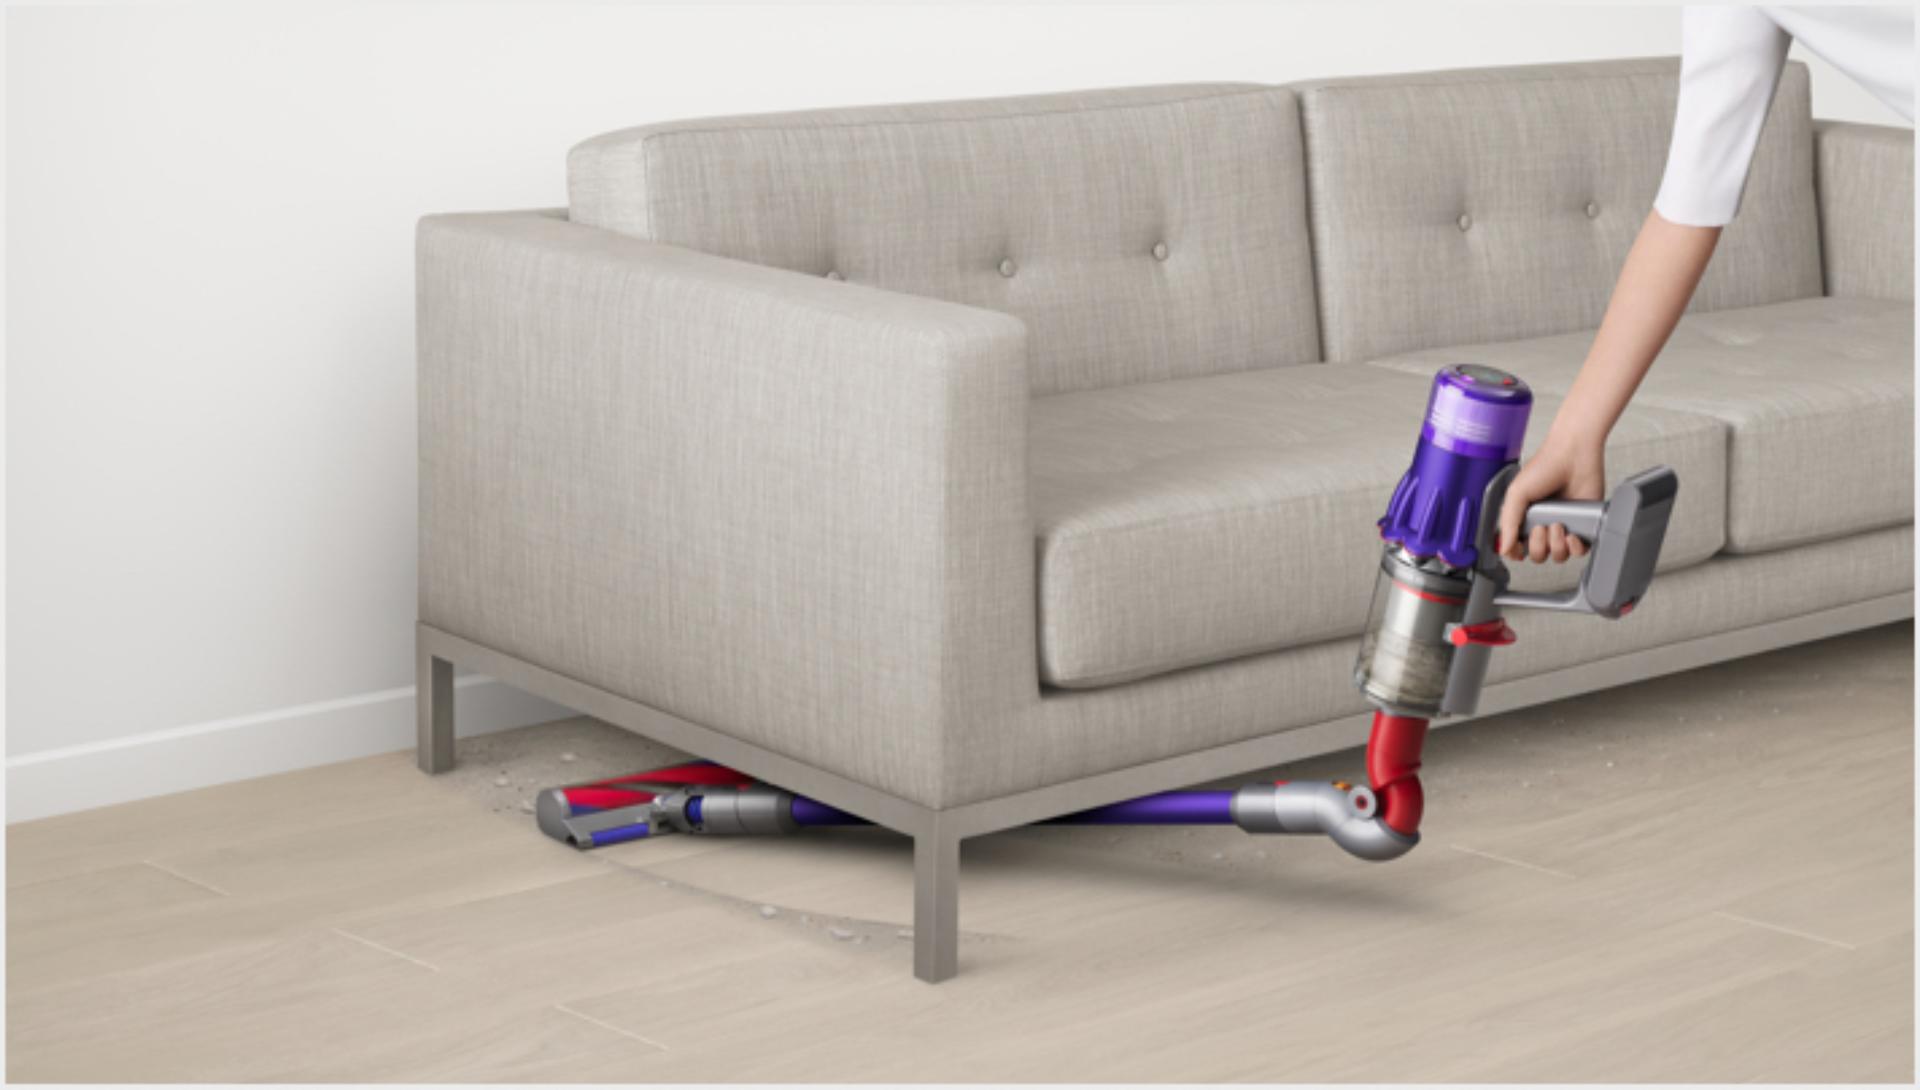
Low-reach Adaptor
Extends, bends and twists to remove dust from awkward spaces.
-
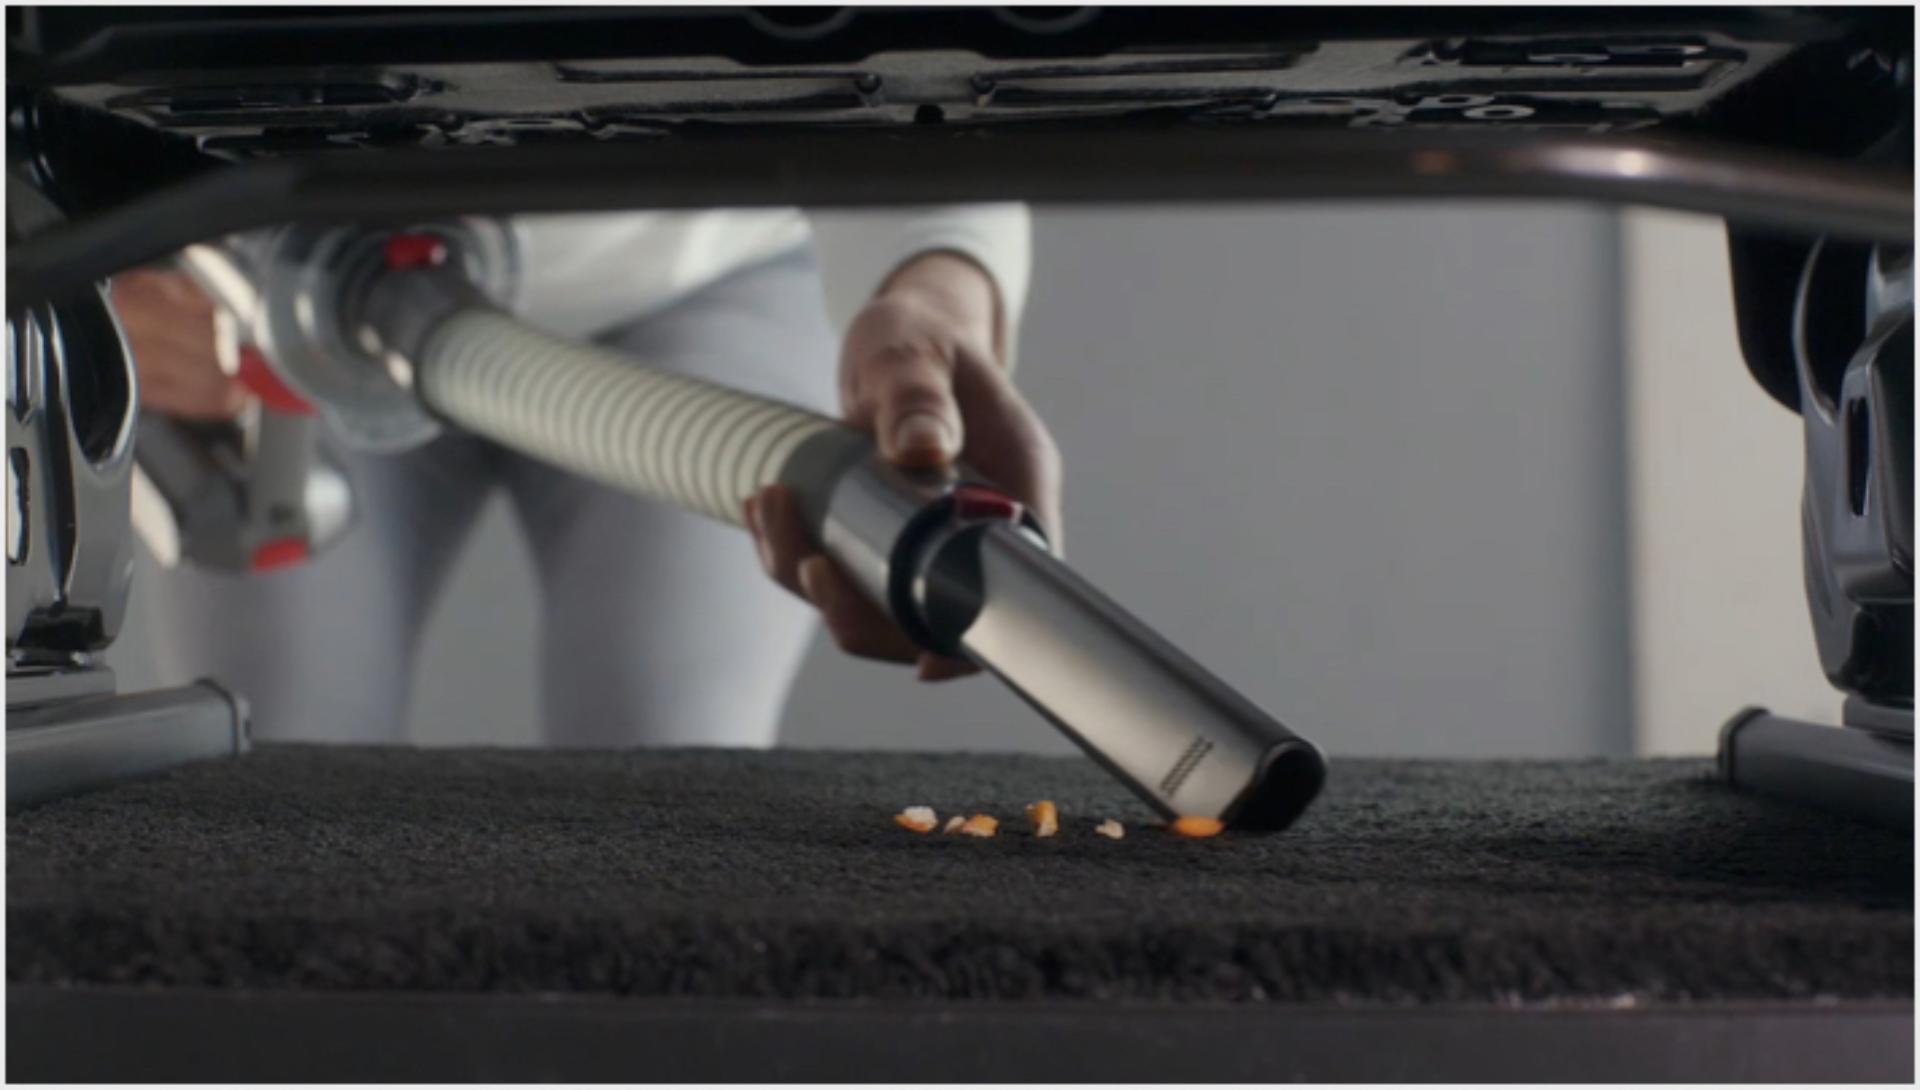
Extension hose
Combines with other Dyson tools to provide a longer reach.
-
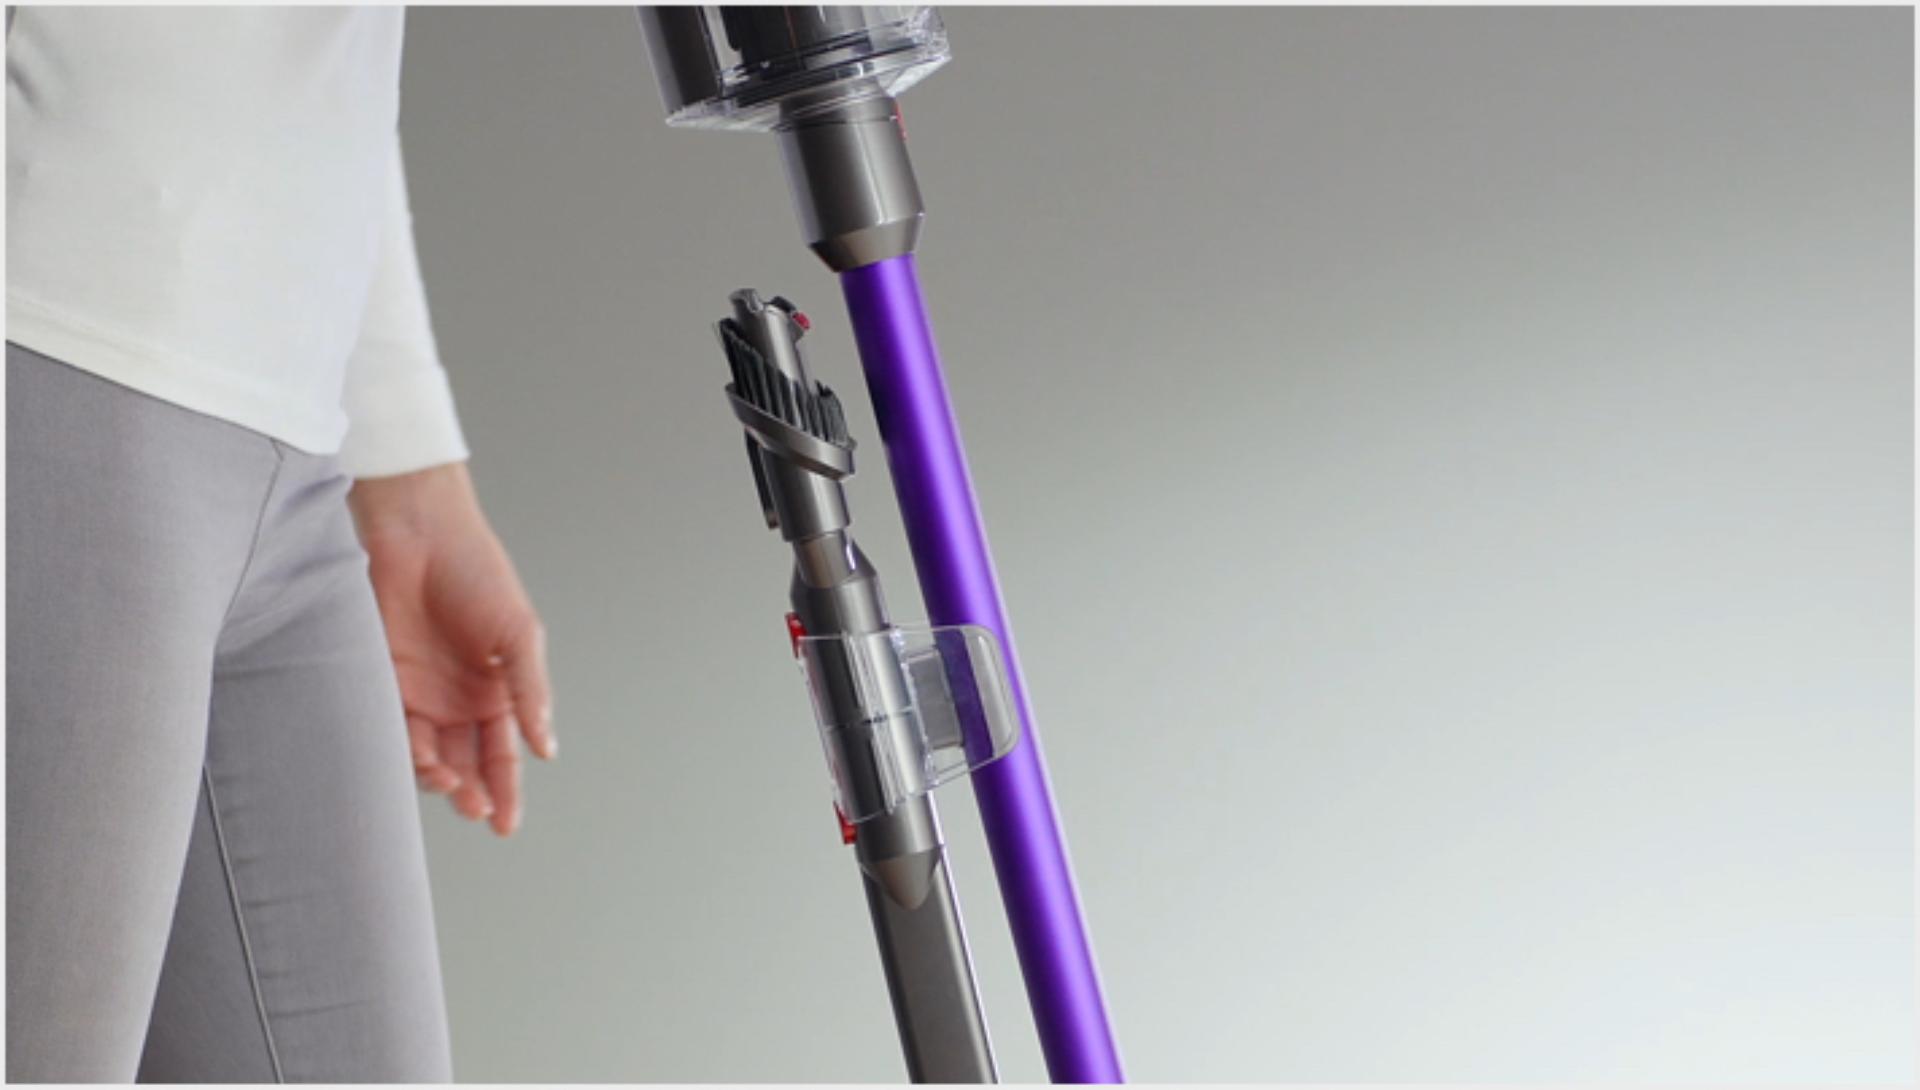
Wand storage clip
Handily stores the Combination and Crevice tools on the wand of your vacuum.
-
-
Using the LCD screen
The LCD screen shows current performance, including selected cleaning mode, remaining run time, filter maintenance reminders and blockage reports.

How to swap your click-in battery
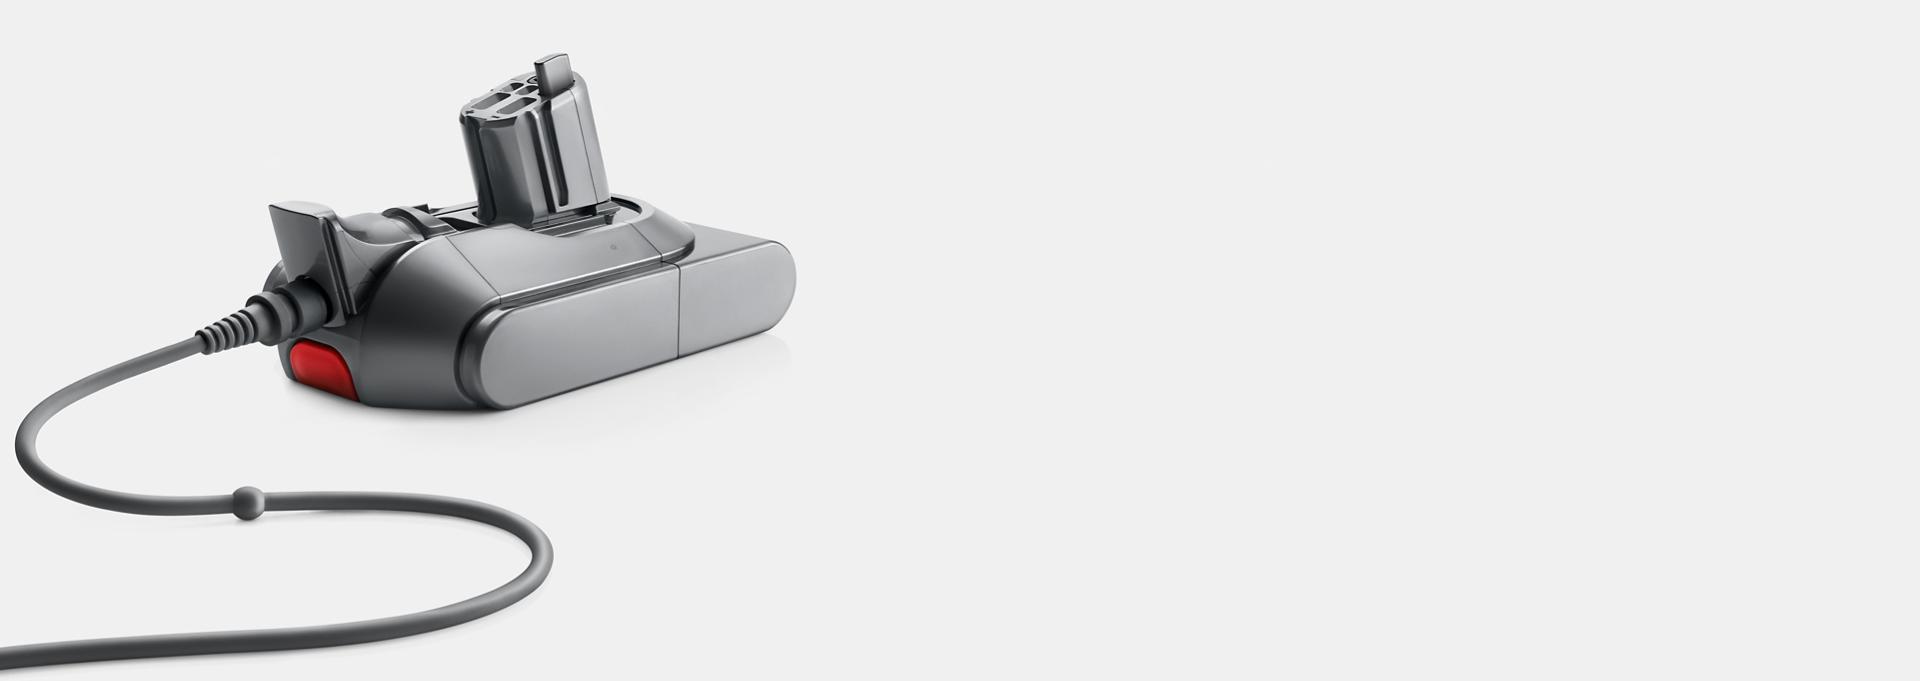
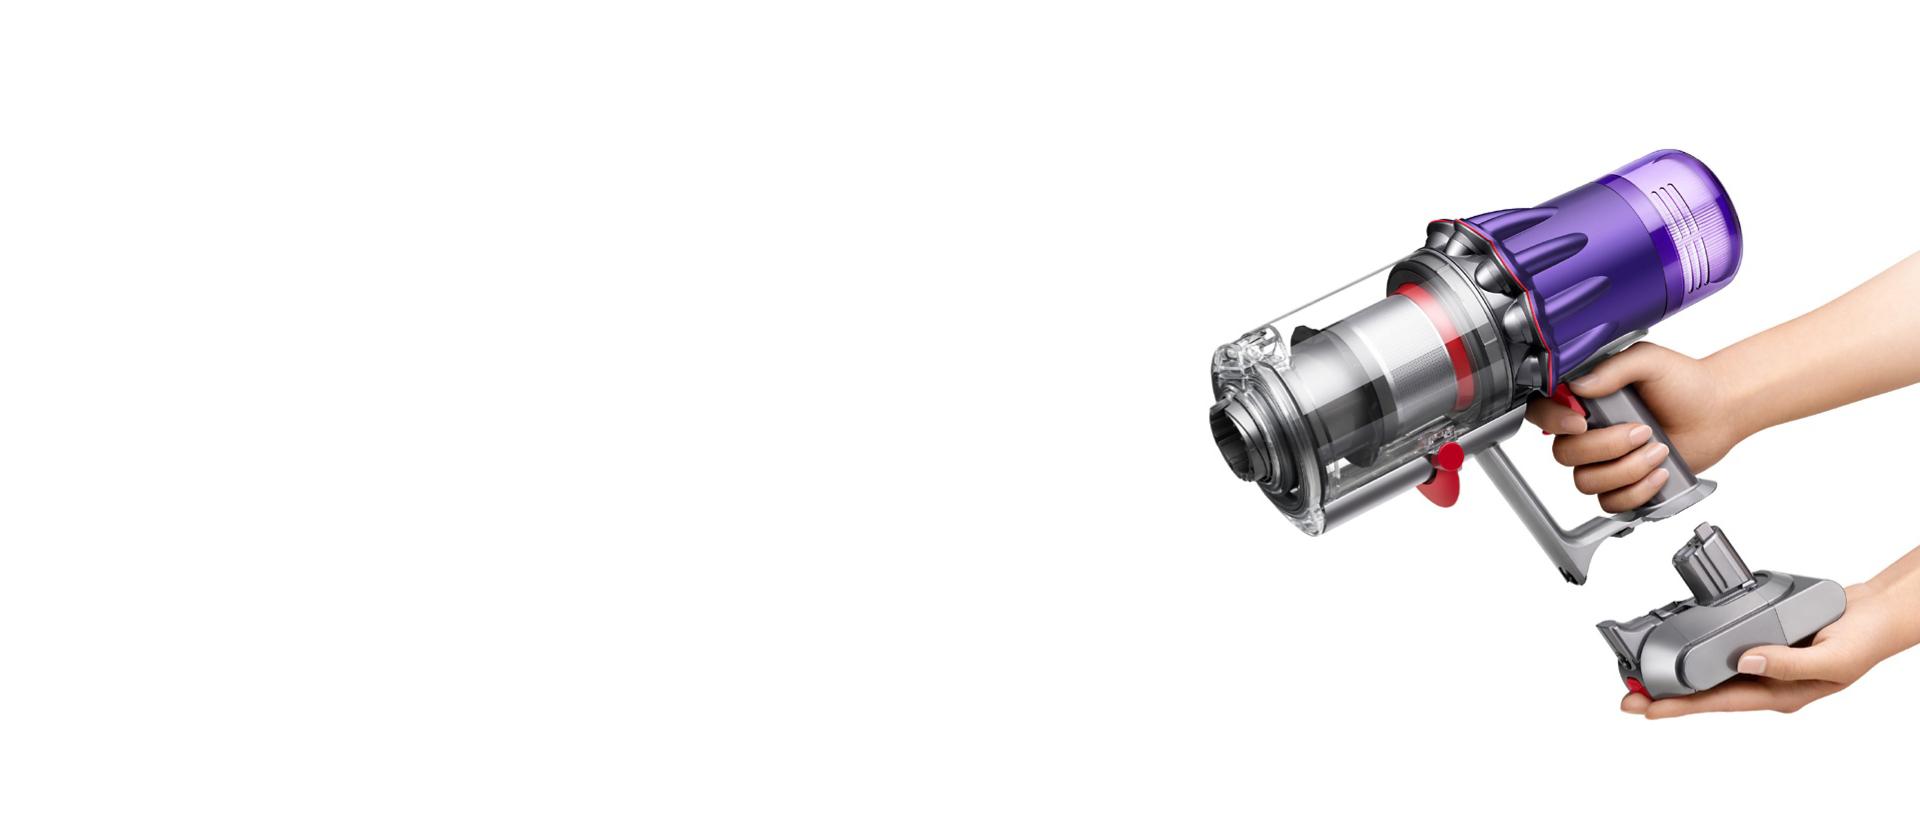
To swap your battery, press the red battery release button and pull the battery away from the handle. Then replace it with an additional click-in battery. We recommend alternating and charging all click-in batteries regularly to prolong battery health.
Maintaining your machine
From cleaning the bin to washing the filter, our quick guide will help you keep your machine working at its best.
-
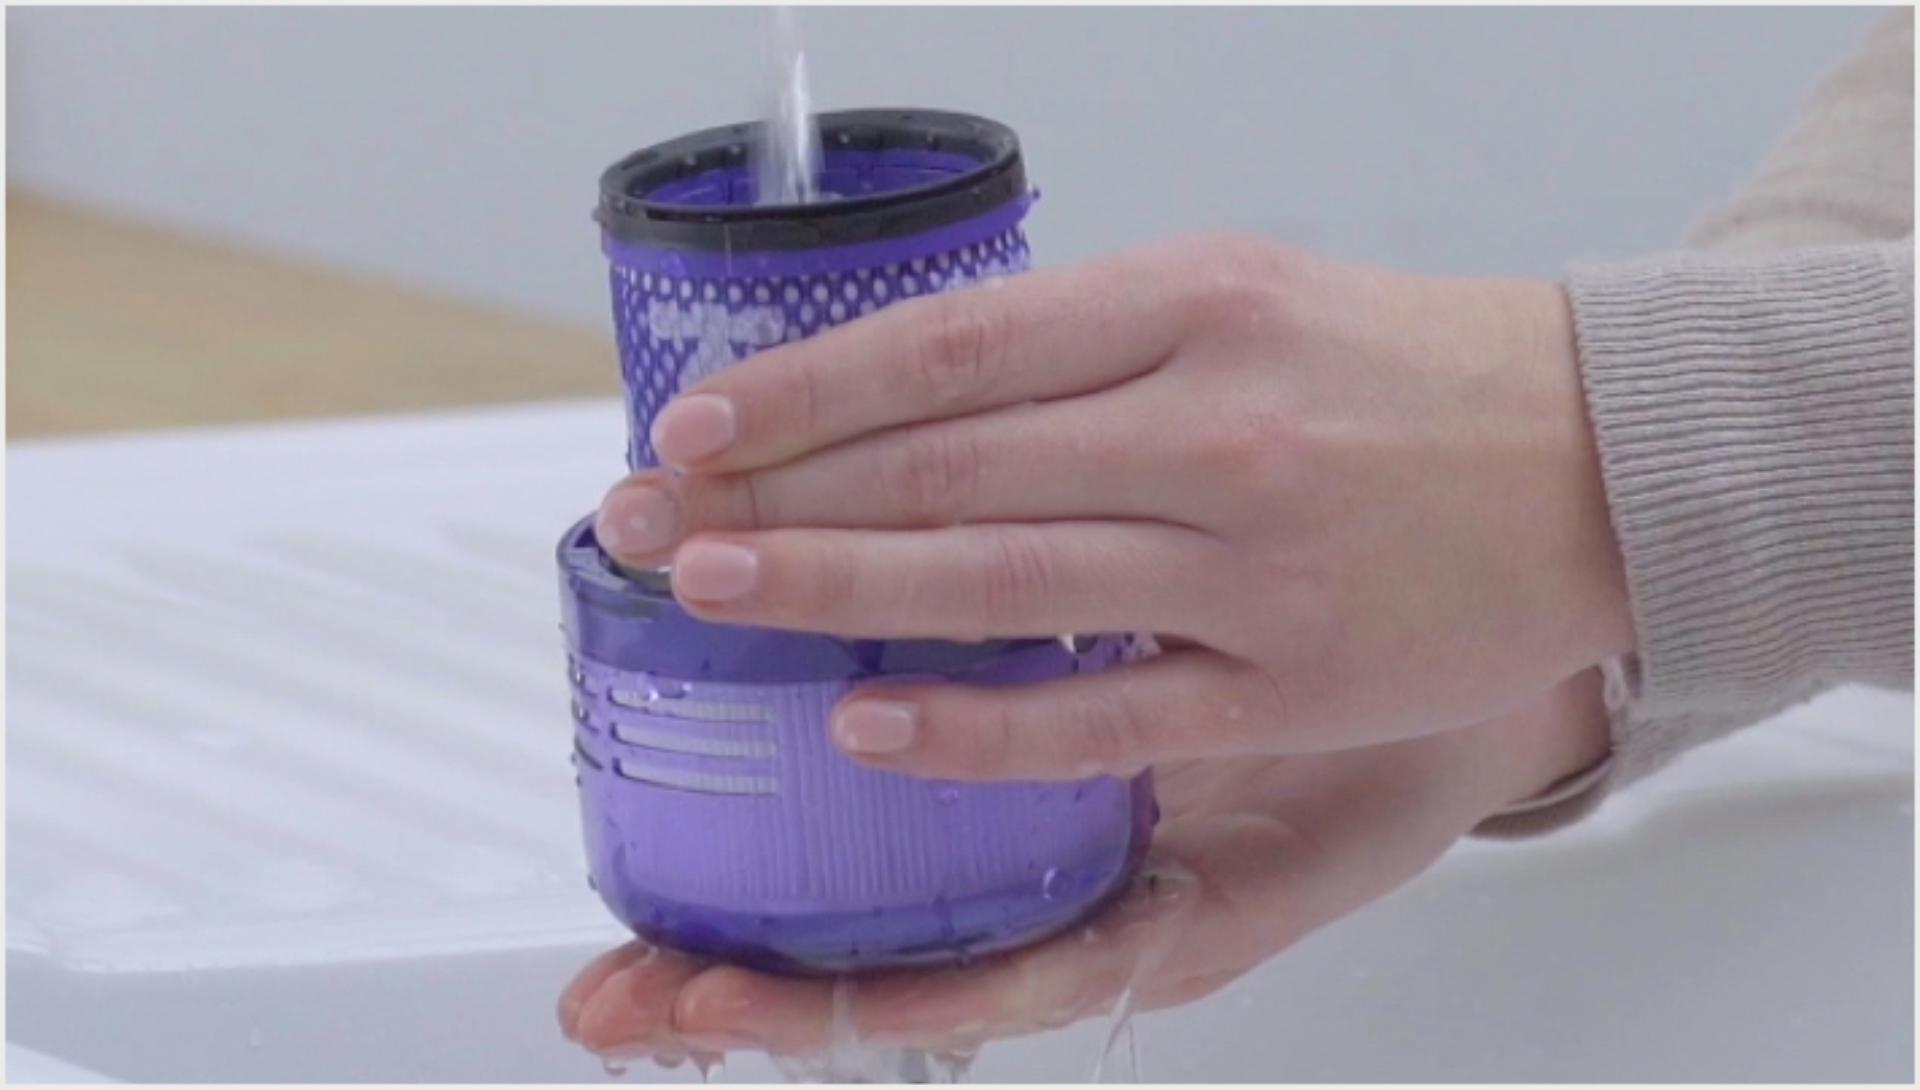
Washing the filter
Shake the filter firmly to remove excess water, until there is no water coming from the filter. Leave to dry in a well ventilated, warm place for at least 24 hours. Make sure the filter is completely dry before refitting. Your machine could be damaged if used with a damp filter.
-
Washing the Slim FluffyTM cleaner head
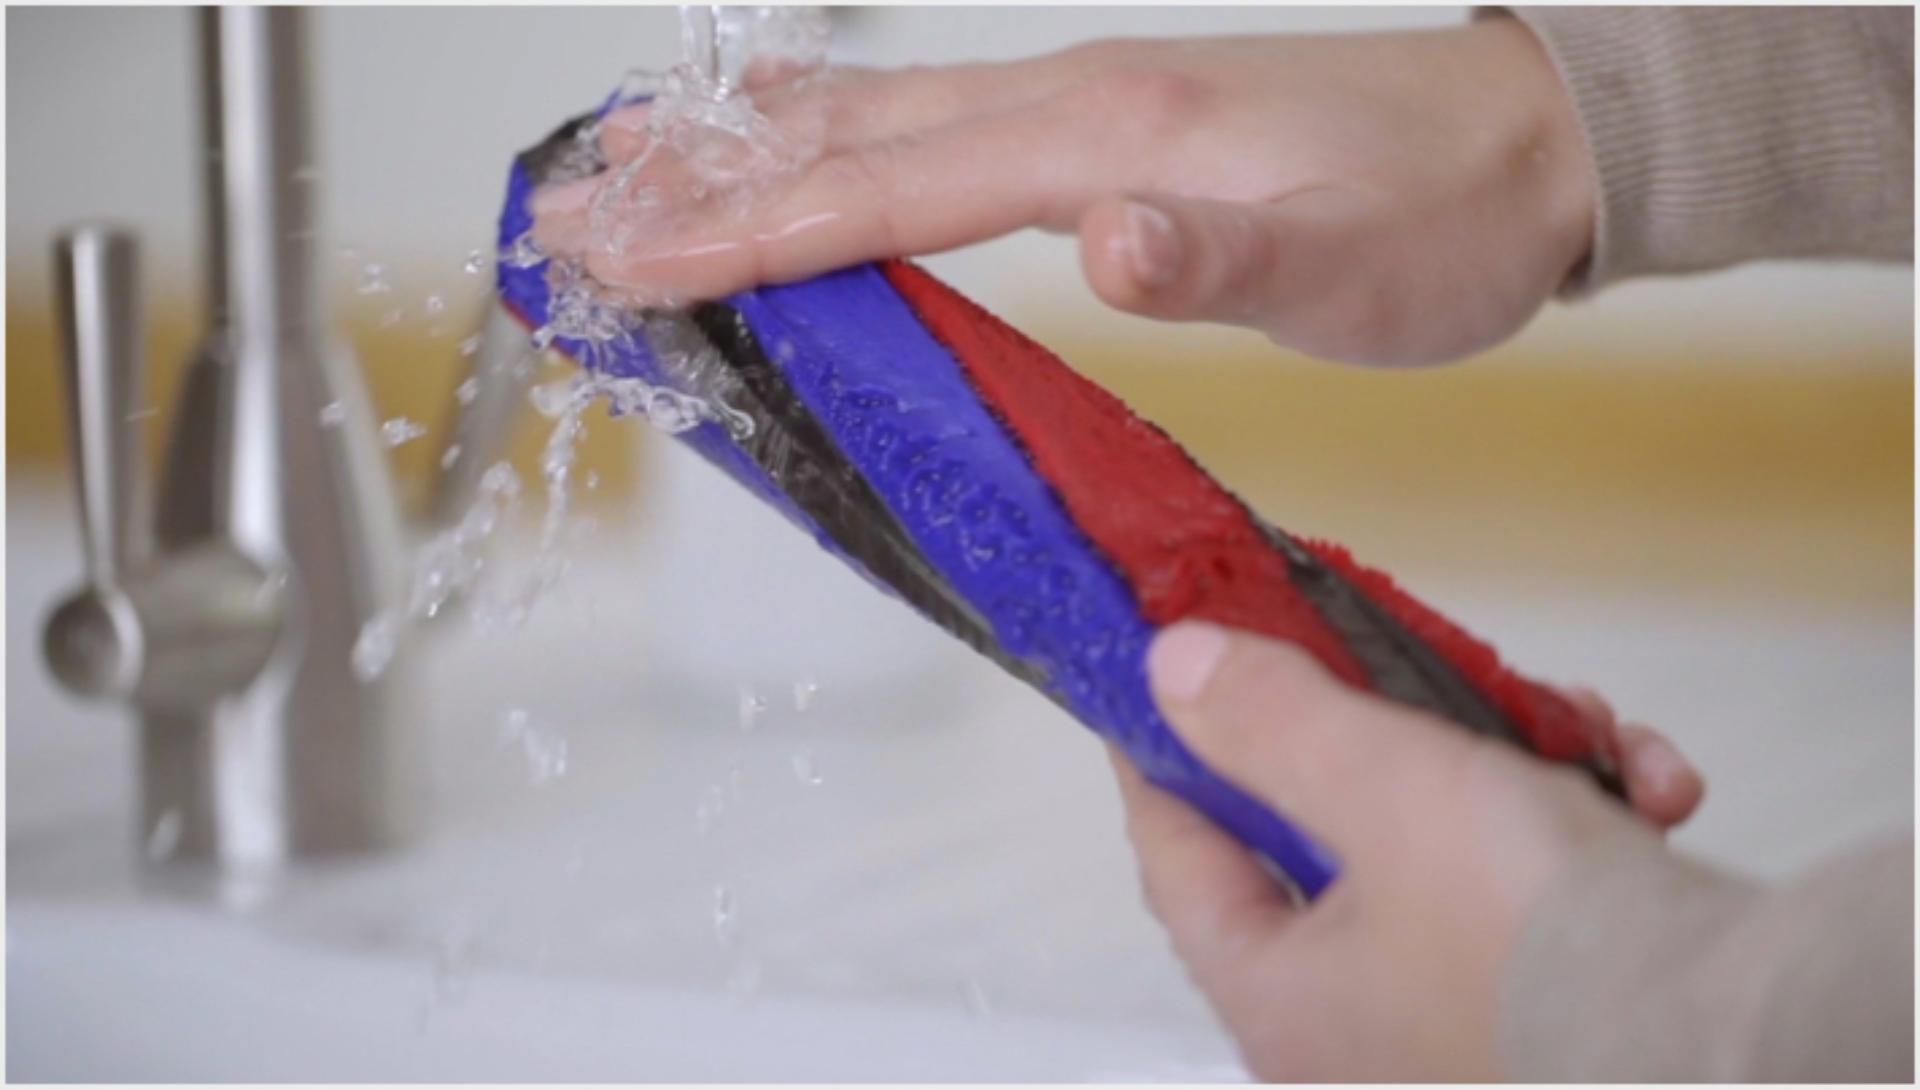
Remove the end cap and set aside. Hold the brush bar under cold tap water. Remove as much excess water as possible, stand upright and leave to dry in a warm place with plenty of airflow for at least 24 hours. Make sure the brush bar is completely dry before refitting it.
-
Checking for blockages
Your machine will make a pulsing sound to let you know there's a blockage. Watch the video to see how to find blockages.
-
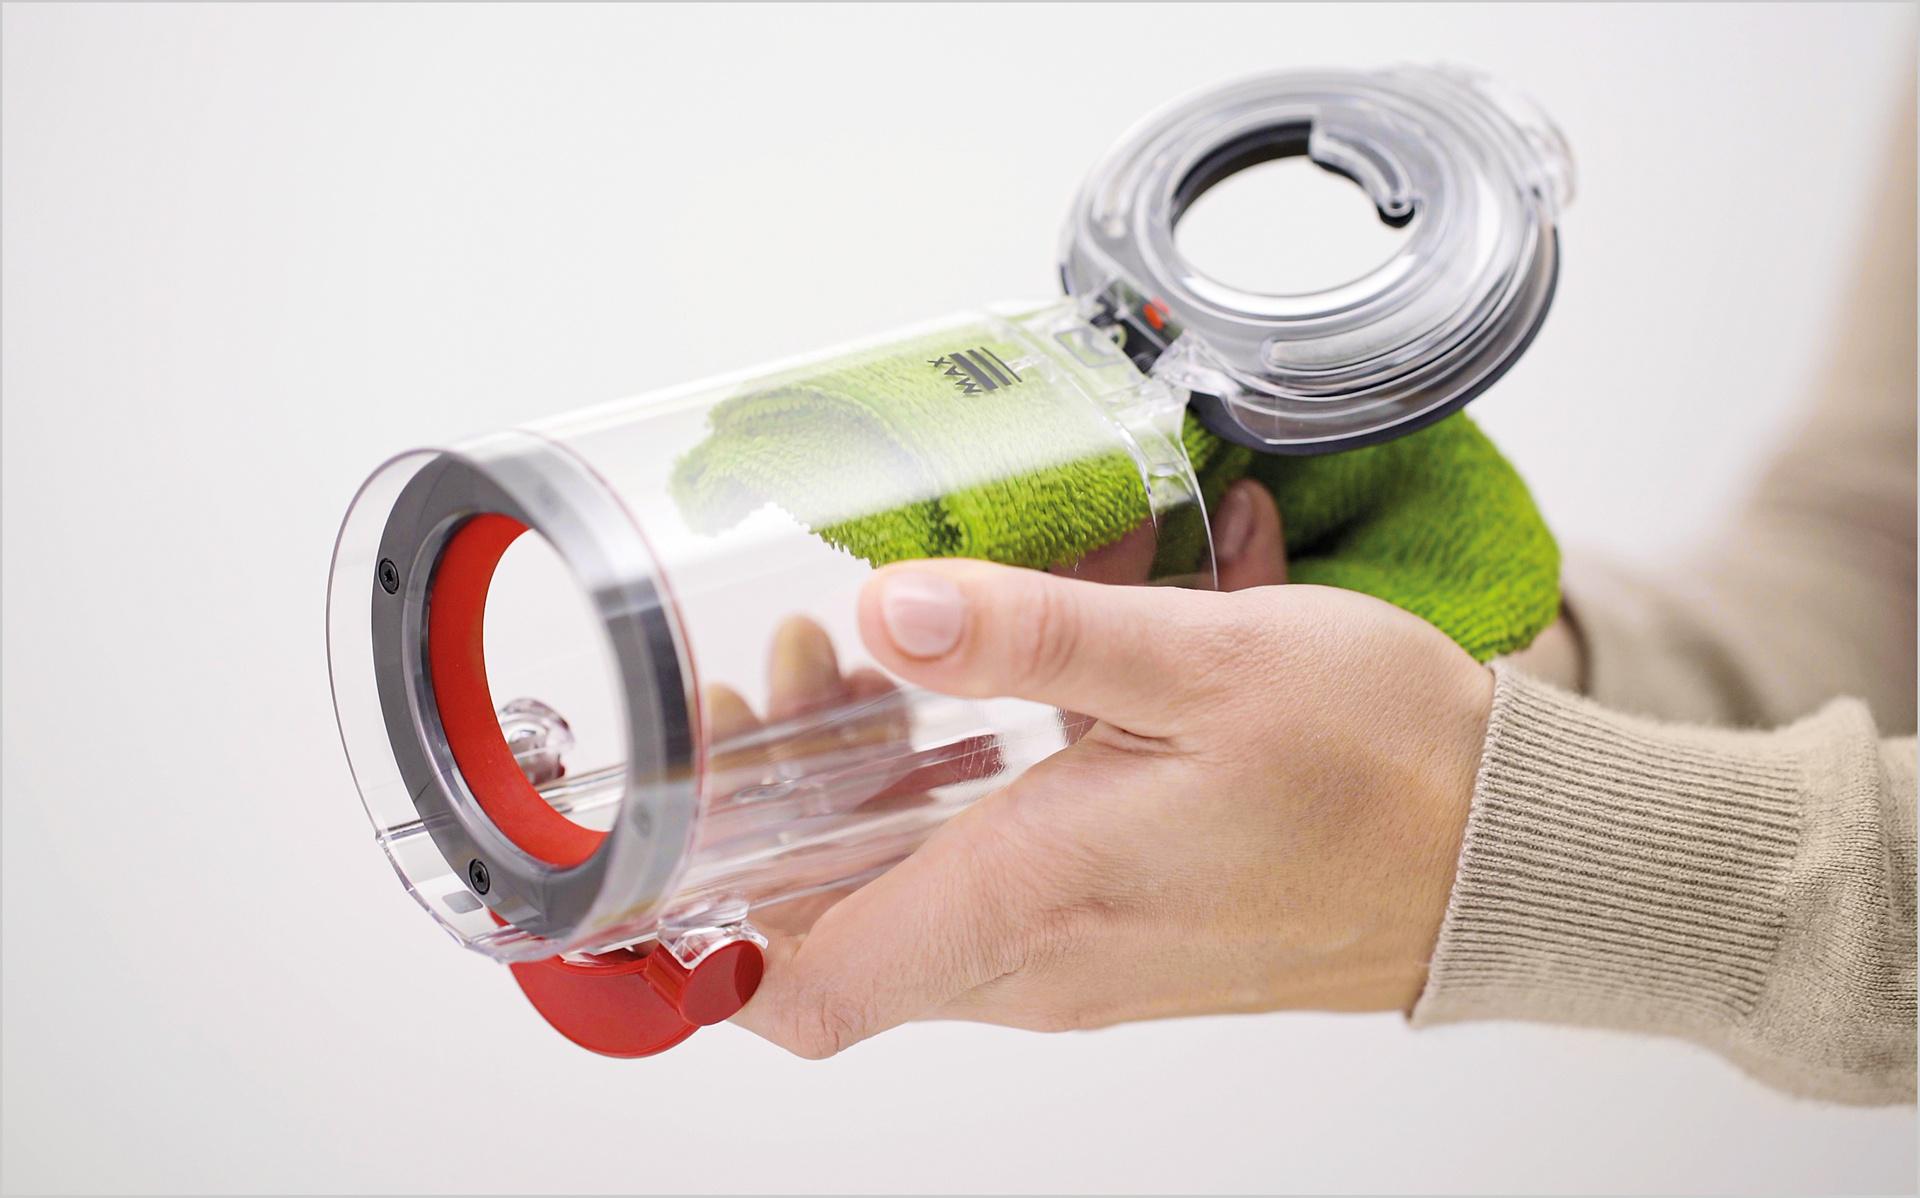
Emptying and cleaning the bin
Wipe the bin clean with a damp cloth only. Make sure the bin and seals are completely dry before refitting.
-
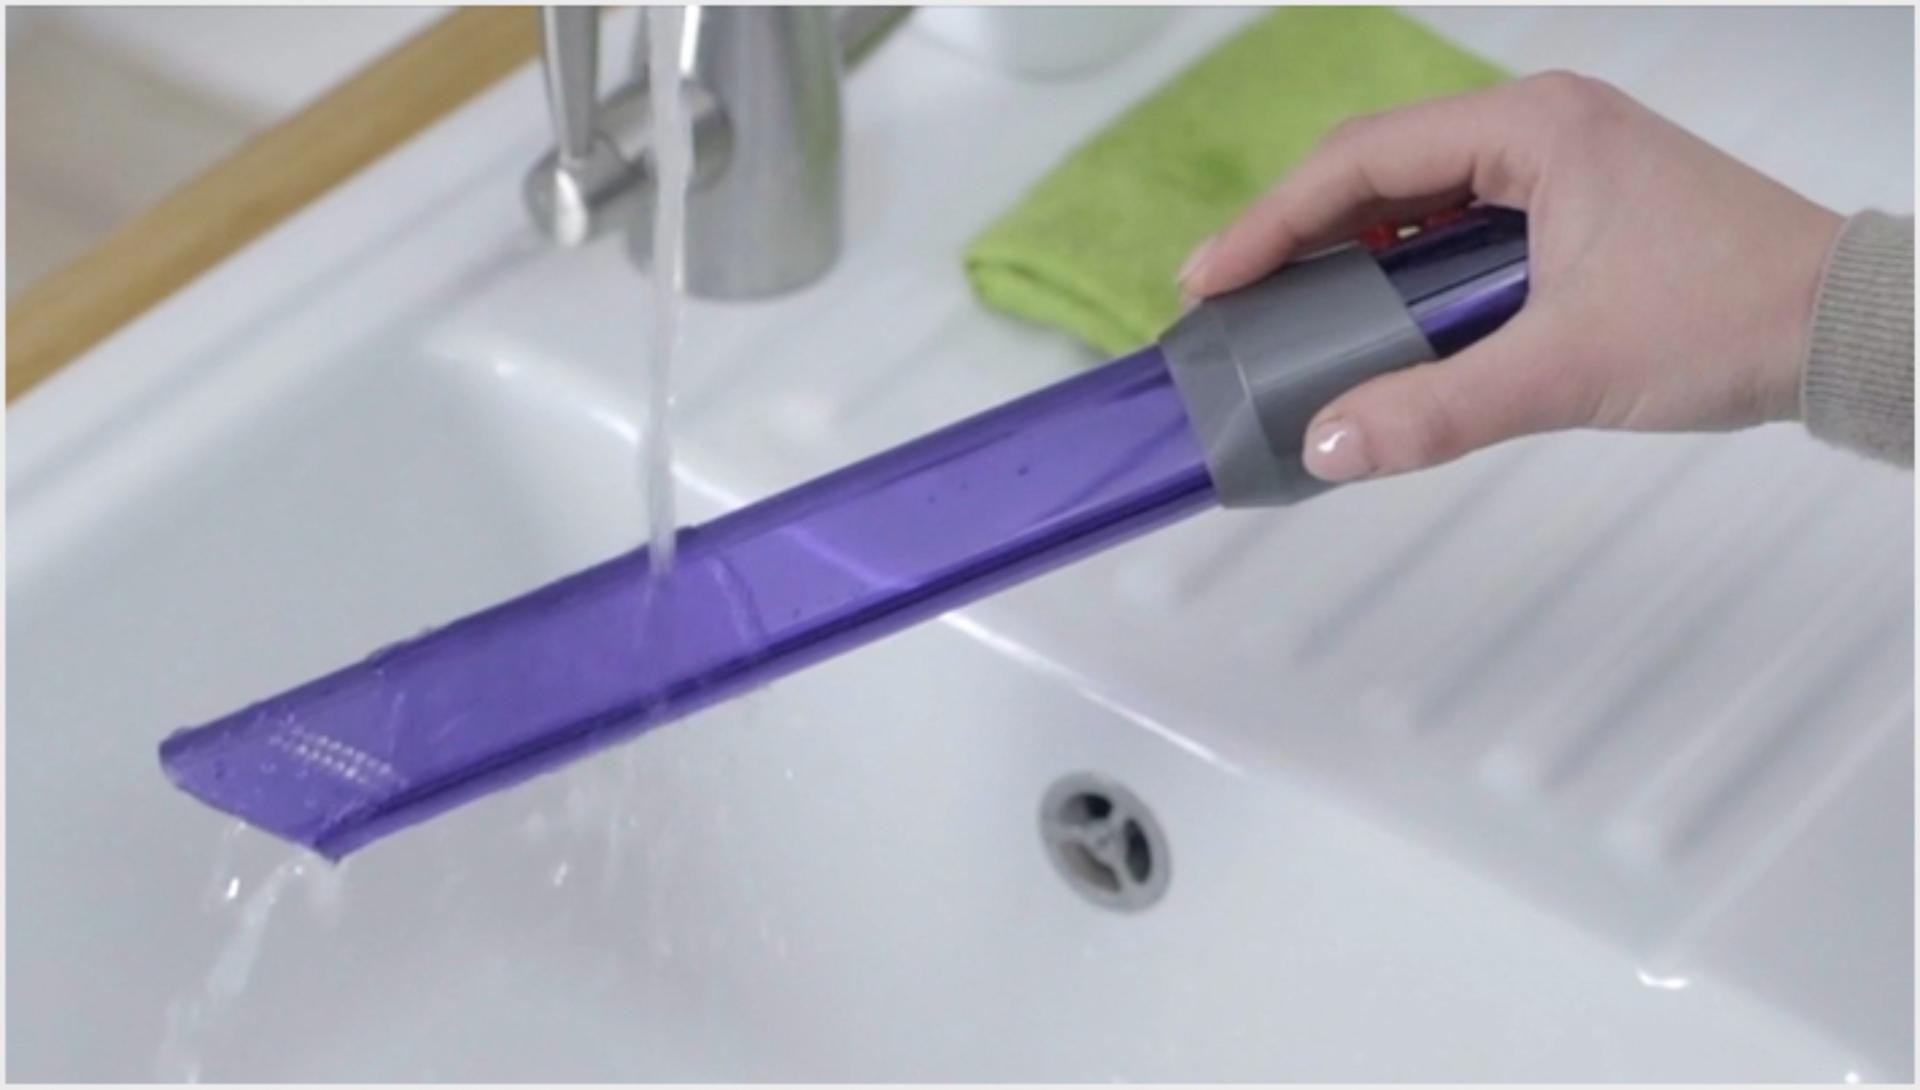
Cleaning the Light-pipe crevice tool
It's quick and easy to wash the Light-pipe crevice tool. Watch the video to see how.
-
Useful tips
-
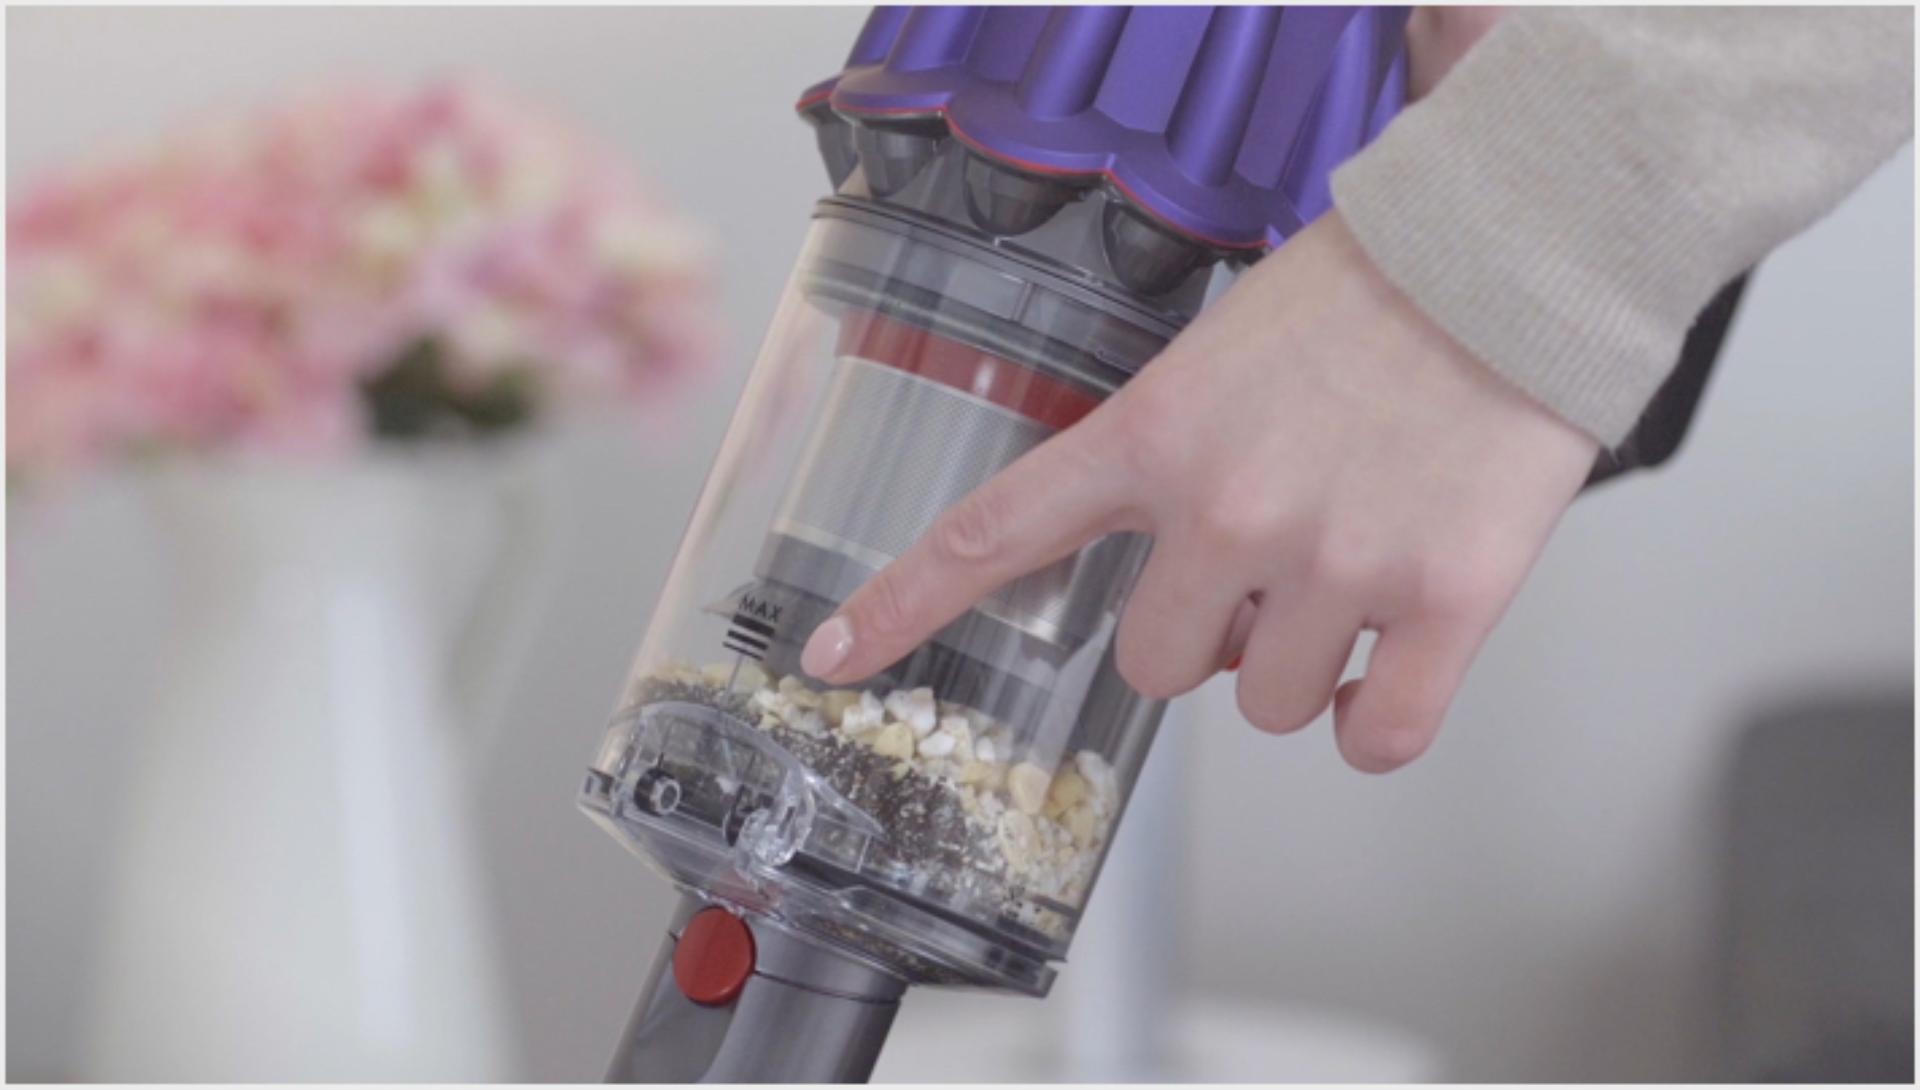
Don't overfill it
To maintain suction, keep an eye on the bin and empty it as soon as debris reaches the MAX marker.
-
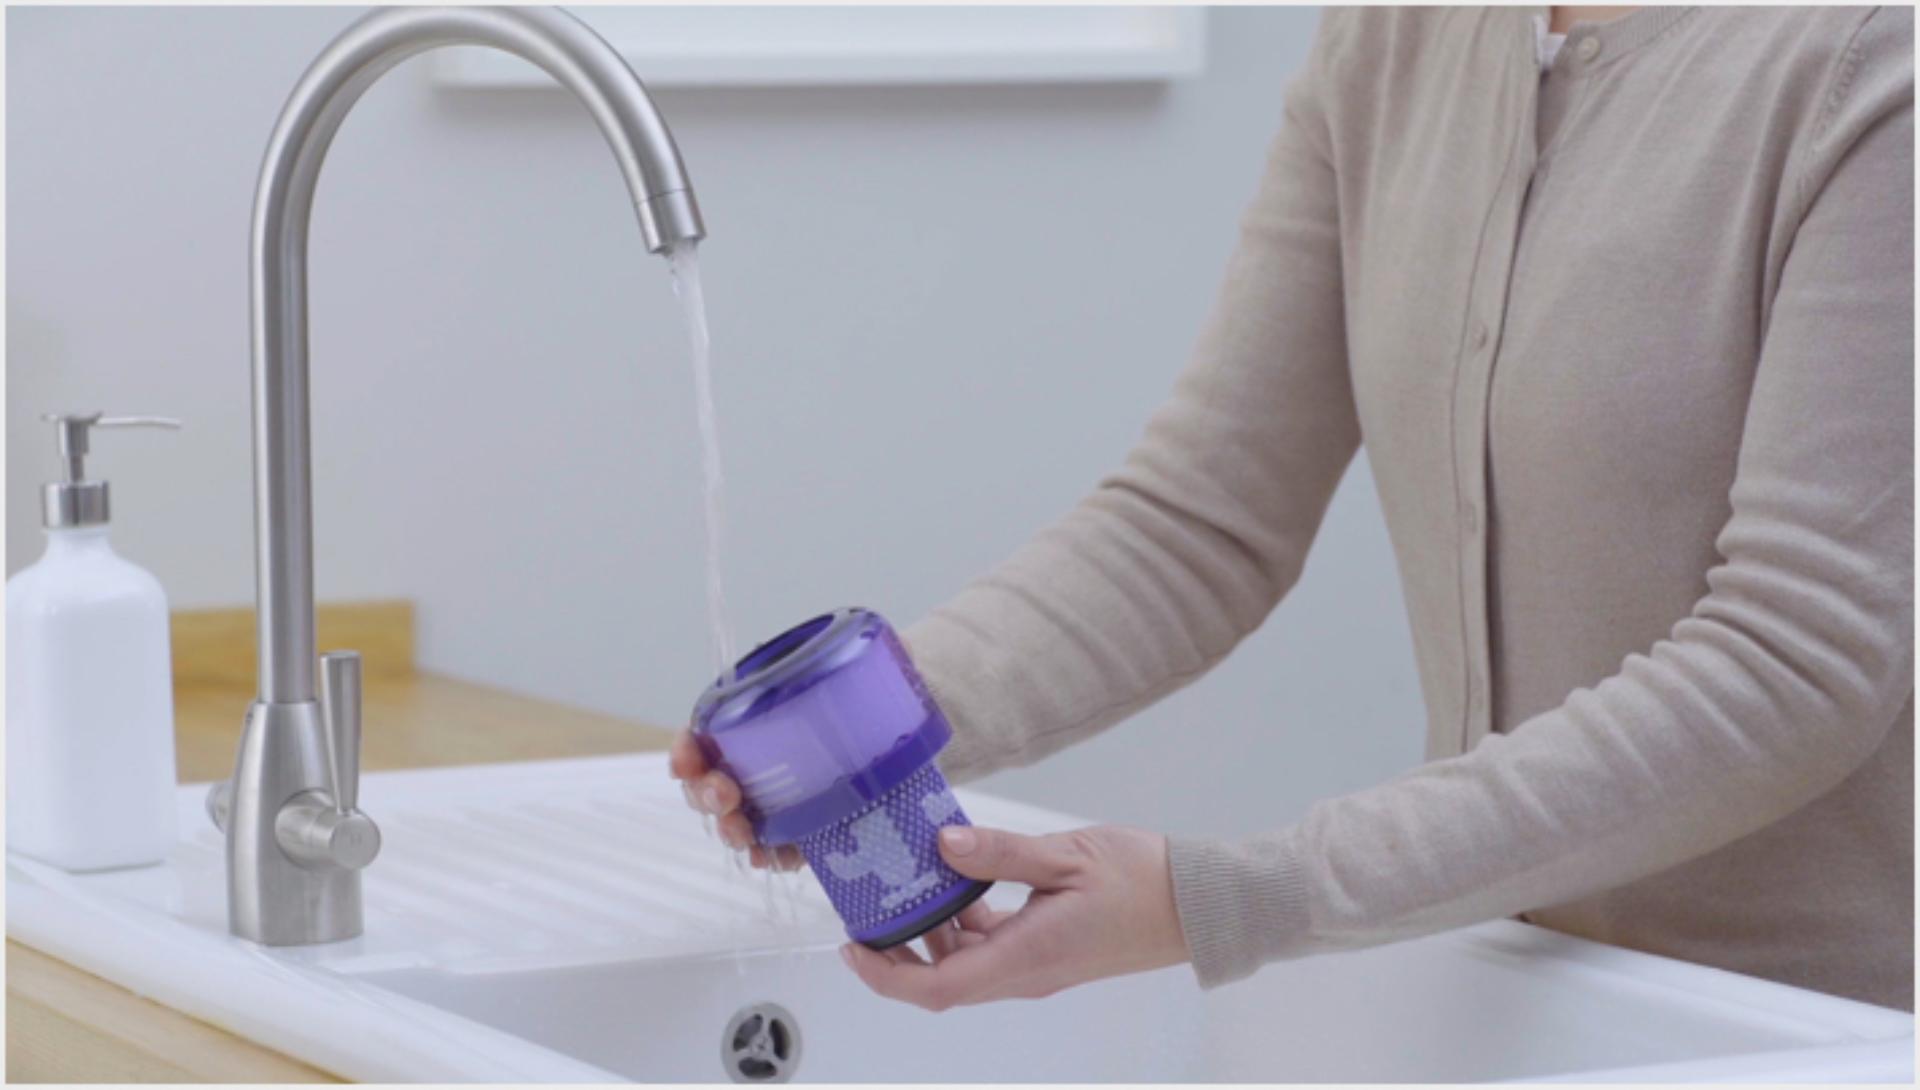
Regularly wash the filter
It's important to wash the filter regularly, to maintain optimum performance. The screen will remind you when it's time to do this.
-
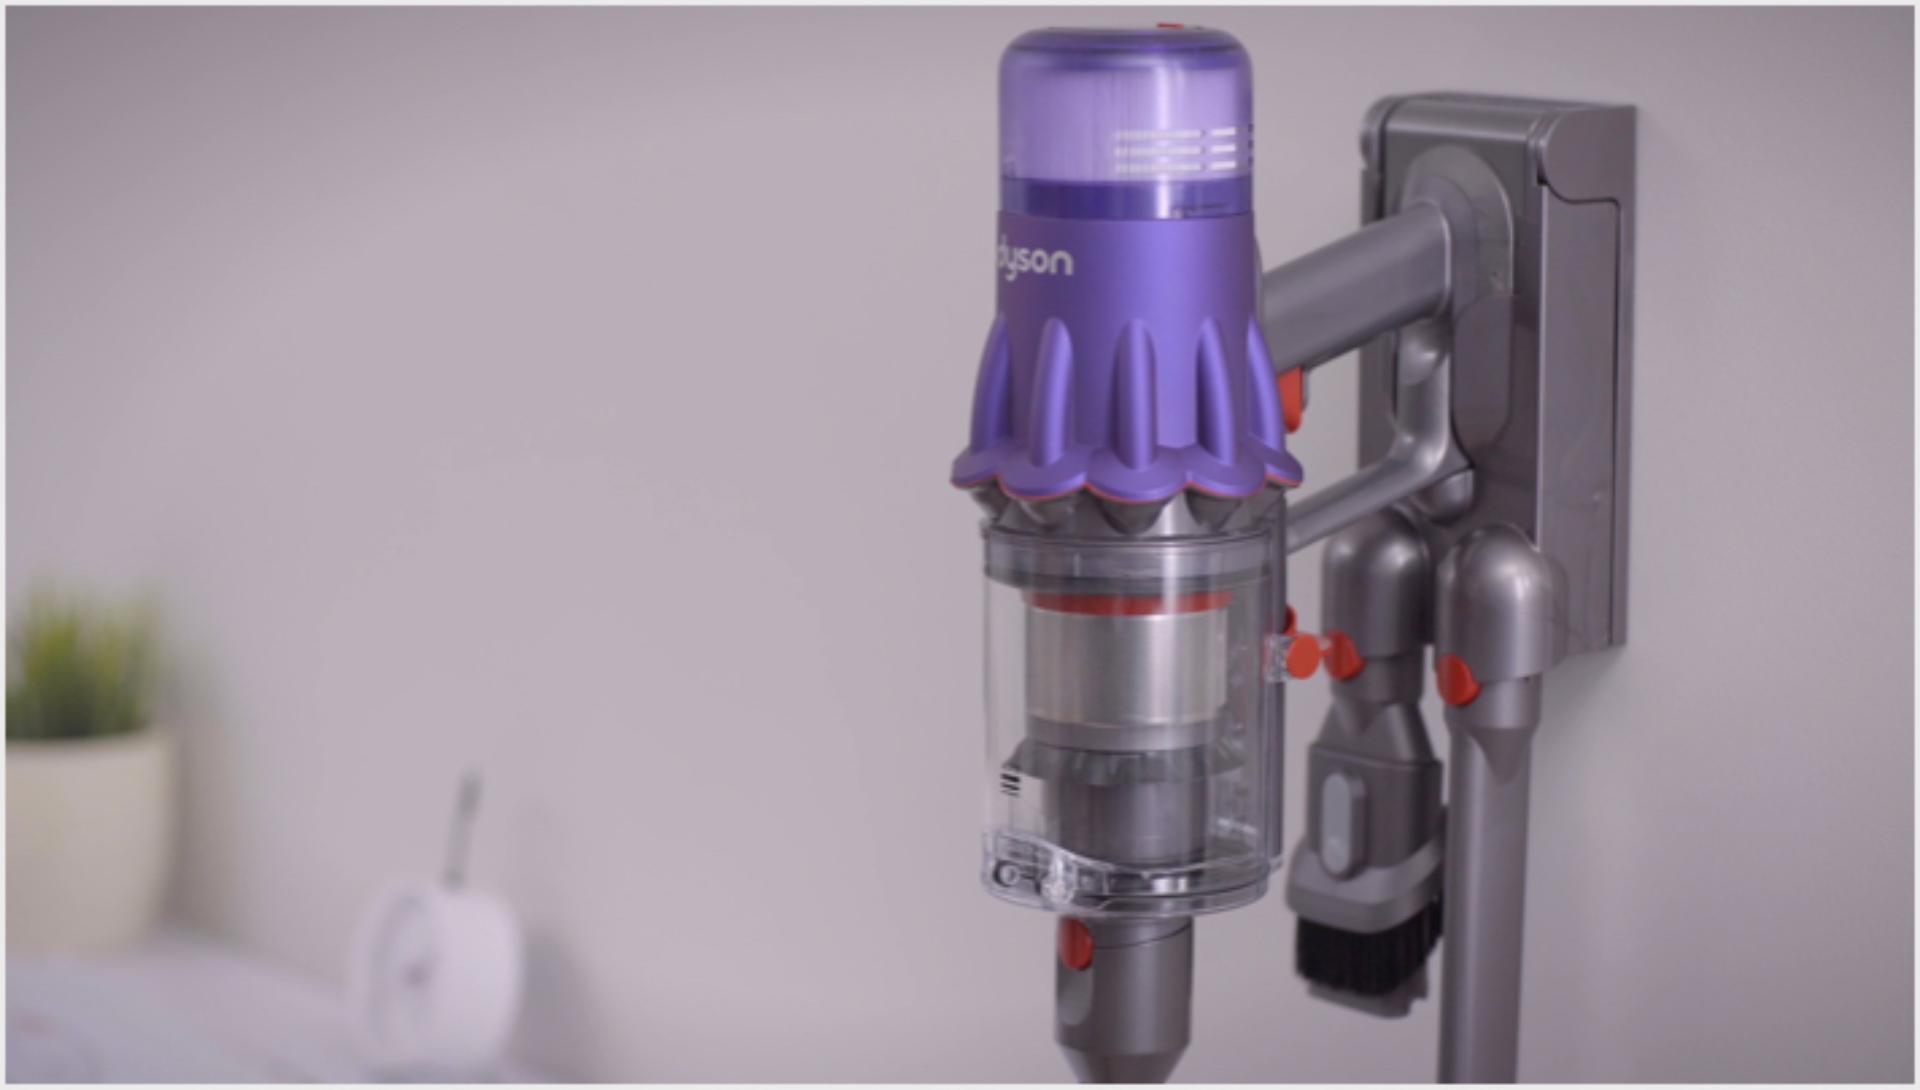
Setting up your dock
You can use the dock to store your machine, so it's always to hand and ready to go. See how to set it up.
Frequently asked questions
The screen on your machine will remind you when it's time to clean your filter. This will usually be around once a month, but may be more frequent if you use your machine heavily. After cleaning your filter, always leave it to dry for at least 24 hours. Ensure it's completely dry before refitting on your machine. We strongly recommend following the cleaning instructions and cleaning by hand. The filter is not suitable for dishwasher use.
A full charge takes up to 3.5 hours.
We recommend fully charging a spare battery soon after purchase, and alternating batteries regularly to prolong battery health.
Your battery has been designed to be left on charge, so it’s fine to leave it plugged in after charging.
We recommend fully charging your machine after every clean. This helps your vacuum's battery and monitoring system's algorithm to more accurately calculate and display remaining run time.
The LCD screen only uses up to 1.5 watts of power, which won't noticeably impact run time.
Your machine works independently and doesn't connect to the Dyson Link app.
To change the language on your screen, press the button and hold until the language list appears. Tap the button to scroll through the language list to your preferred language, then press and hold the button until the countdown ends. A green tick will appear to show your language selection is complete. To cancel your selection, release the button during the countdown.
